.svg)
Overview
In this article, you will find step-by-step instructions for installing the Mend Developer Platform for Bitbucket Cloud.
Getting it done
Prerequisites
-
Access to a Paid GitLab account. Free accounts are not currently supported.
-
Access to a GitLab Group and a user with Admin privileges
-
If your Group has conditional access to certain IP addresses, add the IP addresses listed under “developer-platform” in this file to your allowlist.
Also, for paid Mend customers only:
-
Mend Account with SCA/SAST entitlement on the Mend AppSec Platform
-
Admin Access to Mend AppSec Platform to generate Activation Key
Notes:
-
You should have access to the Mend Platform only if you wish to unlock all the premium features, such as SCA and SAST. If you solely intend to utilize Renovate, there is no need to create a Mend account.
-
This integration is not supported for organizations configured on the Mend EU environment.
-
A GitHub.com token is recommended for running scans. Without it, GitHub release notes won’t be retrieved, which will result in a warning message.
Installing Mend Developer Platform for GitLab
Note: The GitLab user who will onboard the organization will be the one that will be used to create commit statuses, issues, and PRs from their own account. Mend.io recommends creating a dedicated user solely dedicated to the integration with the Mend Developer Platform, and proceeding with the rest of the installation steps with the dedicated user.
-
Authentication: The Mend Developer Platform connects to GitLab via OAuth 2.0 authorization-code flow with PKCE — not via a stored token. The connect flow redirects the user to https://gitlab.com/oauth/authorize, where the user signs in and clicks "Authorize" in the browser. This action cannot be performed by a GitLab service account.
-
Log in to the Mend Developer Portal and authorize with your GitLab user.
-
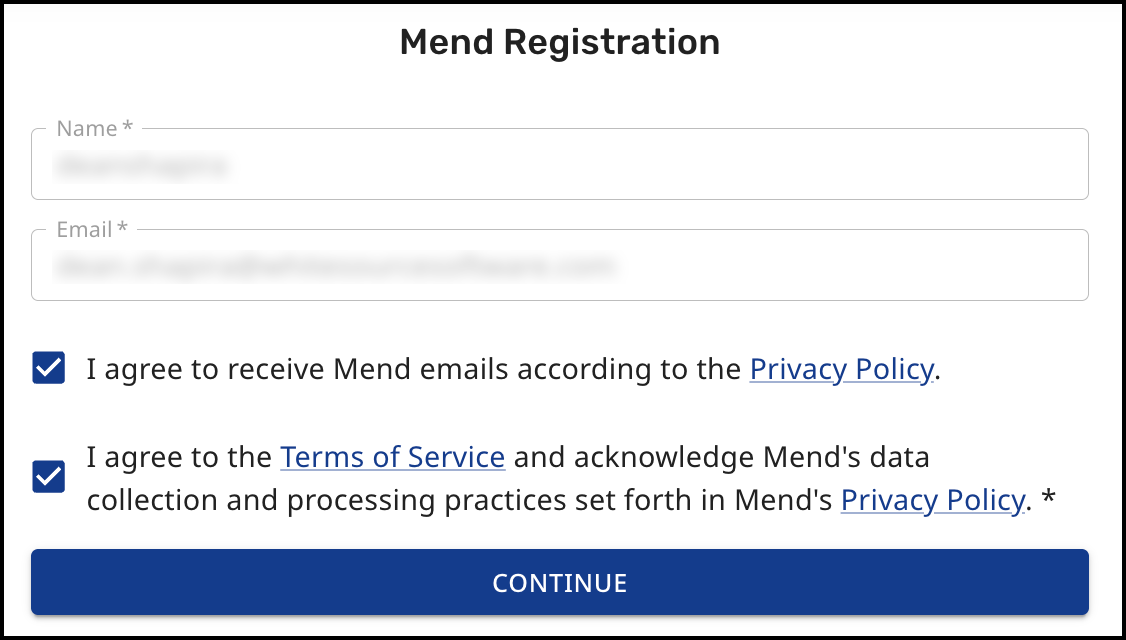
Complete the Mend Registration step and click CONTINUE.
-
After registration is completed, you’ll be navigated to the Mend Developer Platform main dashboard.
Renovate-only: Users of the free Renovate-only plan should skip to step 5.
Paid Mend.io customers: Follow all steps below.
-
Obtain the GitLab license key:
-
Log into the Mend AppSec Platform
-
Navigate to Profile --> Integrations
-
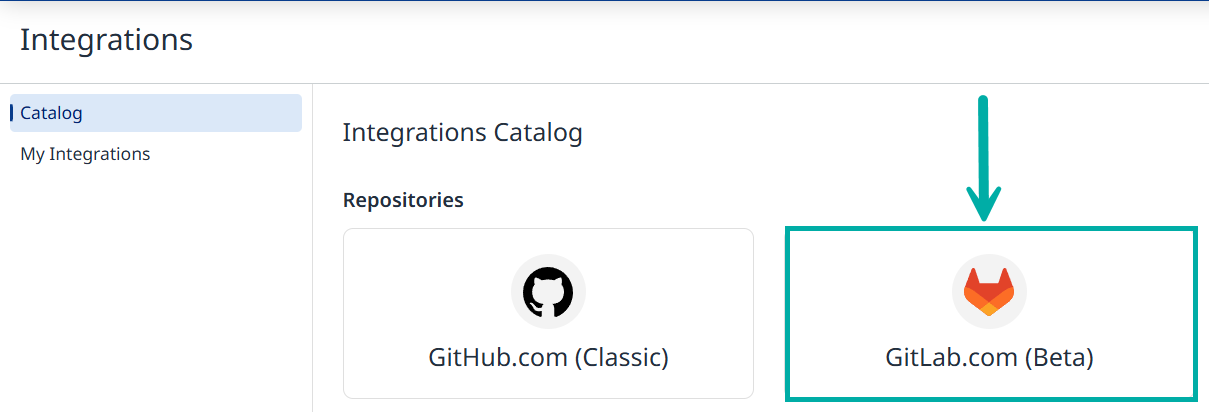
Click the GitLab.com card
-
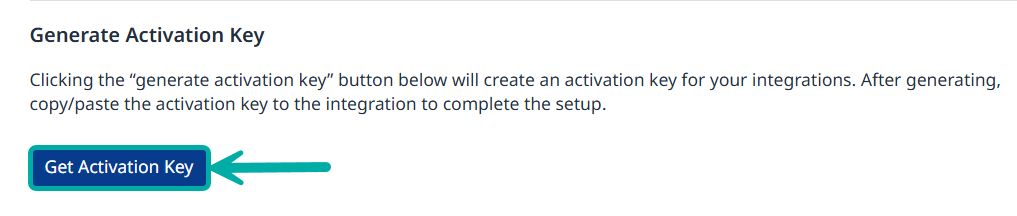
Click Get Activation Key
-
-
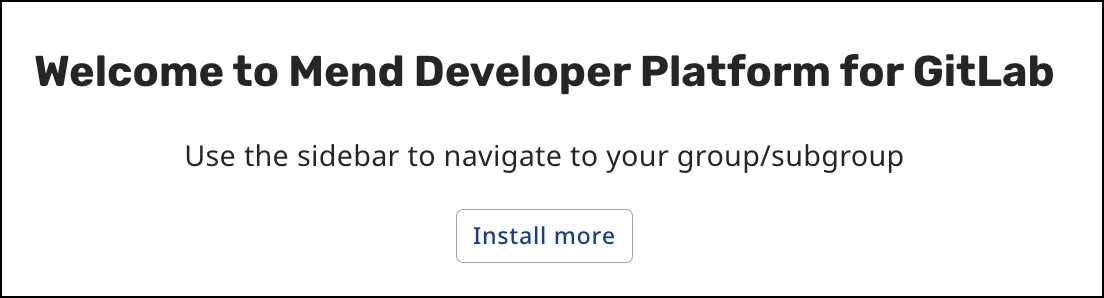
In the Mend Developer Portal, click on “Install more” to install Mend Renovate or Mend Developer Platform in your GitLab project(s):
-
Select your GitLab group(s) that you want to integrate with Mend.
Pay attention to the + Load More button which will be visible when there are more than twenty subgroups to choose from.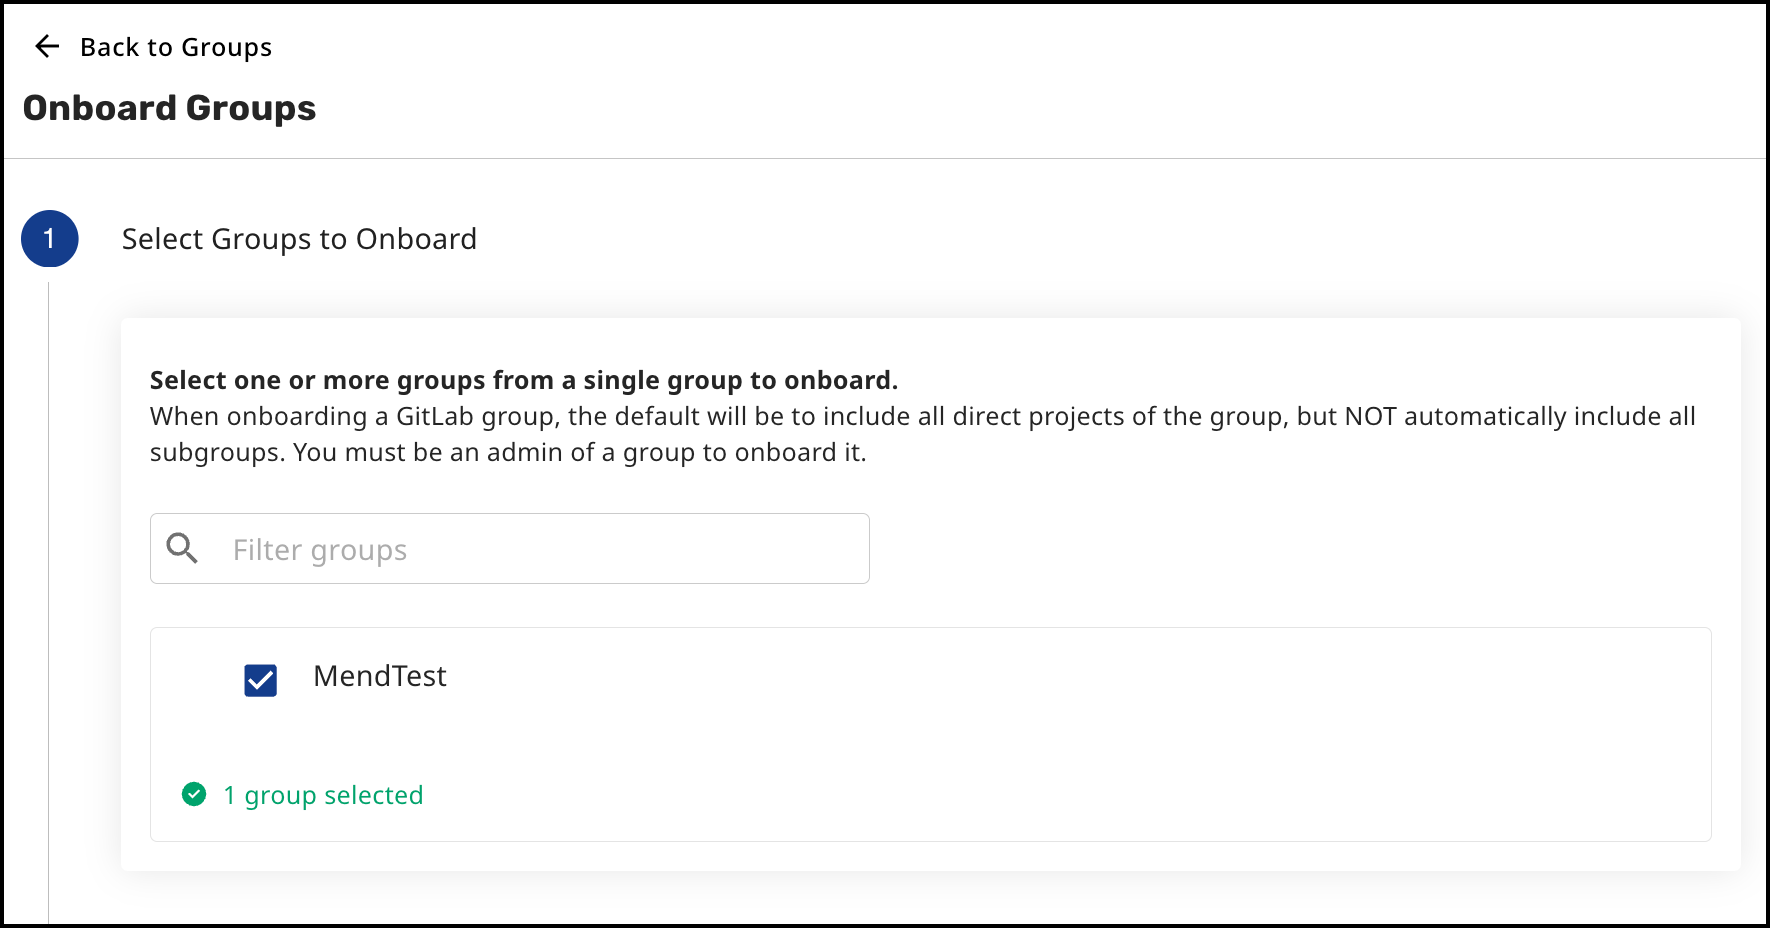
-
A pop-up window will appear asking you to accept a redirection to GitLab to authenticate and install the Mend integration for the selected project(s).
Note: You will only need to complete this step once. The user's refresh token will also be used for future onboarding. -
The Setup Wizard will open, where two product options will be presented.
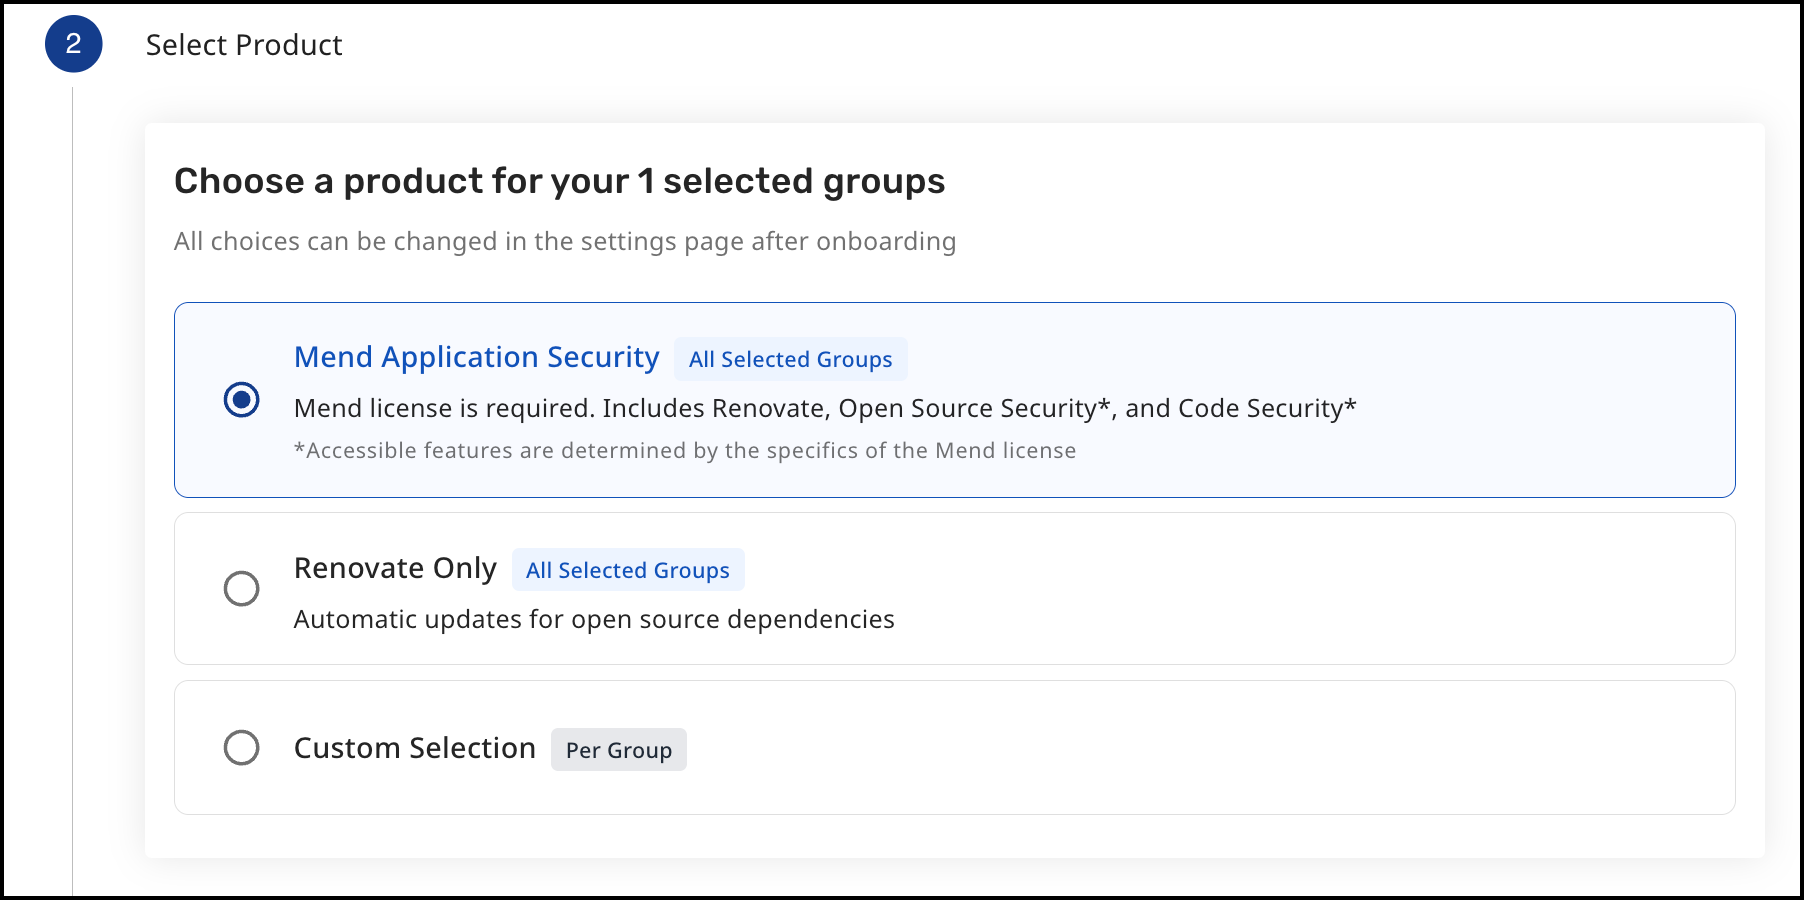
Renovate-only users: Choose Renovate only, then skip to step 11.
Paid Mend customers: Choose Mend Application Security, then continue to follow all steps. -
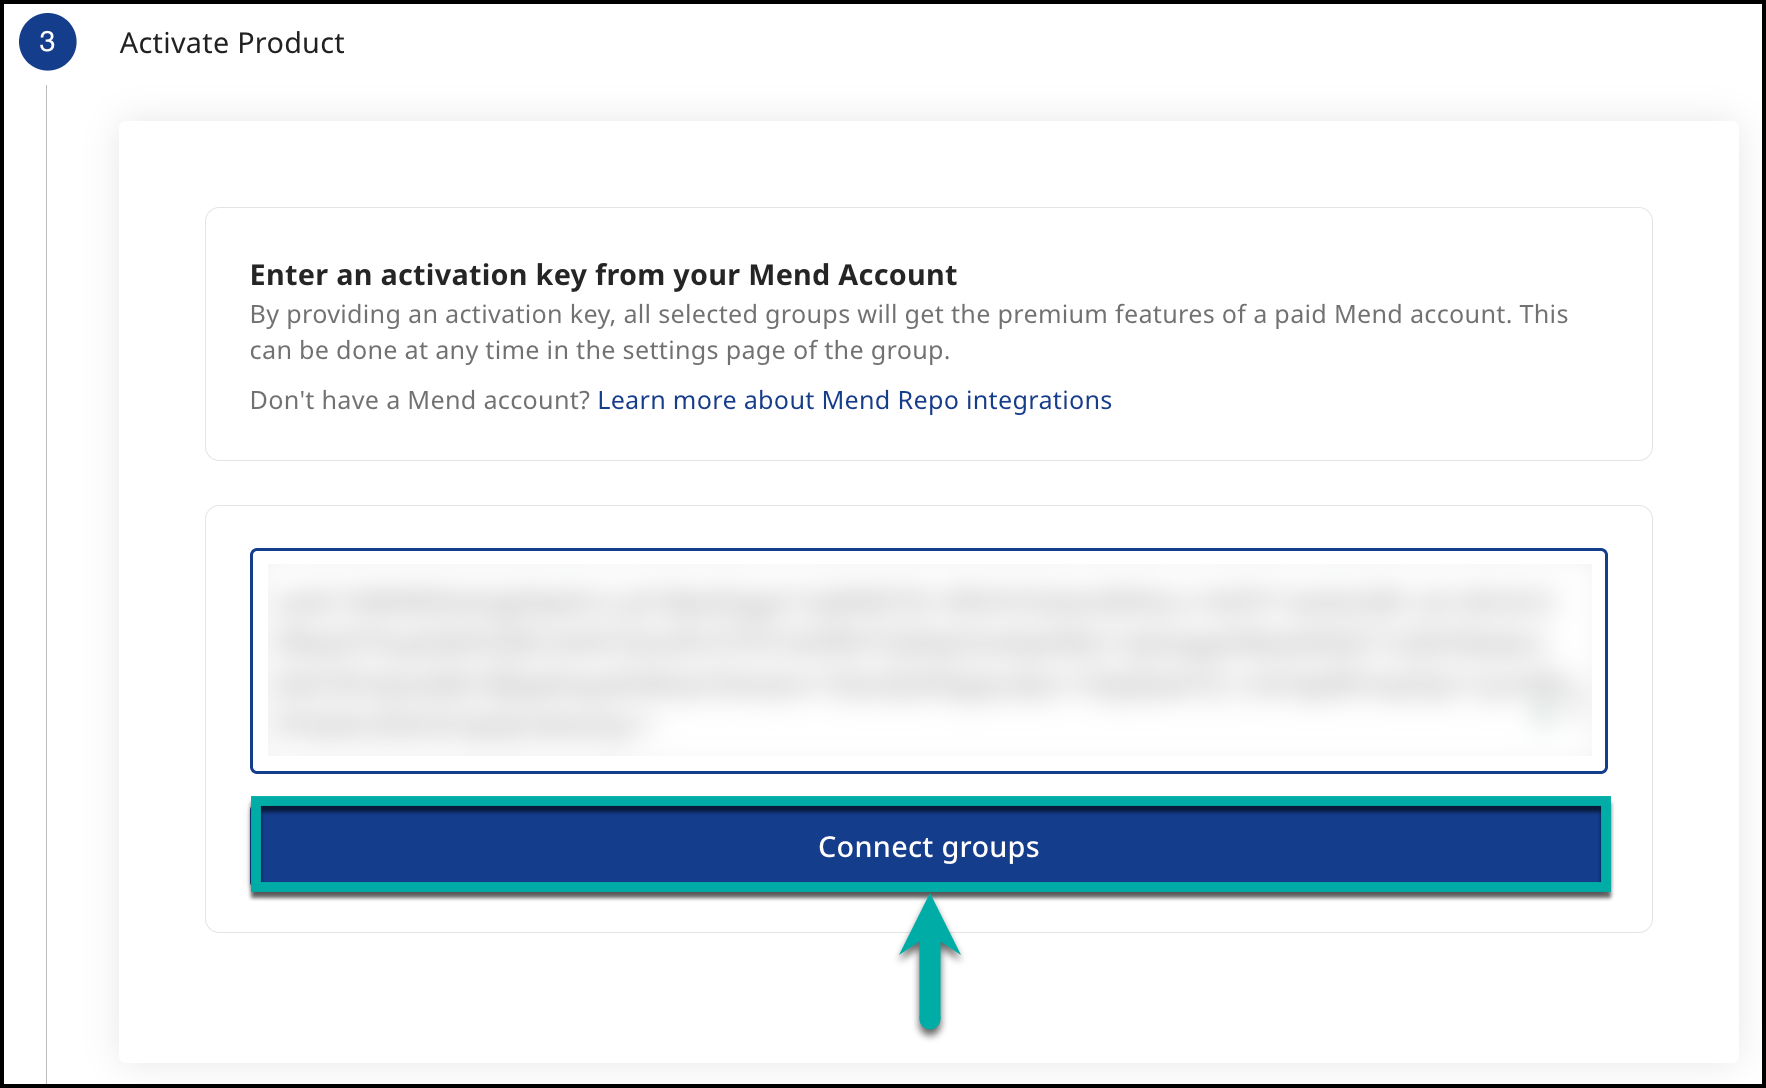
Using the Activation Key copied from the Mend AppSec Platform, paste the Activation Key into the Mend Activation Key box to connect your Azure DevOps organization with your paid Mend account.
-
Click Connect groups, and then Next.
You’ll see the name of the Mend Organization that your organization is now connected to. -
Now you have the option to activate the Mend App for all repositories or only selected repositories. Select your preference, and then click Next.
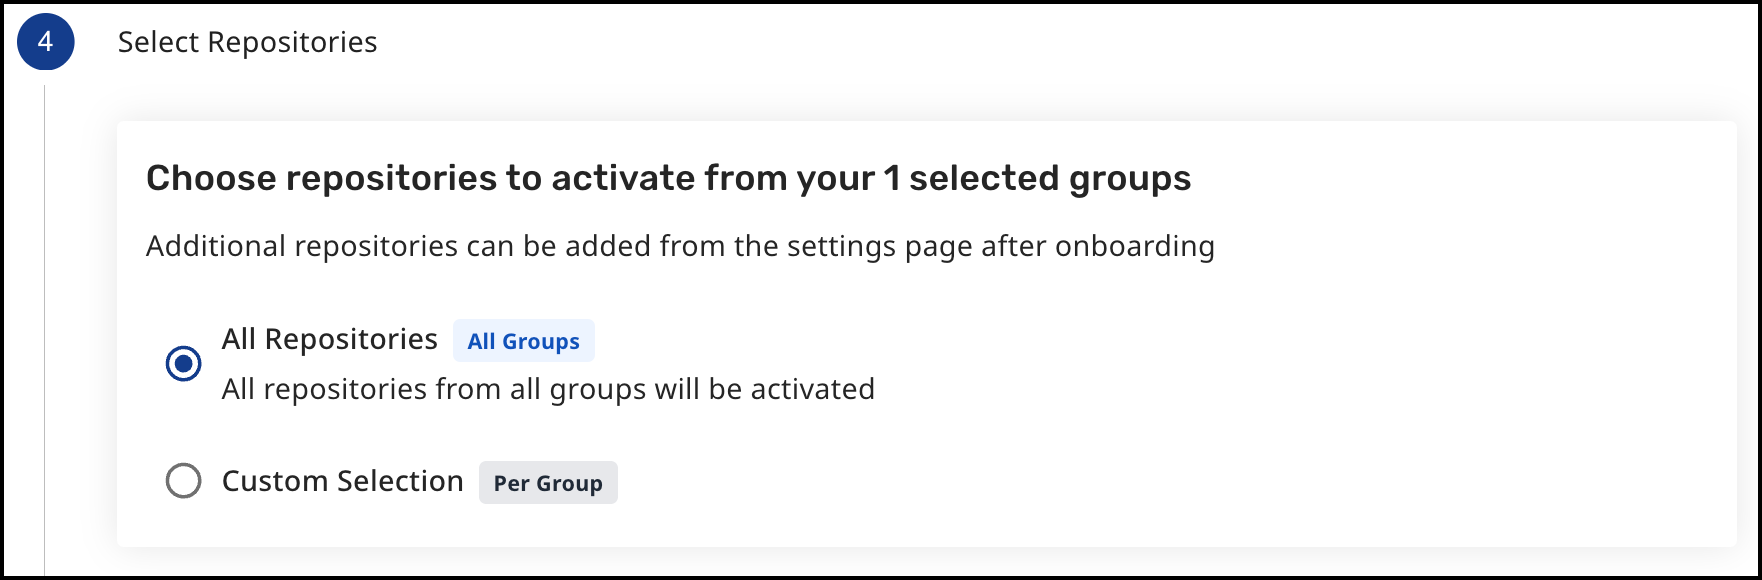
During the installation process, please note that the Mend Developer Platform app is installed for the entire group. This means that it will have access to all repositories within the group, regardless of the repositories selected during installation.
Selecting repositories at this step defines which will have the available engines enabled and activated.
-
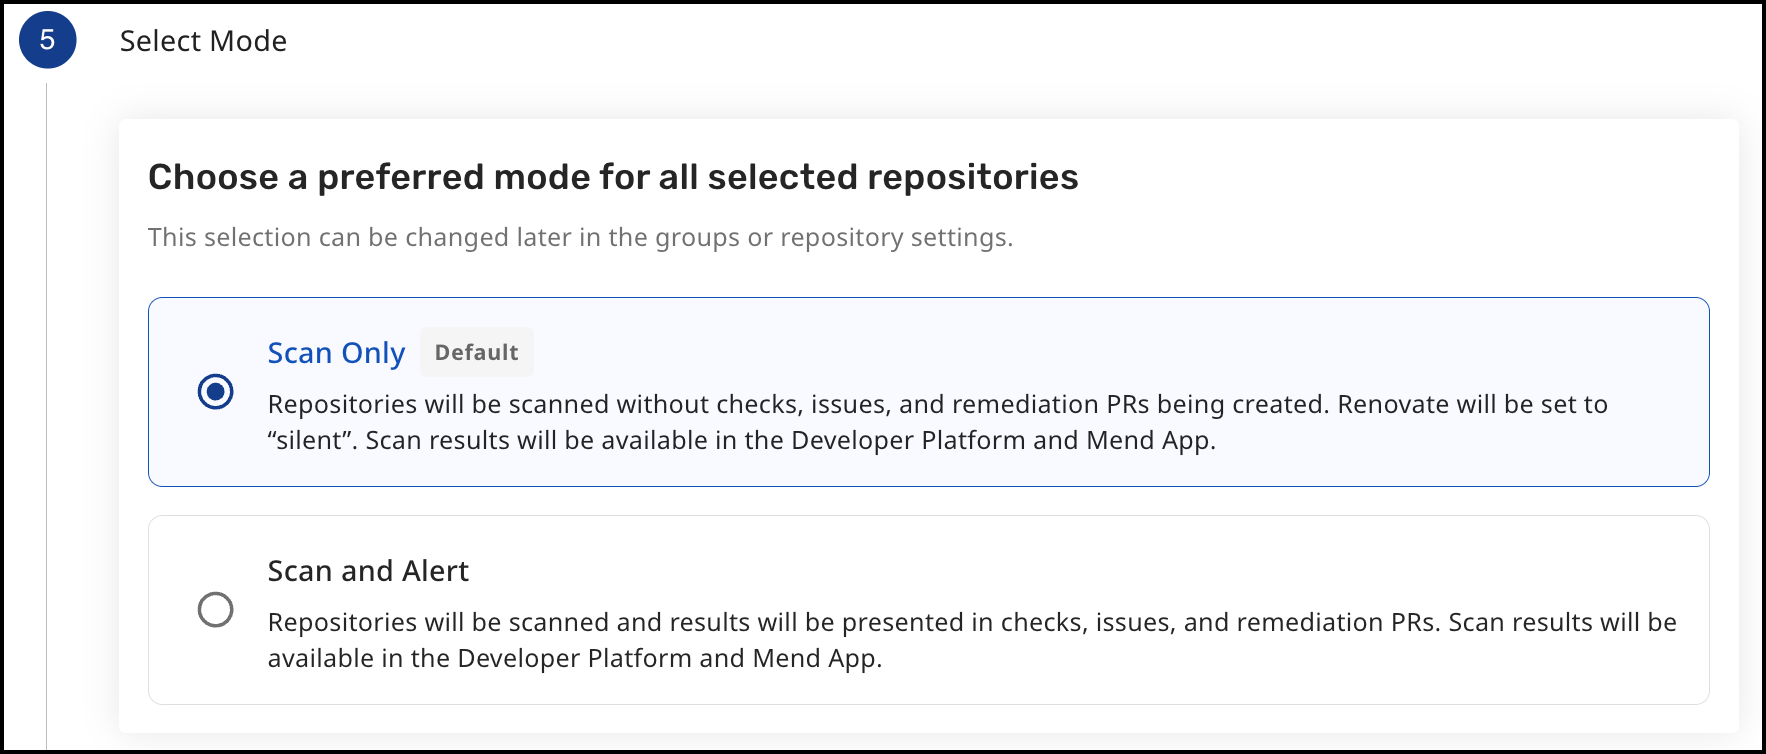
Choose your preferred mode for the selected repositories, and then click Next.
-
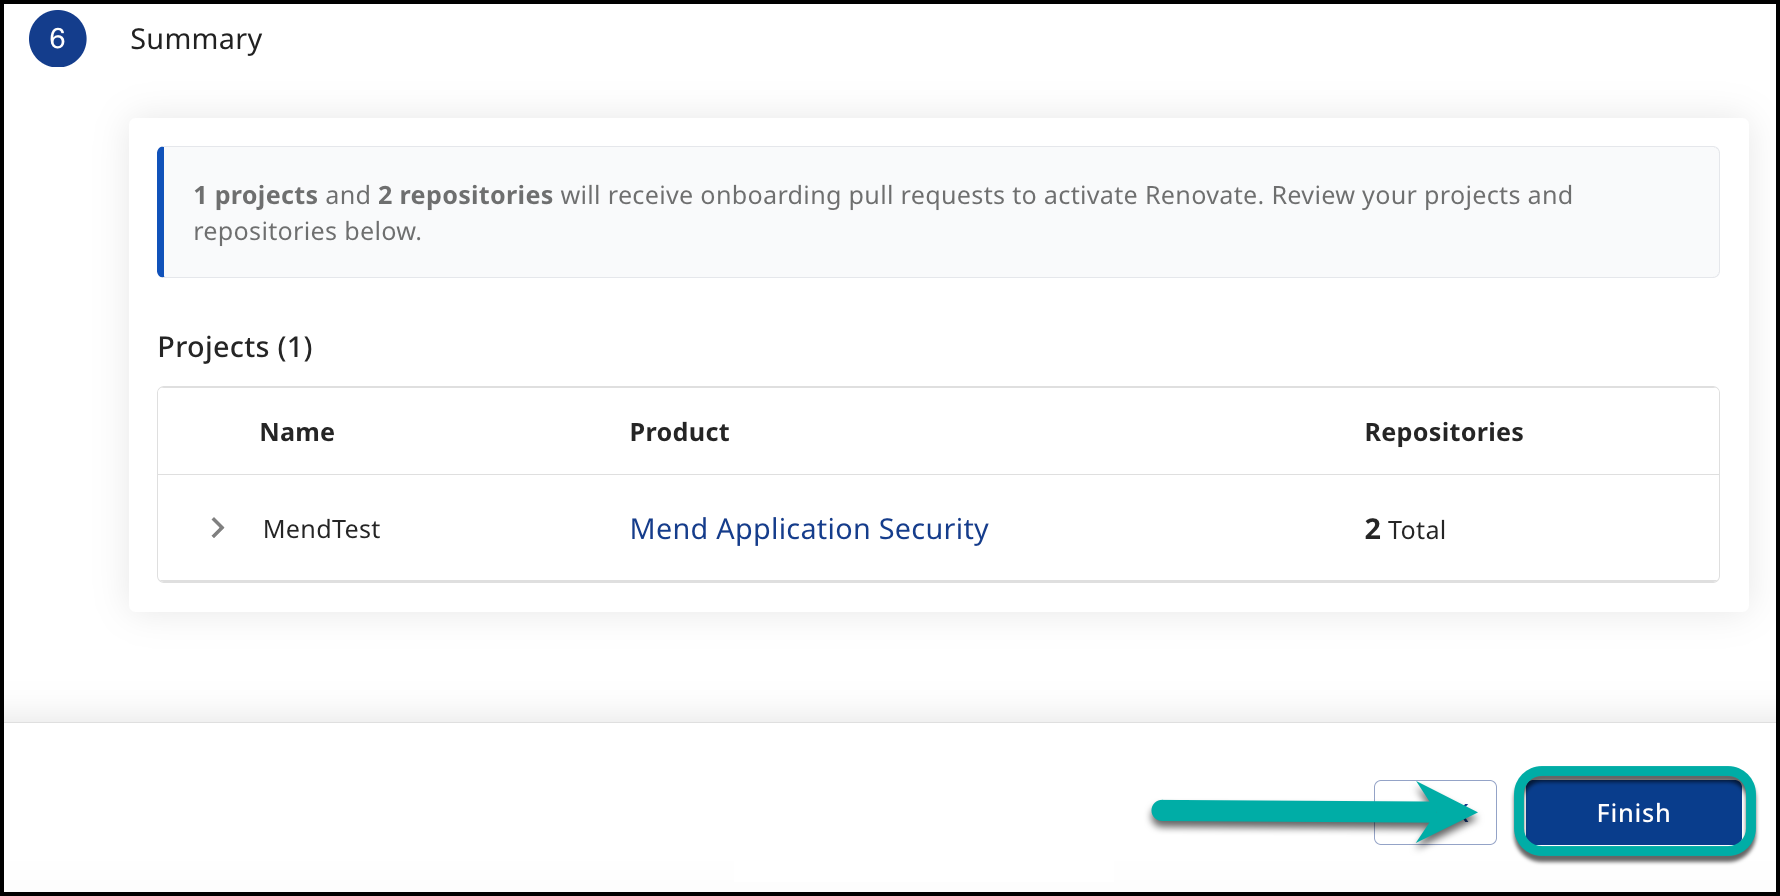
Click Finish to complete the installation steps for Mend Renovate and Mend Developer Platform.
Group Settings
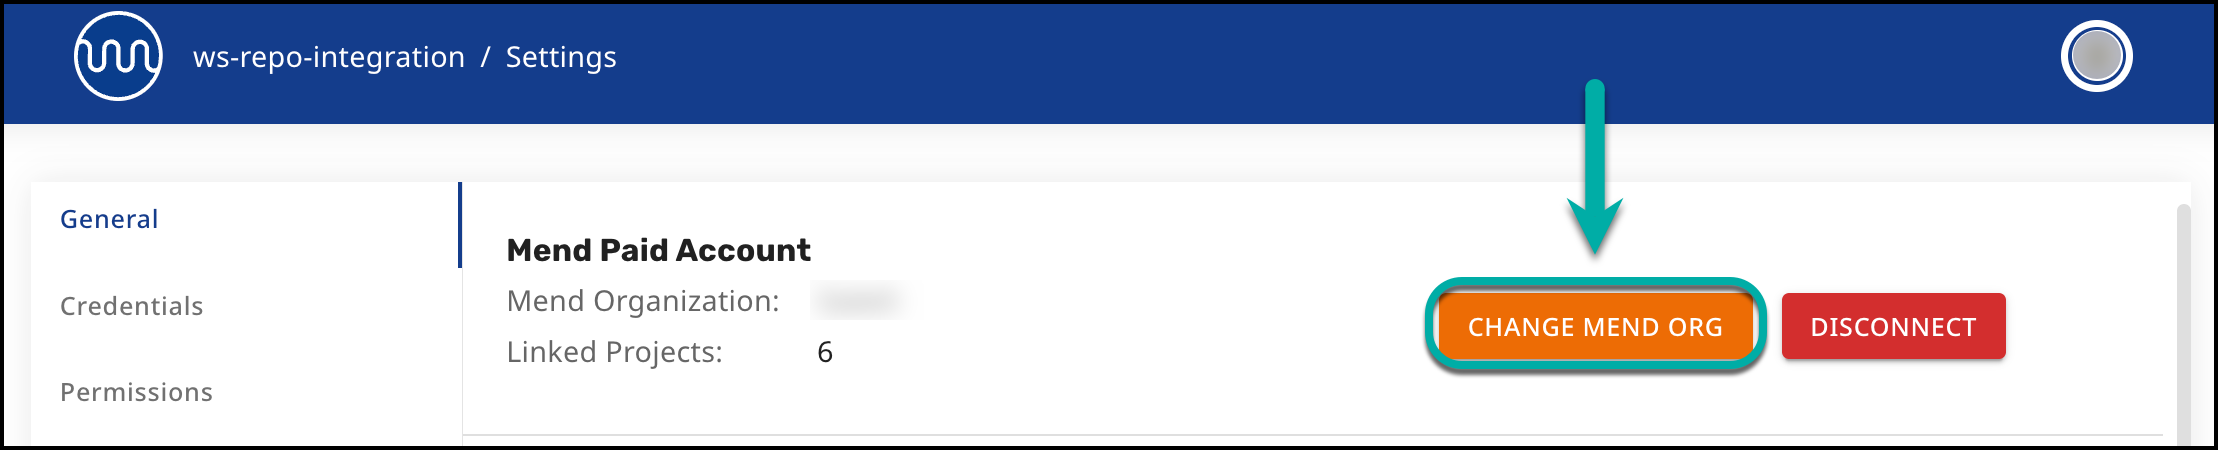
This is the page accessible to the GitLab GroupAdmin, where you can link or unlink a connection to a Mend Organization.
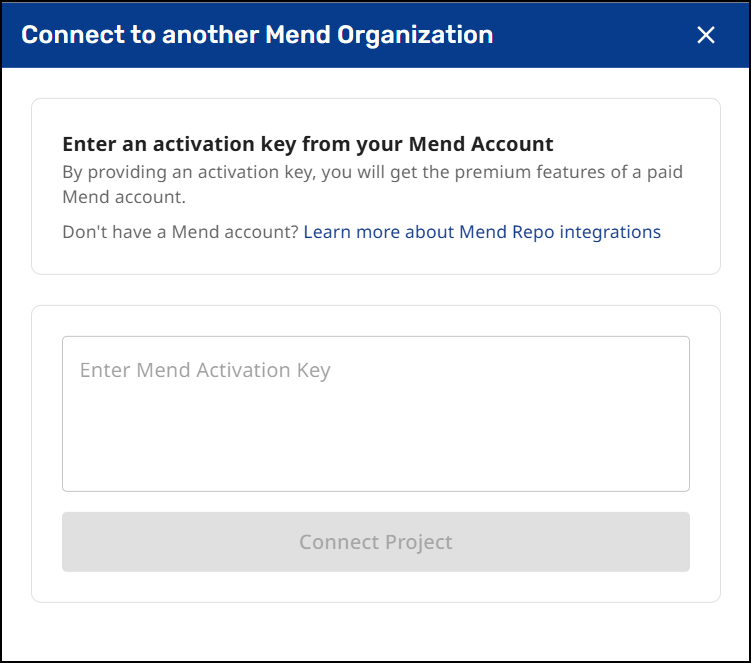
When selecting CHANGE MEND ORG, a pop-up window will appear asking you to insert the activation key of the organization you would like to connect.
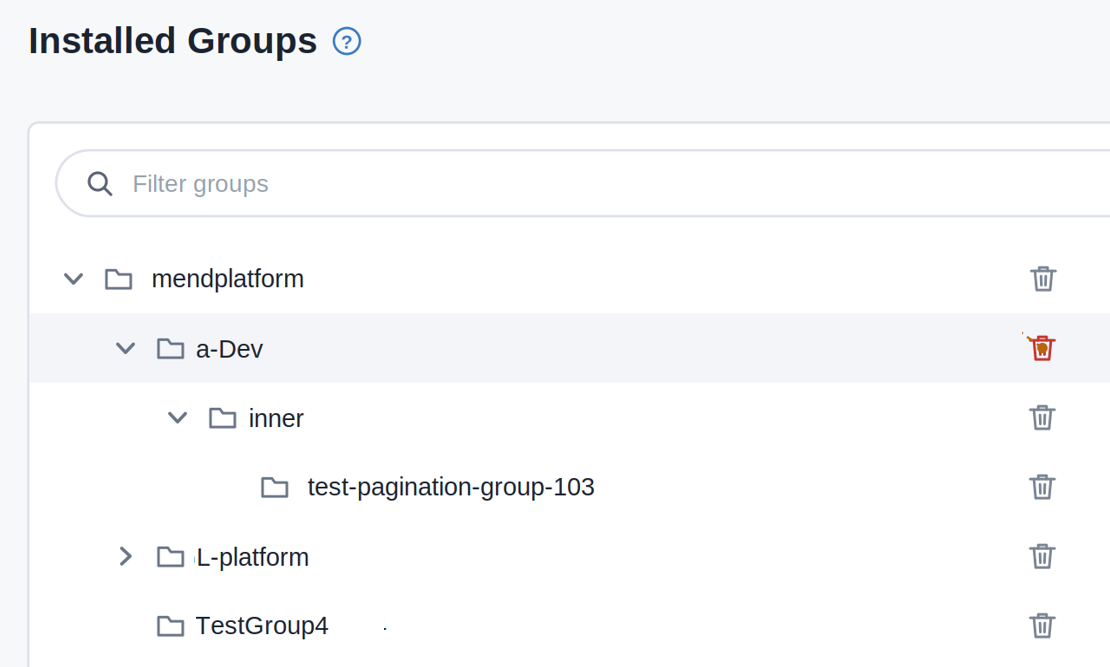
Installed Groups
Once installed, groups are displayed hierarchically and can be deleted from your setup at any time.
Refresh Token
Mend uses the Refresh Token to create items in the repository on behalf of the onboarded user who installed the integration.
In case you are the user who onboarded projects with the Mend Developer Platform integration, you will find in your Profile Settings page the list of those projects.
Notes:
-
You can remove integration for specific groups or delete the refresh token. Note that removing the refresh token will cause all groups that were onboarded with this user to uninstall the integration. The same will happen if this user deletes their account on this page.
-
GitLab group admins can remove any group in their organization from the Mend Developer Platform.
-
If you would like to pass the role of dedicated user to another user, you’ll need to uninstall all or selected groups, and then the new user should re-onboard them. In this case, the group’s configuration and repos will be preserved, and the app will continue working under a new dedicated user.
Limitations
-
You can connect multiple source code management (SCM) systems to a single organization in the Mend Platform, with the following caveats:
-
http://developer.mend.io can be connected to any Mend Platform organization regardless of where it’s hosted (EU or non-EU), except Azure DevOps.
-
Azure DevOps can only be connected to a Mend Platform organization as follows:
-
http://developer.mend.io --> Mend organization hosted outside the EU (e.g., saas.mend.io, which is in the US)
-
http://developer-eu.mend.io --> Mend organization hosted in EU (e.g., saas-eu.mend.io)
-
For a full list of regions visit the IP Addresses page.
-
-
-
If you have multiple SCMs connected to your organization in the Mend Platform, to switch between them you must first sign out of the Developer Platform, then select a different SCM on your next sign-in. Example:
-
Sign in with GitHub to see your GitHub organizations
-
Sign out
-
Sign back in with Azure DevOps to see your Azure DevOps projects
-
-
The Developer Platform is currently not supported for organizations hosted in India
-
Basic Renovate configuration is available under the Dependencies section of the Developer Platform. For the full Renovate documentation visit https://docs.renovatebot.com/