Install Mend for GitHub.com
Overview
Before scanning your repositories with Mend for GitHub.com, you will need to install the Mend for GitHub.com app from the GitHub Marketplace and connect your Mend organization to it.
This article provides installation instructions for Mend for GitHub.com. This article also provides instructions on how to uninstall the app.
Getting It Done
Prerequisites
This step differs between the Mend AppSec Platform and the Legacy SCA application.
The Legacy SCA instructions are listed at the bottom of this section.
Note: Setting up global configuration is recommended.
Access to an active Mend Platform organization and a user with organization administrator permissions.
The Issues tab must be enabled for each repository. Do as follows for each repository requiring a scan:
Go to the relevant GitHub repository, and click Settings.
Verify that the Issues checkbox is enabled.
Check that the Issues tab appears next to the Code tab.
You must have administrator permissions to your GitHub account and to the relevant repositories (owner credentials) to install the Mend for GitHub.com app.
Note: When setting up repository integrations, you can only connect one source code management (SCM) system to a single Mend organization. For example, if you integrate a GitHub organization, you cannot link additional SCM systems like GitLab groups or Bitbucket teams to the same Mend organization.
Install the Mend for GitHub.com app
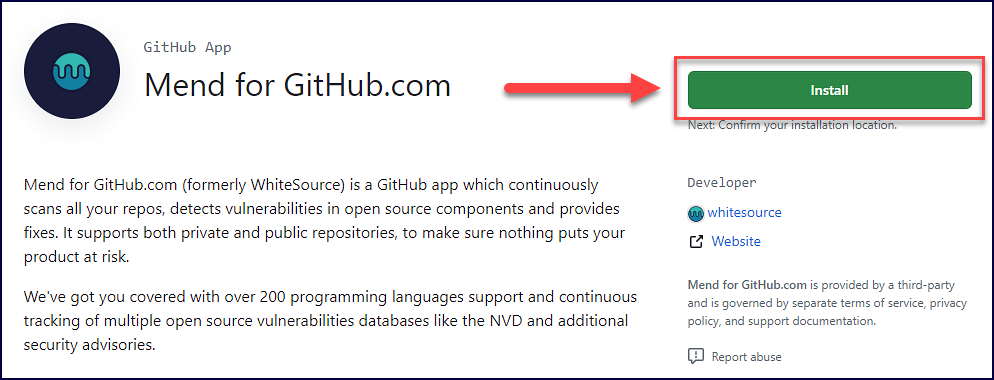
Navigate to the Mend for GitHub.com app page in the GitHub Marketplace.
Click Install:
If you have multiple organizations, select the organization you wish to install Mend for GitHub.com:
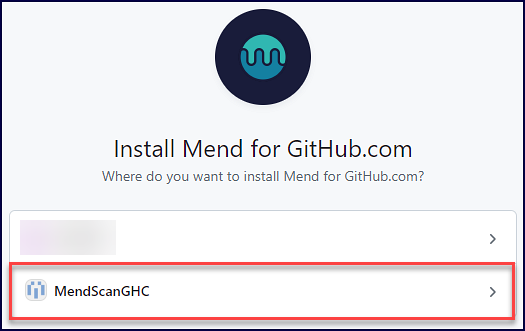
Otherwise, move to step 4.
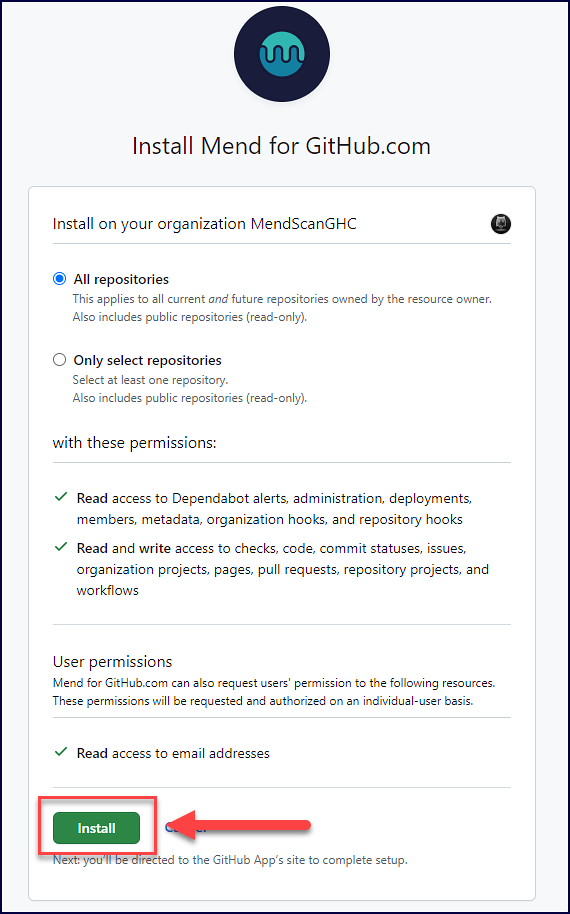
Read and select the level of access for the Mend for GitHub.com app:
All Repositories (Default): An option to scan all the repositories of the account.
Only select repositories: Select specific repositories that you would like to scan.
Click Install:
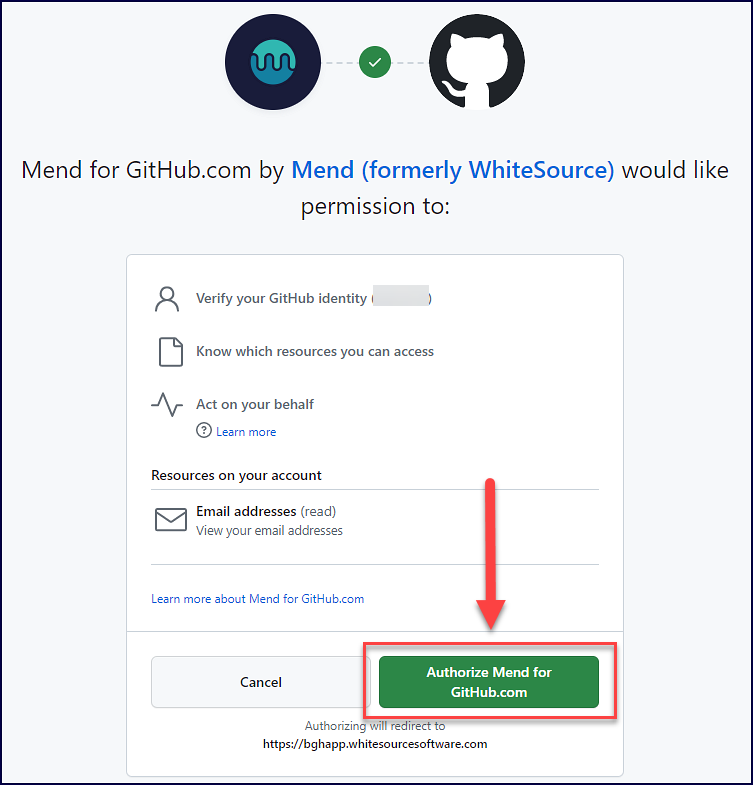
Read over the requested permissions and select Authorize Mend for GitHub.com:
Connect your Mend organization
This step differs between the Mend AppSec Platform and the Legacy SCA application.
The Legacy SCA instructions are listed at the bottom of this section.
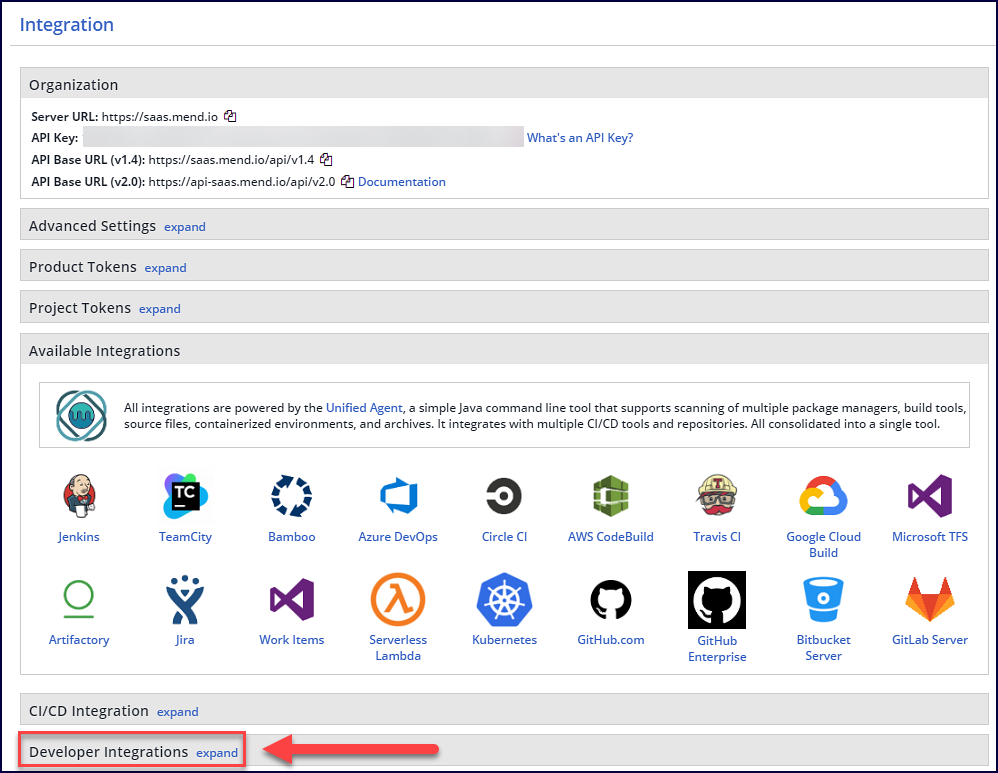
After clicking Authorize Mend for GitHub.com you will see a registration form. To fill this out, you will need to obtain your Mend license key.
Within the Mend Application, navigate to Settings (cog icon in the top-right corner) → Integrations.
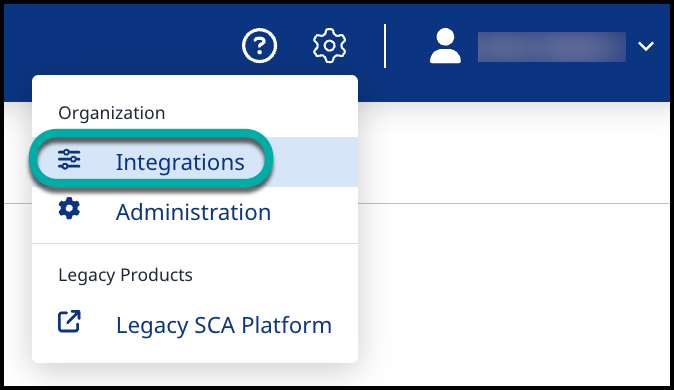
On the Integrations page, toggle the GitHub.com bar to expand its settings.
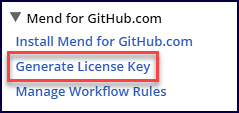
Click on Generate Activation Key and copy the value.
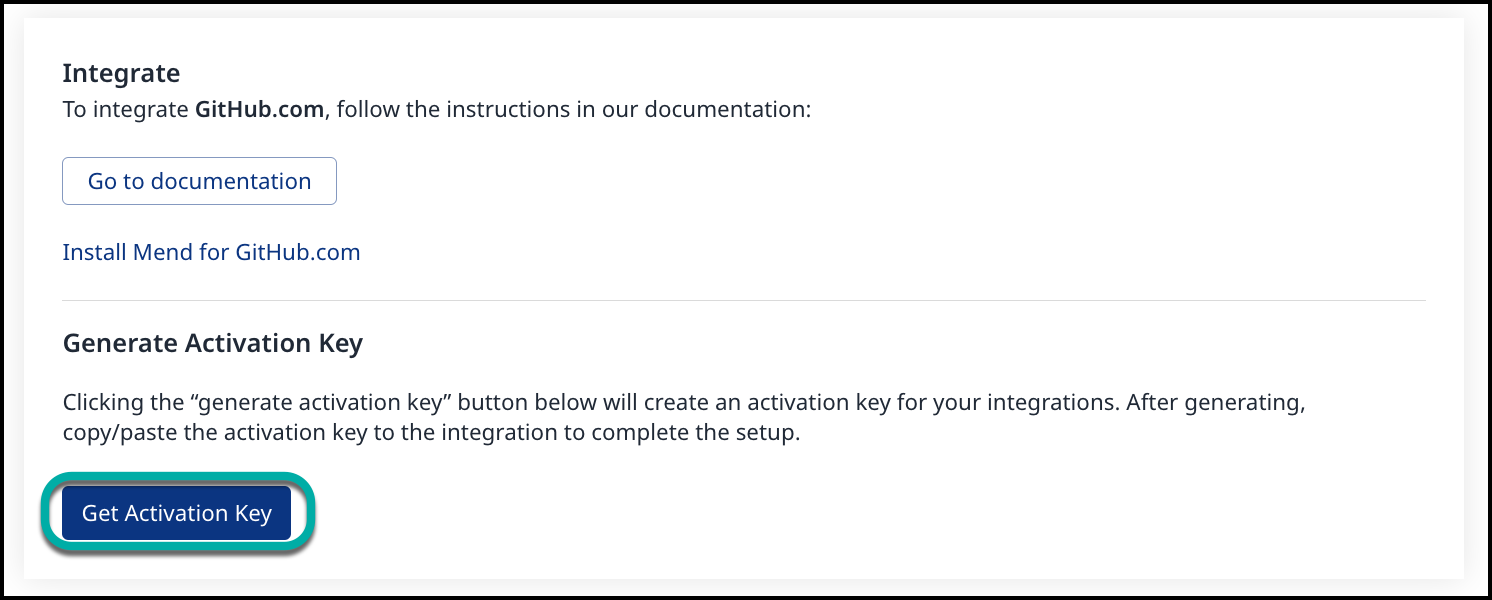
Note: The license key is valid for 24 hours. You must generate a new license key if you have not submitted the registration form below within 24 hours.
Note: After you generate the Mend license key, a service user named ws_4_ghc_service_user is created in your Mend organization in the admins group. Do not remove this service user or its permissions as it is required for the Mend GitHub.com integration to function correctly:

Now you can fill out the provided registration form to connect your Mend organization:
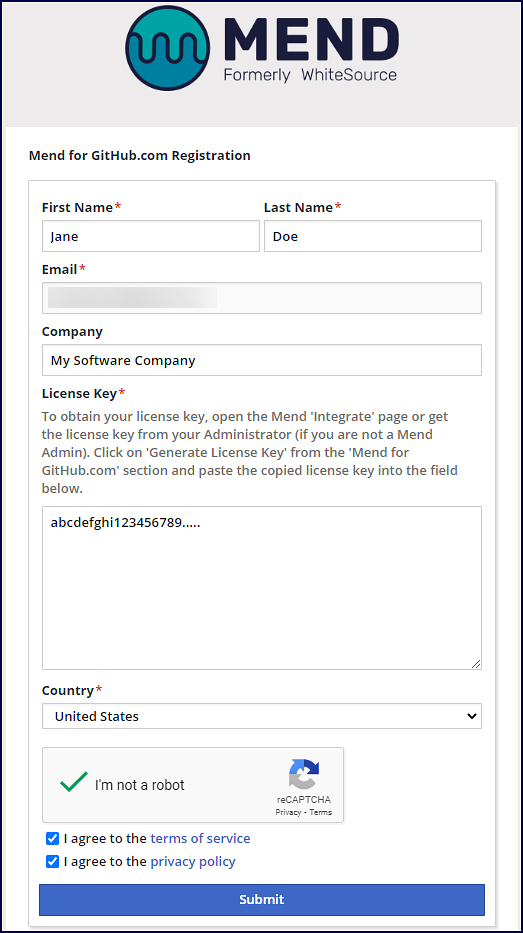
First Name: Your first name
Last Name: Your last name
Email: Your email address
Company: (Optional) Your company name
License Key: Your Mend license key
Country: Your country
Read and check off GitHub’s documents:
I agree to the terms of service
I agree to the privacy policy
Click on Submit
Uninstall Mend for GitHub.com
To uninstall Mend for GitHub.com from your GitHub organization or personal profile:
Uninstall Mend for GitHub.com from your GitHub organization
Within GitHub.com, navigate to Your organizations → select the Settings option of the organization integrated with Mend:

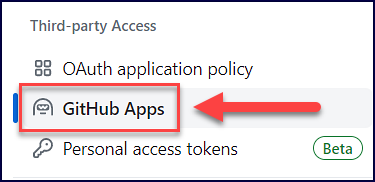
In the left-hand table of contents, find the Third-party Access section and click on GitHub Apps:
Find Mend for GitHub.com and click on Configure:

Scroll down to the Danger zone section and select Uninstall:

Uninstall Mend for GitHub.com from your personal profile
Within GitHub.com, navigate to your Settings section.
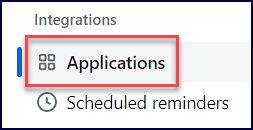
In the left-hand table of contents, find the Integrations section and click on Applications:
In the Installed GitHub Apps tab, find Mend for GitHub.com and click on Configure:

Optionally, go to the Authorized GitHub Apps tab, find Mend for GitHub.com, and click on Revoke:

On the configuration page, scroll down to the Danger zone section and select Uninstall:


