SAML 2.0 - Integration SCA with Okta
This is a step-by-step guide for setting up our SAML Integration offering with the Identity Provider (IdP), Okta. Mend offers SAML integration for two purposes:
Authentication for login
Role Management (optional)
This article covers SAML integration for Authentication only. Information regarding Role Management can be found here: SAML 2.0 Integration
Common SAML Terminology Referred to in Okta
Assertion Consumer Service (ACS) URL: This is referred to as the Single sign on URL within the Configure SAML page when creating the Okta application.
Mend Entity ID: This is referred to as the Audience URI (SP Entity ID) within the Configure SAML page when creating the Okta application. This is also referred to as the Audience Restriction setting within the General → SAML Settings of your created Okta application.
Okta Entity ID: This information is provided via the Identity Provider Issuer setting within the Sign On → View Setup Instructions page of your created Okta application.
Metadata: For our purposes in this article, this information is provided via the View SAML setup instructions option within the Sign On tab of your created Okta application.
Prerequisites
Please confirm you have the proper permissions to create an application within your Okta organization.
Please confirm you are a Mend Admin in order to create the SAML integration within your Mend organization.
Instructions
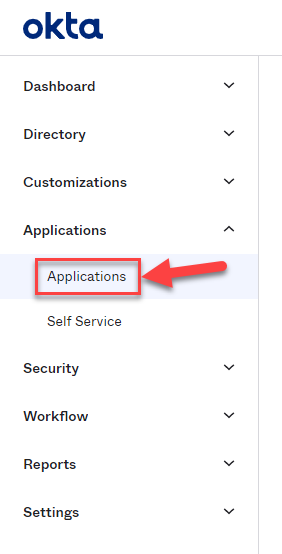
Within the Okta application, navigate to the Applications → Applications tab:
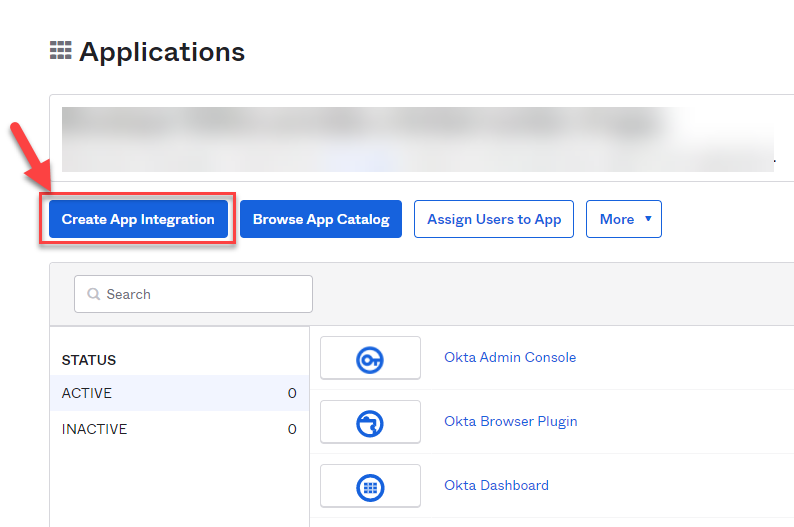
Within the Applications page, click on Create App Integration:
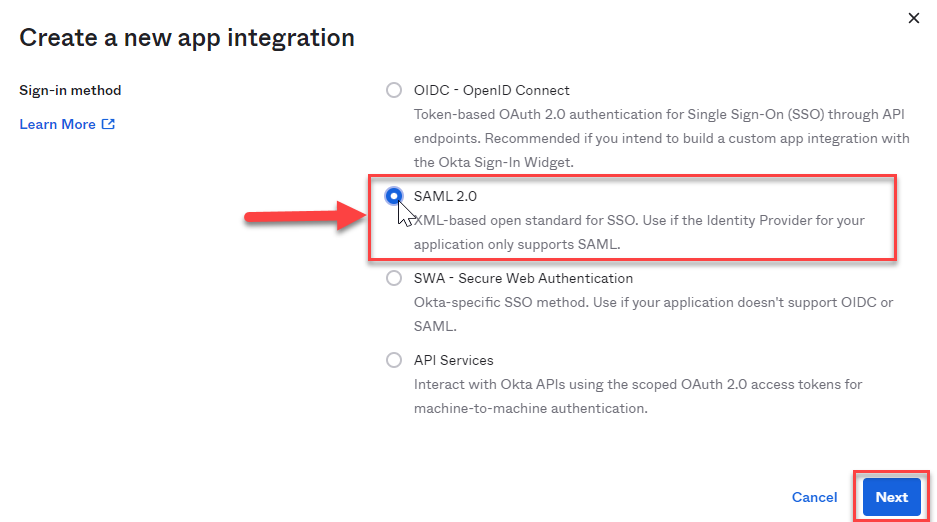
A pop-up window will appear, asking you to select a Sign-in method. Select the SAML 2.0 option, then click Next:
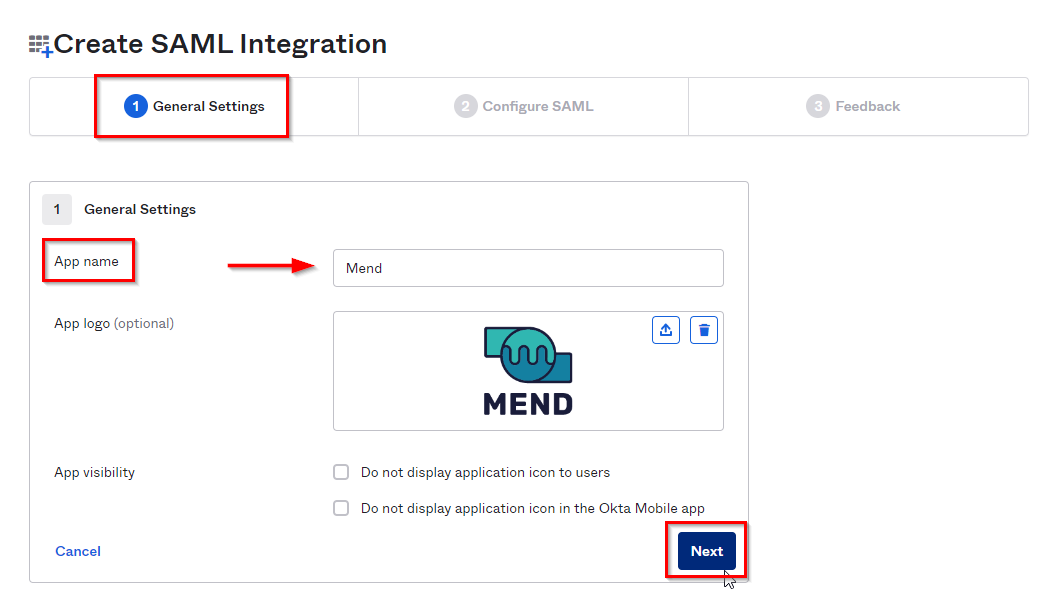
This will bring you to the General Settings page, where it will ask you to name the application and add an App logo. We recommend naming it Mend for consistency, as seen in the screenshot here:
This will bring you to the second step, the Configure SAML page. Here, it will ask you for the SAML configuration from the Mend side. Please see the required information below:
- Single sign on URL:https://<cloudenvironment>.whitesourcesoftware.com/saml/SSO
- Audience URI (SP Entity ID):com.whitesource.sp
Since my test Organization is in our SaaS environment, my SAML settings in Okta will look like this: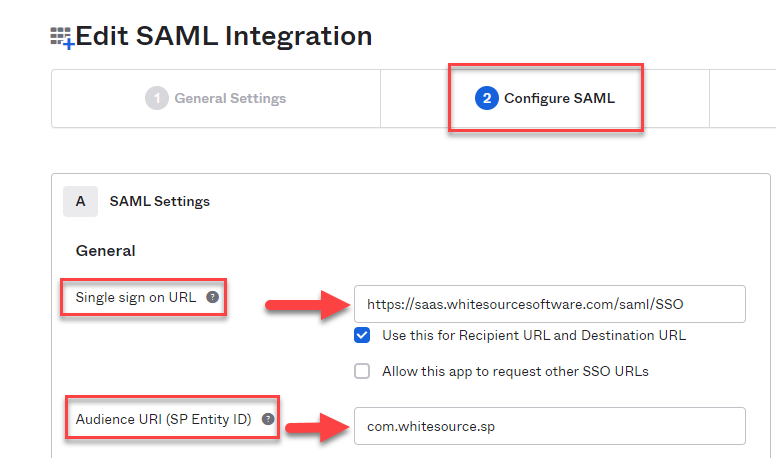
Scroll down to the bottom of the page and click Next
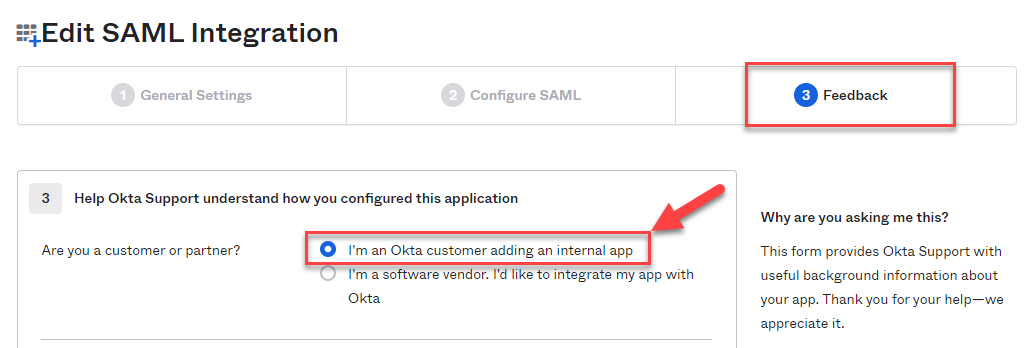
We are now at the last step of creating the Mend application in Okta, the Feedback page. Since you are creating an internal application, you will want to select the “I'm an Okta customer adding an internal app” option, as seen here:
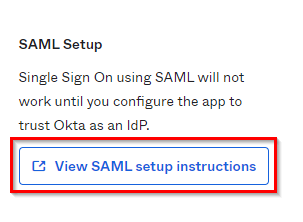
The rest of the information here is optional to fill in. Scroll down to the bottom of this page and click FinishThis will open up the Sign On tab of your newly created Mend application. You will want to scroll down until you see the View SAML setup instructions option on the right-hand side; keep this information in mind for later:
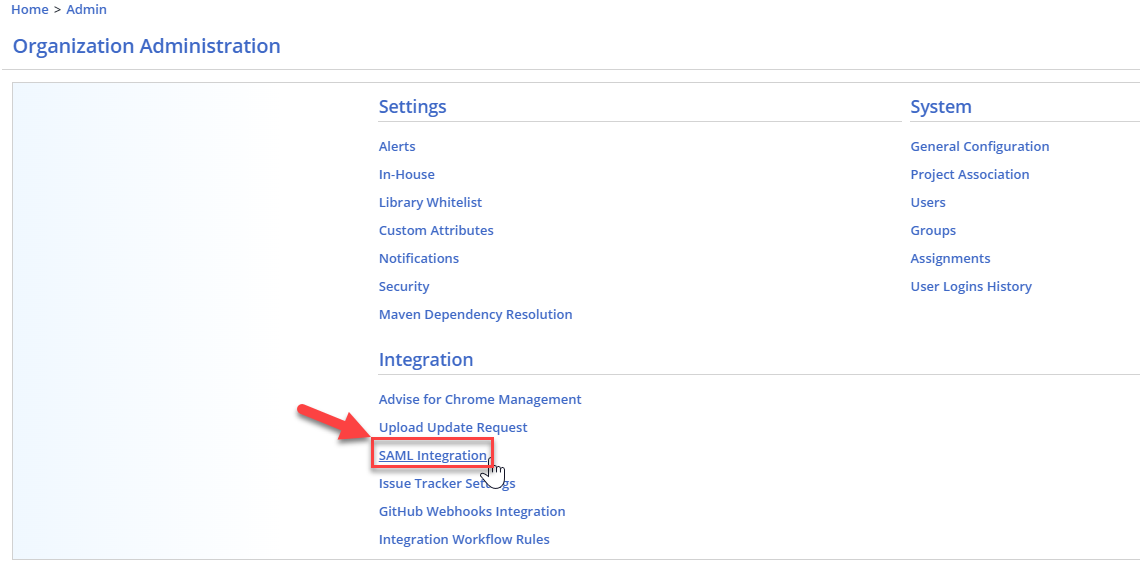
Now, heading over to the Mend UI, access the Mend organization that you wish to integrate with SAML and navigate to your Admin → Integration → SAML Integration tab:
Within the SAML Integration tab, you will see the following required settings:
SAML Entity ID: This is going to be your Identity Provider Issuer setting within your created Okta application. You can also find this setting within your metadata file in Okta set as the
entityIDvalue. Copy this information and paste it into the box provided in Mend:
Metadata Options: This is where the Identity Provider metadata. Navigate to hyperlink in Okta mentioned prior comes into play. Depending on which option you want to use, please see below:
Metadata File: In Okta, click on the View SAML setup instructions. Navigate to the Optional section. You can copy the information within the “Provide the following IDP metadata to your SP provider.” option and create, in a text editor, a metadata.xml file. Save this metadata file to your local machine. Make sure to add the .xml extension to this file and upload it into Mend via Choose File:

Metadata Text: In Okta, click on the View SAML setup instructions. Navigate to the Optional section. You can simply copy the information from the “Provide the following IDP metadata to your SP provider” option and paste it into the box provided in Mend:

For more information on the optional Advanced Settings → Mapping Attribute Keys section, please see our documentation here: SAML 2.0 Integration | Advanced-Settings-(Optional)
Once finished, click on Update at the bottom right-hand corner of the page. A “Metadata Saved” message will pop up at the top of the page, confirming the SAML integration
In Okta, an Assigned user of the application (in my example, “angierwstest”) can now use the Mend application via their My Apps page:
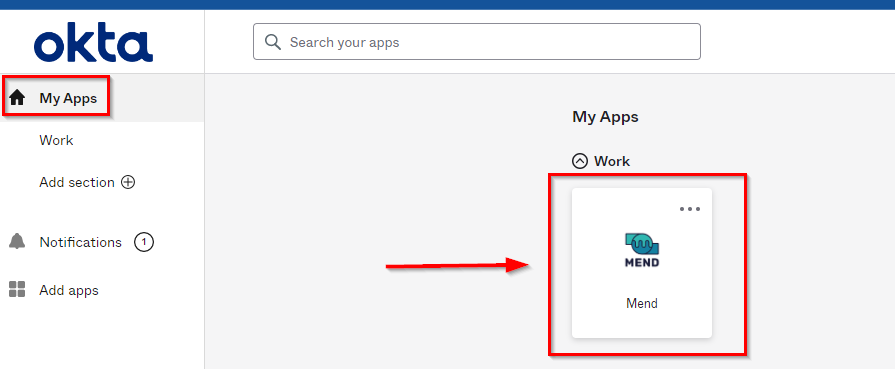
This will open a new tab, authenticating their Single Sign-On (SSO), and log them into the Mend organization
