Managing Users
Overview
This topic describes how administrators can do the following:
Invite users
Create users
View users' details
Remove users
Assign pending tasks
Send activation email messages
Creating a New User
To create a new user, do as follows:
From the home page, click Admin. The Organization Administration screen is displayed.
In the System area, click Users. The Org Users screen is displayed.
If you would like the new user to receive an email regarding this action, select Send email to newly created/invited users. To disable sending an email, clear this checkbox.
Click Create User. The Create User dialog box is displayed.
Do as follows:
In Full Name and Email, enter the full name and the email address of the user.
Click OK. The new user appears in the Users table.

Using the Activation Link for New User Login
To send or use the activation link in order to facilitate the initial new user login do as follows:
In the Users table, in the new user’s row, click Copy activation.
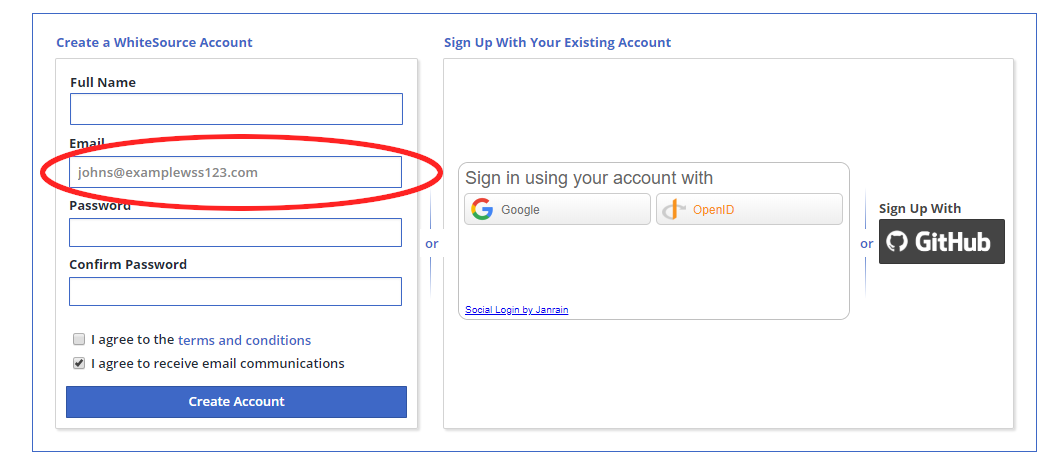
Paste the link in the address bar of a web browser and press Enter. This enables you to view the new account's login page with the email address already filled in.

Compete the initial user login process. Alternatively, send the link to the user in order to complete this process.
Inviting Users
You have the option to invite one or more users to your organization. Invited users are regarded as inactive until they have initially logged in. To invite users, do the following:
In the Org Users screen, if you would like the invited user to receive an email regarding this action, select Send email to newly created/invited users. To disable sending an email, clear this checkbox.
Click Invite Users. The Invite Users dialog box displayed.
Do as follows:
In Email Addresses, enter one or multiple email addresses (multiple addresses must be separated by a comma or entered in separate lines).
Click OK. The newly invited users are displayed on the Users table with an inactive status. An invited user's status changes to active once an initial login has been completed.
The Users Table

The users table displays the following information on each user:
Name: The name of the user.
Email: The email address of the user
Groups: The groups that include the user. An administrator of the organization belongs by default to the 'admins' and 'users' groups. New users are included in the users group by default.
Account Status: Either inactive or active. An active user has initially logged in to their account.
Pending tasks: The number of pending tasks that are assigned for the user.
Links: Some of the following links may appear for specific users:
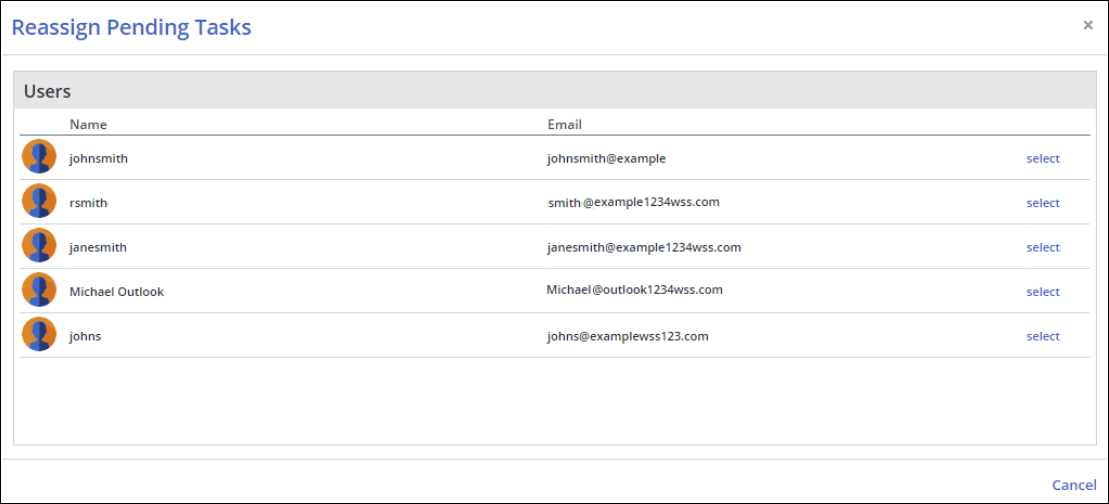
Reassign pending tasks: Only displayed for the administrator and enables assigning pending tasks to another user. After clicking this link, the Reassign Pending Tasks screen is displayed. Here, click select next to the user to who you like to assign the pending tasks. The tasks are then assigned to the selected user.

Copy activation link: Send or use the copied activation link in order to facilitate the initial new user login.
Resend activation: Sends an email message with activation instructions to the specific the user.
Remove: This action removes the specific user.
