SAML 2.0 - Integrating SCA with Google Workspace
MendSCA supports SAML 2.0 integration for your organization. This article shows step-by-step how to implement this if your SAML 2.0 provider is Google Workspace.
Prerequisites
SAML 2.0 integration requires two participants: SP (Service Provider) and IdP (Identity Provider)
SP: Access to a MendSCA organization with administrative privileges
IdP: Access to a Google Workspace (GWS) organization with administrative privileges
Setting up Google Workspace (IdP)
Login to admin.google.com with a privileged user
Navigate to Apps -> Web and mobile apps

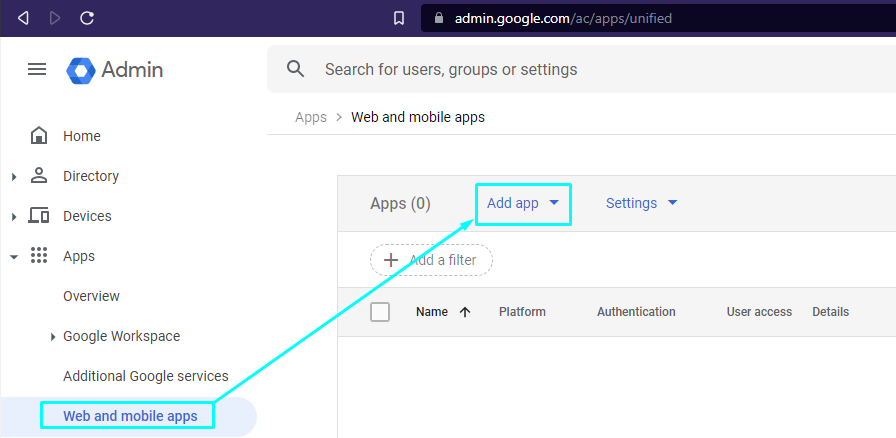
Register Mend as a Service Provider
Click Add app and Select "Add custom SAML app"
In the "App name" field, pick a name or write "MendSCA"
App icon and Description are optional
Click 'Continue'
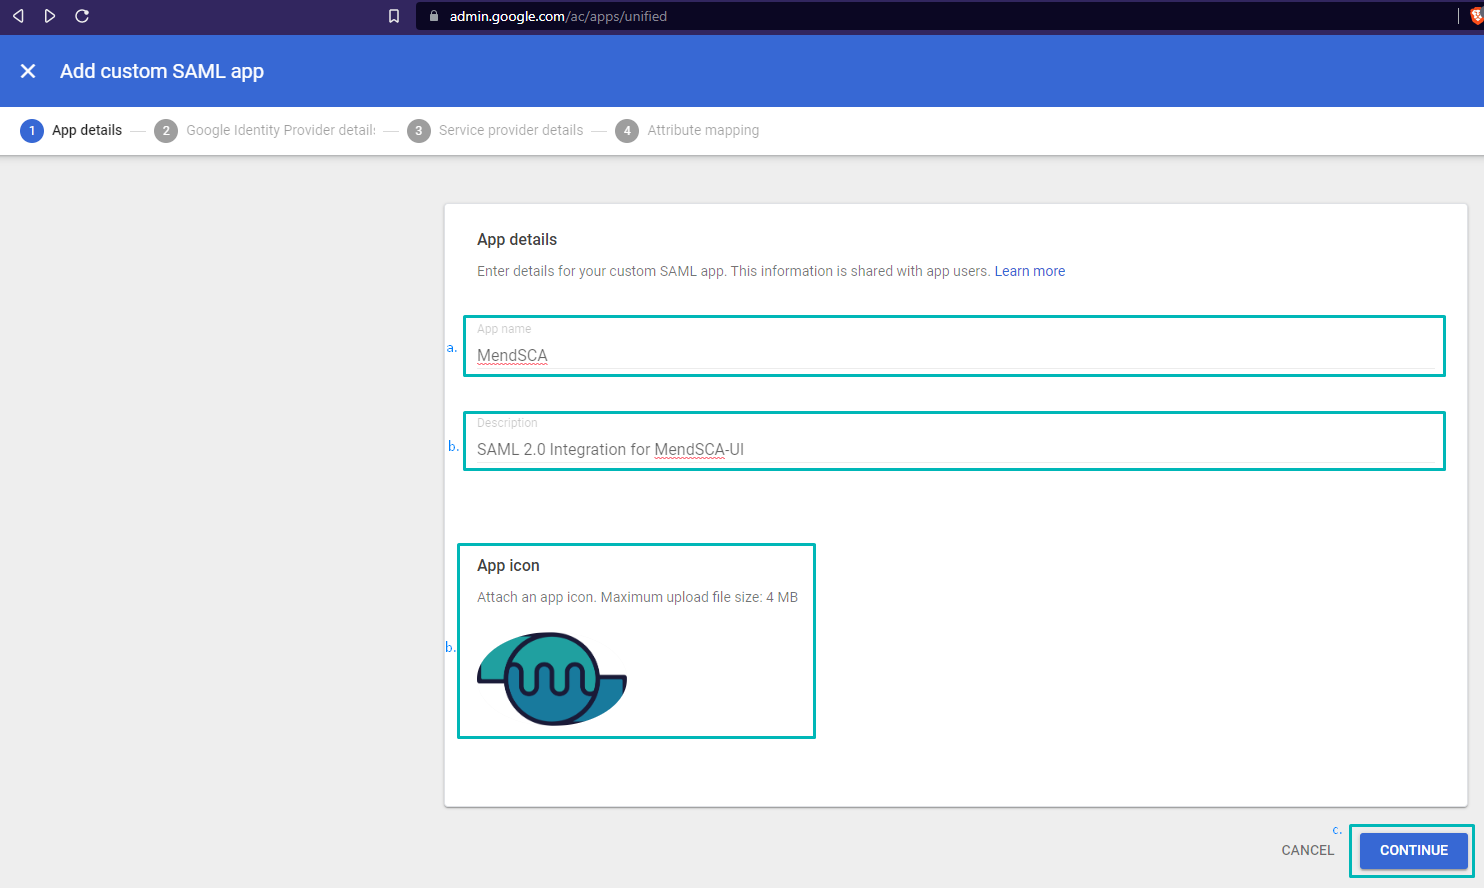
App details
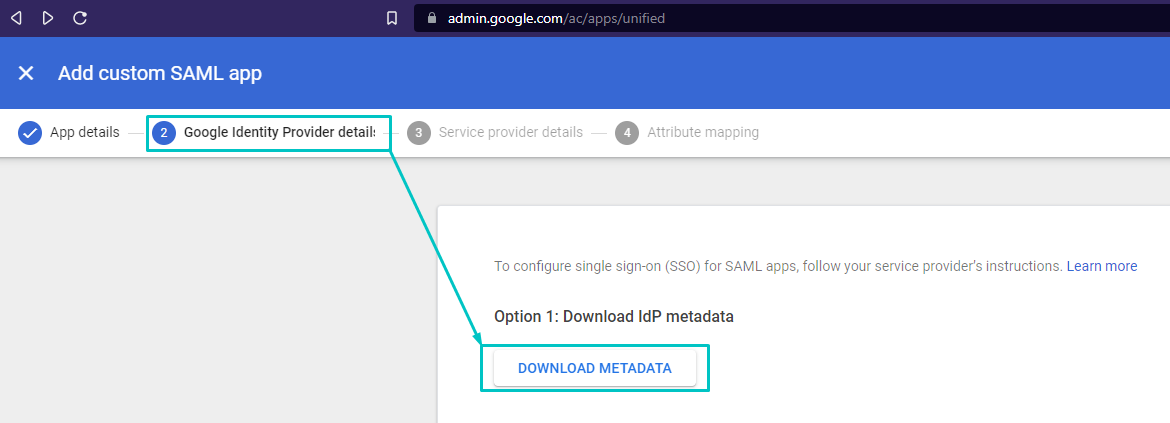
Google Identity Provider details:
Under Option 1: Click 'DOWNLOAD METADATA' and save the file in an accessible location as it will be required in the following steps, then click 'CONTINUE'
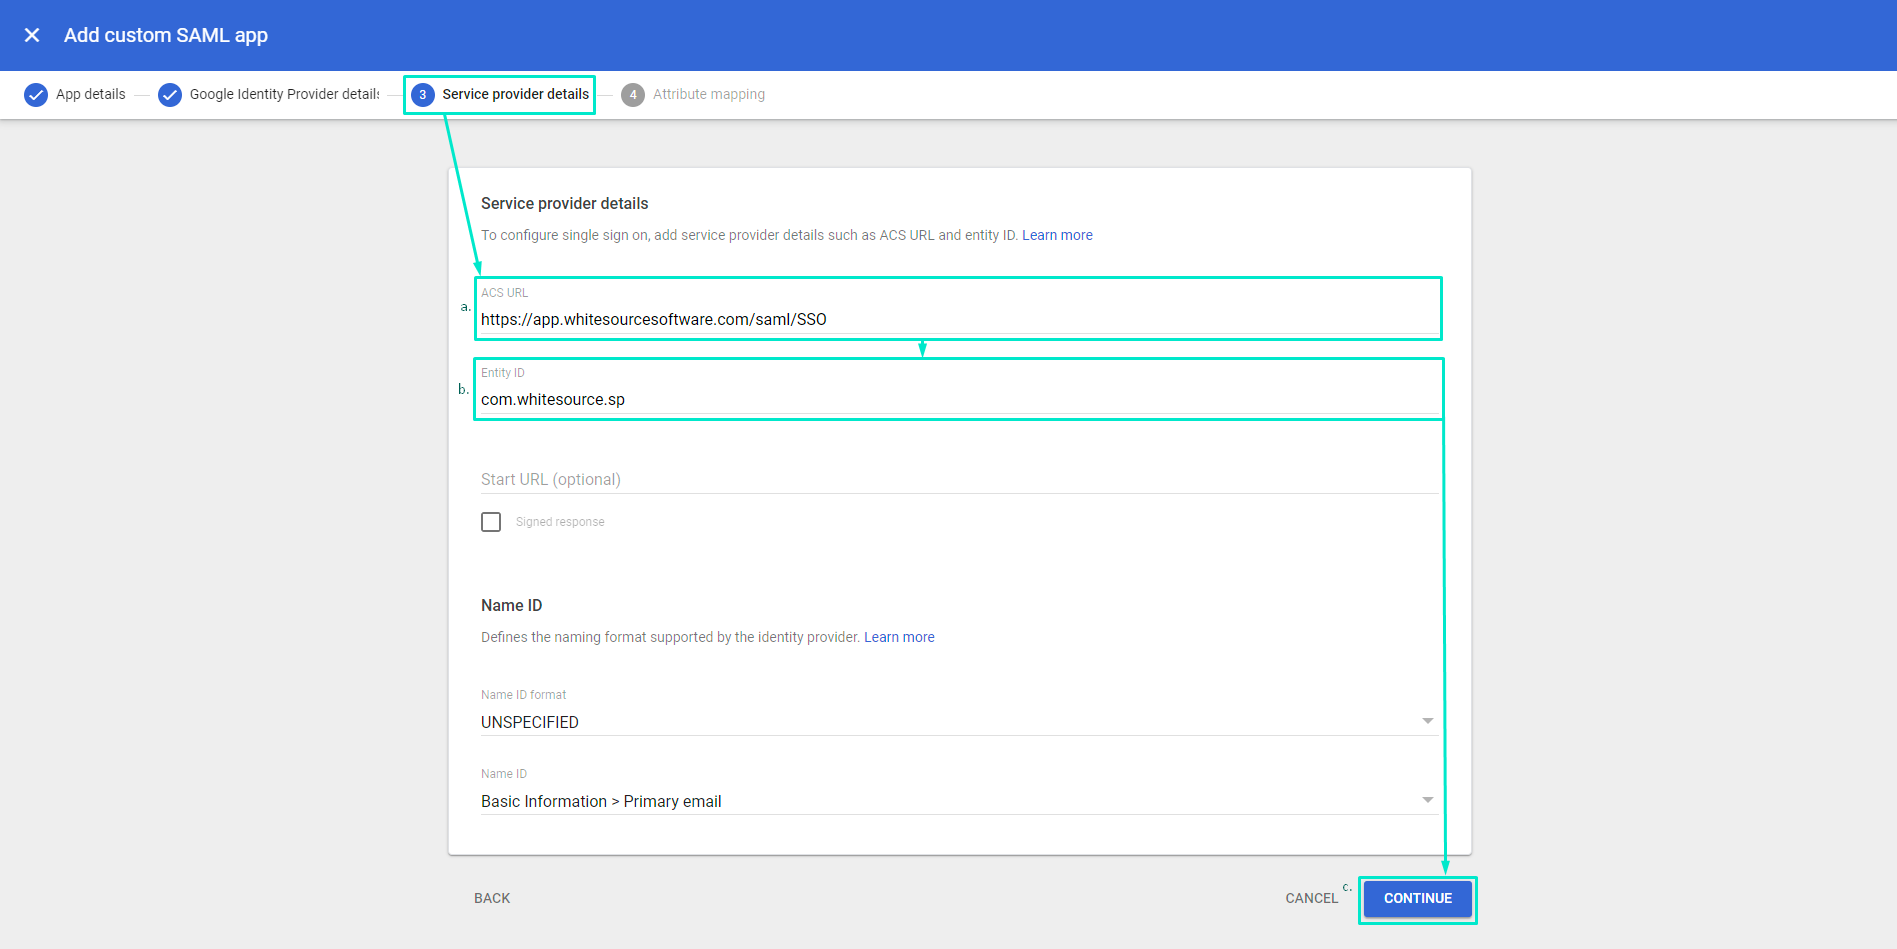
Service provider details:
Fill in ACS URL with one of these, according to your environment:
https://<your_mend_environment_here>.whitesourcesoftware.com/saml/SSO
OR:
https://<your_mend_environment_here>.mend.io/saml/SSOFill in Entity ID with this: com.whitesource.sp
Unless you have additional specific requirements or conventions, leave the rest as default and click 'CONTINUE'
Map attributes from Google Directory to Mend by clicking on ‘ADD MAPPING', available mappings on Mend side are Email, Name, Group, and Role. If you use attribute mapping, note that the group names on GWS should be the same as the Group names on Mend UI. If you use e-mail only, you can proceed without adding mapping since the EmailAddress attribute is used by default.
Click Finish and proceed to Granting User Access
Granting User Access
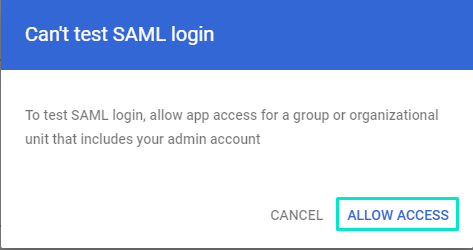
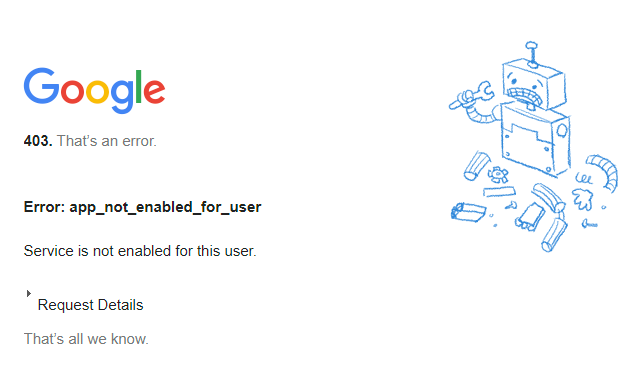
Note: User Access is OFF for everyone by default. You need to allow one or more Organizational Units to have access to the app so users can login.
6. Navigate to Apps → Web and mobile apps → MendSCA
a. Click on ‘User access’
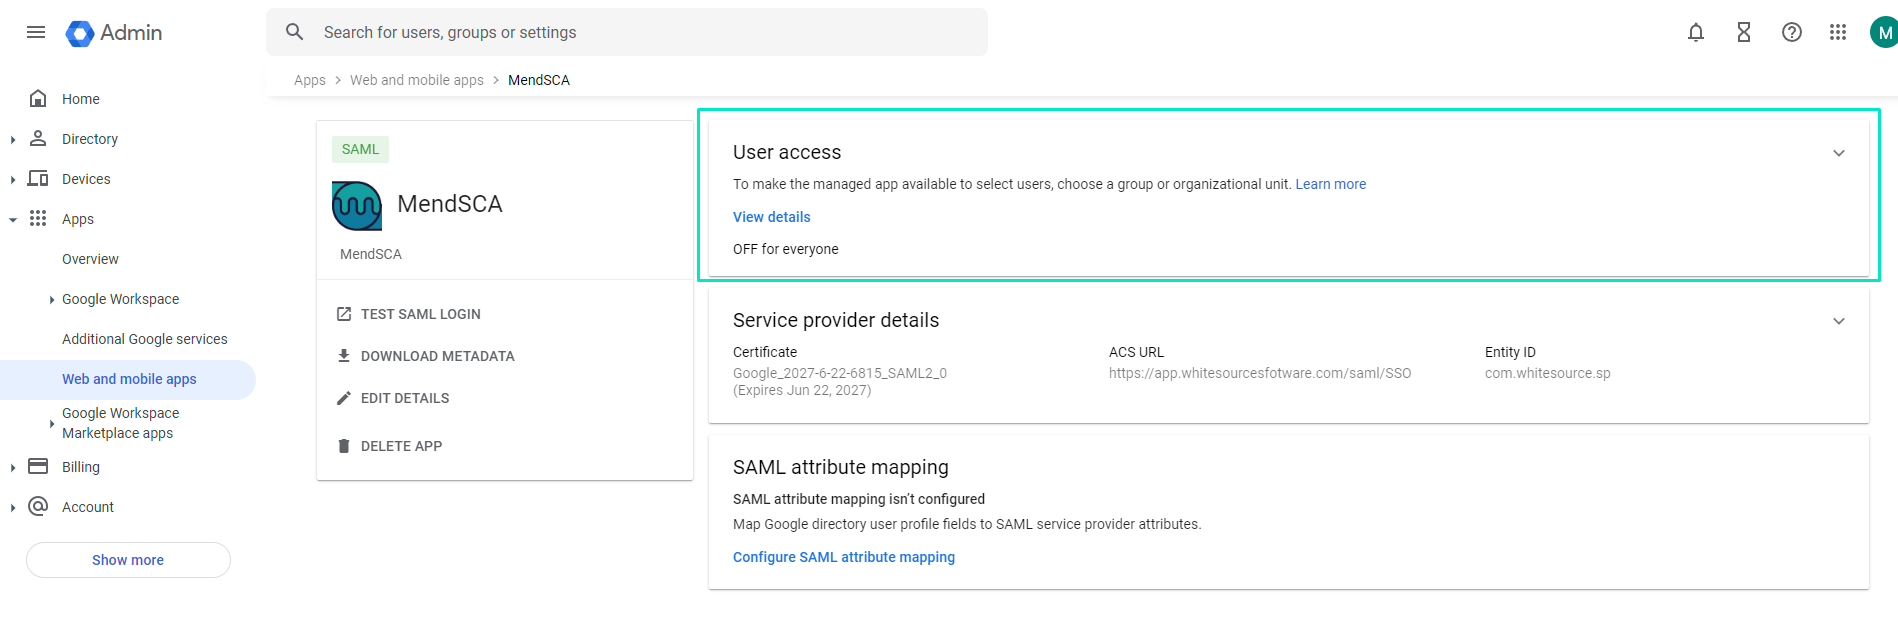
b. Select the Organizational Unit that should have access to MendSCA via SSO and select ‘ON’ under ‘Service Status’ and click ‘OVERRIDE’

Setting up MendSCA (SP)
Navigate to your MendSCA environment → Admin → SAML Integration
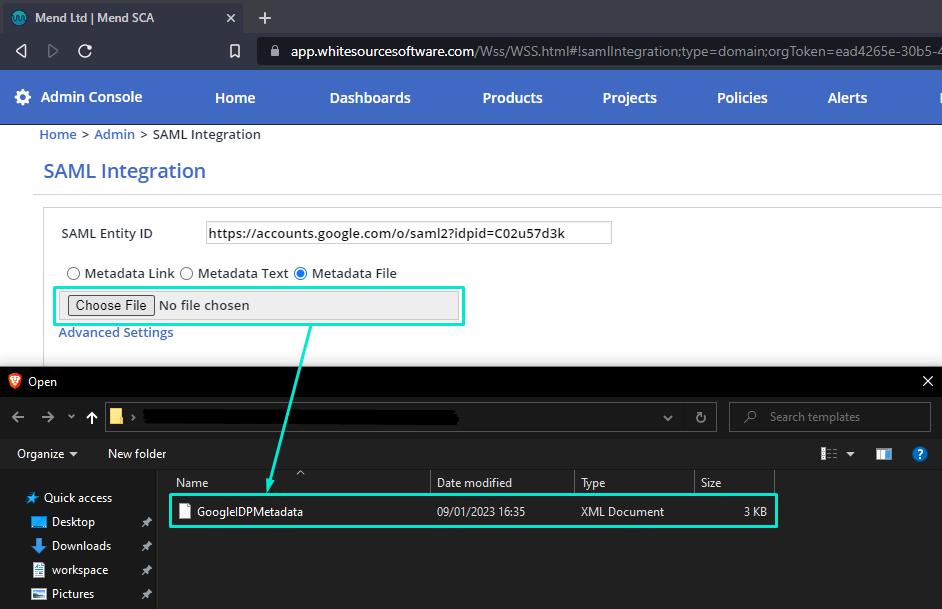
Fill in SAML Entity ID, this field can be taken from the metadata.xml file that was downloaded previously, namely → GoogleIDPMetadata.xml

Under SAML Entity ID select the ‘Metadata file’ radio button and upload the metadata.xml file that was downloaded from GWS
Click Advanced Settings and map Email attribute to EmailAddress to match GWS E-mail attribute with MendSCA E-mail attribute.
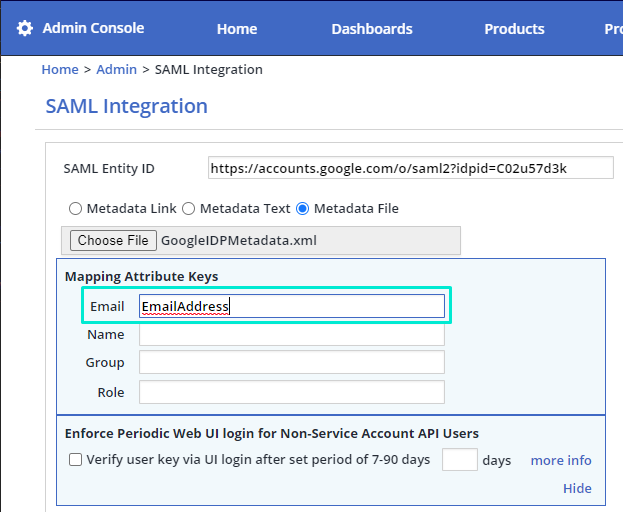
For more information on the optional Advanced Settings → Mapping Attribute Keys section, please refer to SAML 2.0 Integration - Advanced Settings (Optional).
Finish the integration
Click ‘Update’ and if everything is setup correctly you should see this prompt:

Testing the integration
When performing initial tests, make sure to have your browser either in incognito\private mode or manually delete cookies and cache to avoid potential interference. Both the SP and IdP take time to propagate the integration. If initial tests fail after successful integration, allow a few minutes for the integration to finish propagation and then re-test.
Once the integration is done successfully, you will see a new link (SAML Login Url) generated - use it to perform all future logins with your Google Workspace credentials.
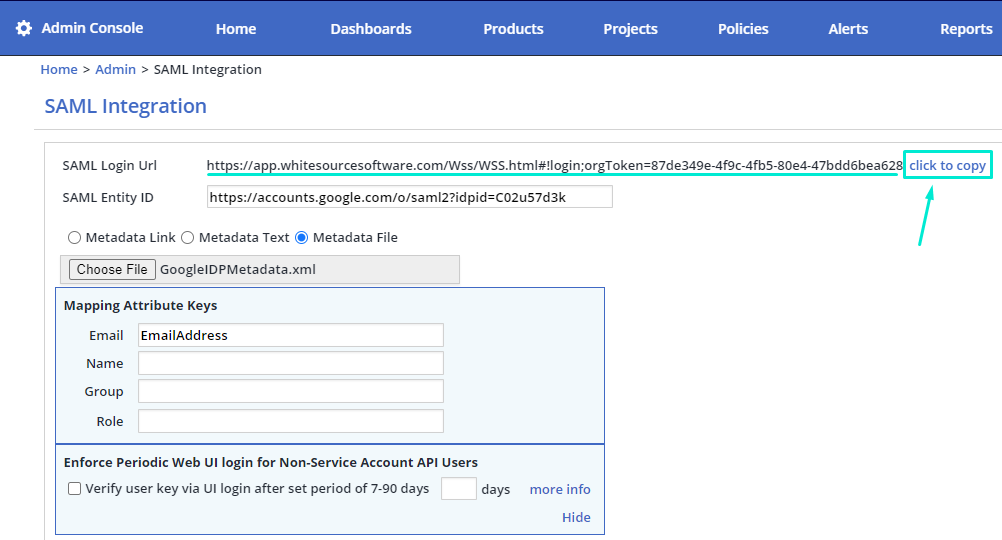
Note: The username\password login option will be available for 7 days once the SAML integration is saved in the MendSCA. After 7 days, this login option will be disabled, making SSO login required to access your Mend organization. If you want to extend this period or renew username\password access for a limited time, please contact Mend Support.
Alternatively, you can test from Google Workspace directly:
Navigate to Apps → Web and mobile apps → MendSCA
Click ‘TEST SAML LOGIN’

Use your Google Workspace credentials to log in

