Mend SAST supports SAML 2.0 integration for your organization. This article shows step-by-step how to implement this if your SAML 2.0 provider is Azure Active Directory (AD).
Prerequisites
-
Confirm you have the proper permissions to create an application within your Azure AD organization.
-
Confirm you are a Mend Admin in order to create the SAML integration within your Mend SAST organization.
Instructions
Follow the instructions below to successfully set up your SAML integration with Mend SAST and Azure AD:
Within Azure:
-
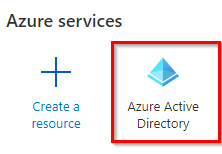
Navigate to Azure Active Directory:
-
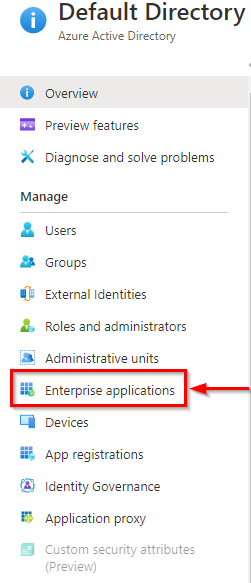
On the left sidebar, click on Enterprise applications:
-
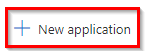
Click on New application:
-
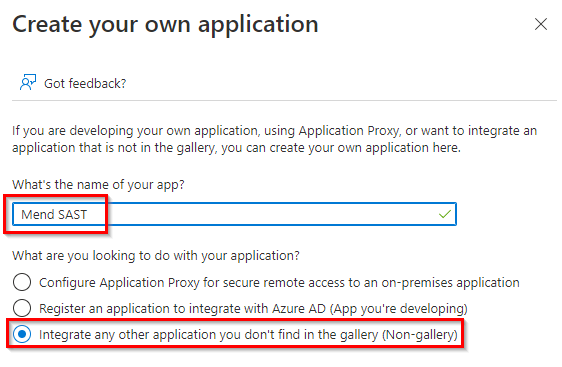
We do not currently have a Mend SAST application within the Azure AD Gallery. So, click on Create your own application:

-
Within the Create your own application sidebar, name the app “Mend SAST” and set it to Integrate any other application you don't find in the gallery (Non-gallery):
-
Click on Create
-
Once the Mend SAST application within your Azure AD is created successfully, it should redirect you to the application’s Overview page. Here, click on Single sign-on in the left sidebar:
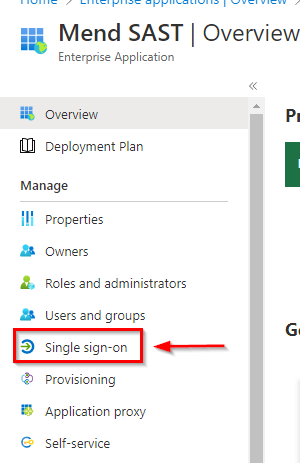
-
When selecting a single sign-on method, click on the SAML option:

-
Now, you will need to set your Identifier (Entity ID) and Reply URL (Assertion Consumer Service URL). Click on the Edit button:
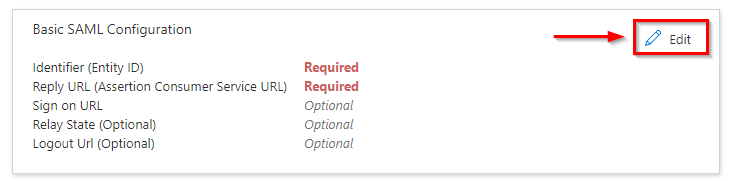
-
On the SAML Settings page, fill out the first few required fields as follows:
-
Identifier (Entity ID): https://<your-mend-sast-url>/sast/saml/metadata
-
Note: The Identifier (Entity ID) must end with “/sast/saml/metadata”.
b. Reply URL (Assertion Consumer Service URL): https://<your-mend-sast-url>/sast/saml/acs
Note: The Reply URL (Assertion Consumer Service URL): must end with “/sast/saml/acs”.
-
Click on Save. Here is an example of my saved credentials using my
saas.mend.ioinstance: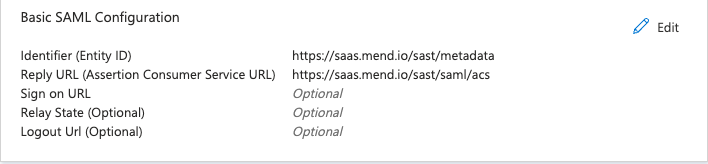
-
Make sure to remember the following credentials from Azure AD that we will implement in next step when setting up the SAML integration in the Mend SAST UI:
-
Azure AD Identifier:
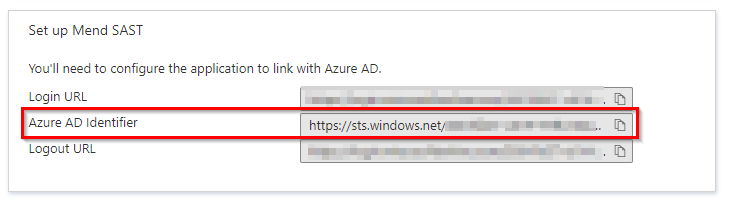
-
App Federation Metadata Url:
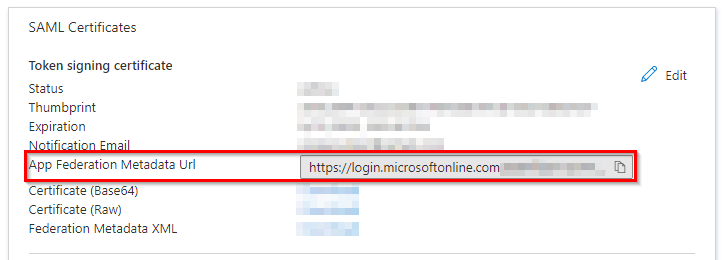
-
Within the Mend SAST UI:
-
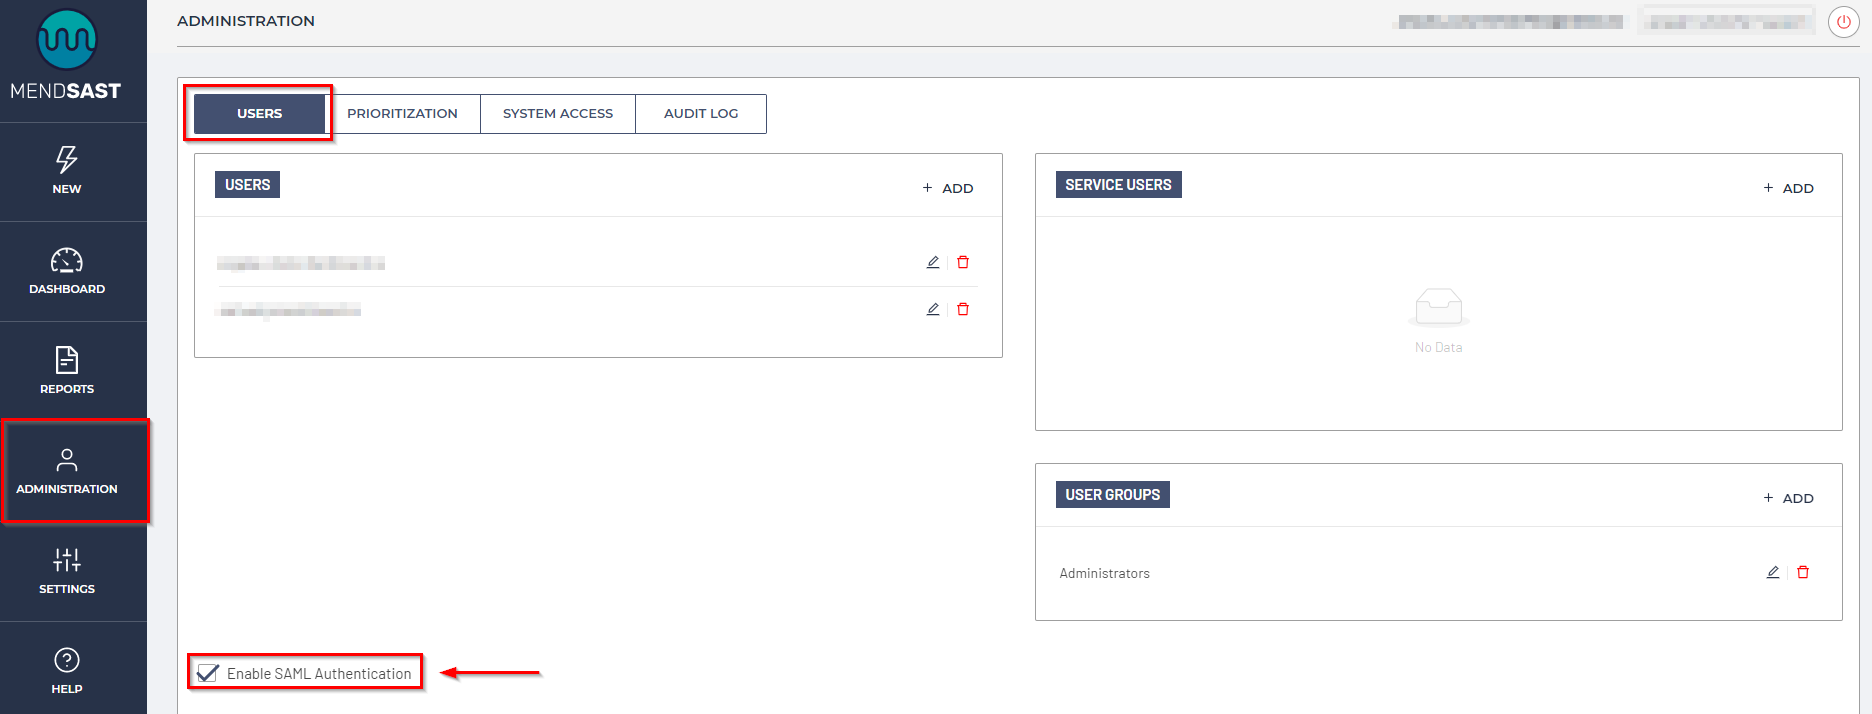
Navigate to the Administration > Users tab, and Enable SAML Authentication:
-
Input the following SAML credentials into your Mend SAST UI:
-
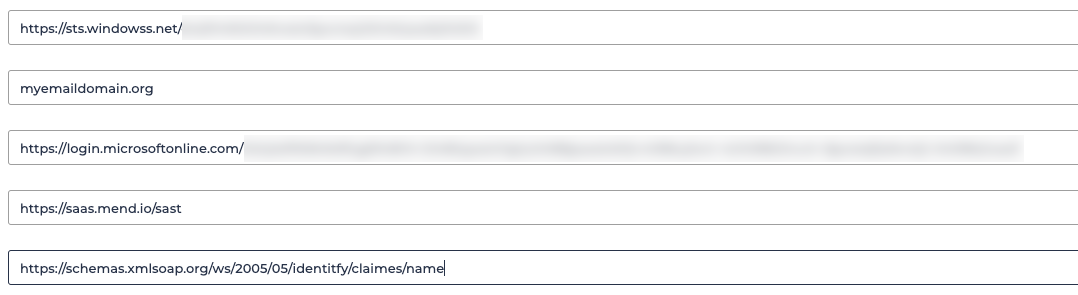
Entity ID: The Azure AD Identifier from your Azure AD application
-
Domain: Your organization’s email domain
-
IdP Metadata URL: The App Federation Metadata Url from your Azure AD application
-
Root URL: Your Mend SAST URL (i.e. https://saas.mend.io/sast )
-
Note: The root URL must end with “/sast”.
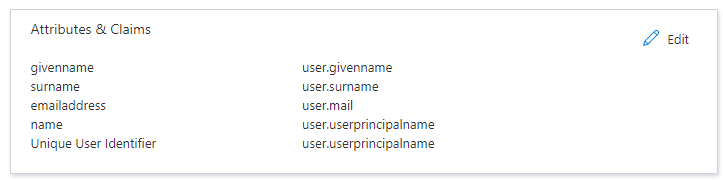
e. Username Attribute: This will be whatever assertion attribute Azure AD sends over for the value “username”. This attribute is usually one of these values on the left (typically name by default) within the Attributes and Claims section of your Azure AD (you can use the full Claim name URI):
-
Here is an example of my SAML credentials within my Mend SAST organization using the “name” attribute:
-
Assign the Default User Role. This will be the default role set for users if no role mapping is created or matched
-
Mapping of SSO users to Mend SAST Groups can be done in the Group Mapping section using attributes. If no group mapping is configured or matched, the default "SSO Users" group will be assigned to logged-in users
-
Mapping of SSO users to Mend SAST Organizations can be done in the Organization Mapping section using attributes. If no group mapping is configured or matched, the org level at which you clicked “Enable SAML Authentication” will be assigned to logged-in users
-
Once you have completed your SAML mapping, click on the Save button to successfully save your SAML integration: