Deployment Guide - Jira Plugin
This article walks you through installing and configuring Mend’s Jira plugin so that Mend policy violations can be tracked and managed in Jira Server or Jira Cloud.
Note: the Mend for Jira plugin can operate in one of two modes: “Create Issues” or “Jira Security Dashboard”. You can switch between modes at will.
To configure the plugin in “Create Issues” mode, continue with the article you’re currently reading.
To configure the plugin in “Jira Security Dashboard” mode, see our documentation here.
To install and configure the plugin:
Log in to Jira with admin permissions.
Navigate to Apps > Explore More Apps.
Search for Mend in the Atlassian Marketplace search box.
Find the Mend Integration for Jira Server or Mend Integration for Jira Cloud plugin and click Get App, then Get it now.
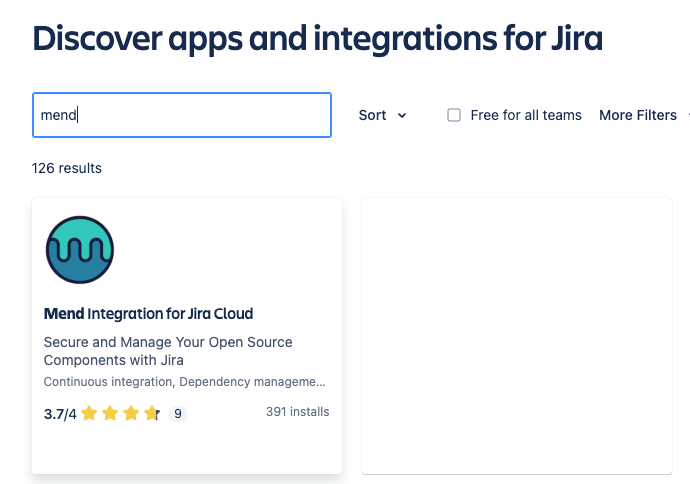

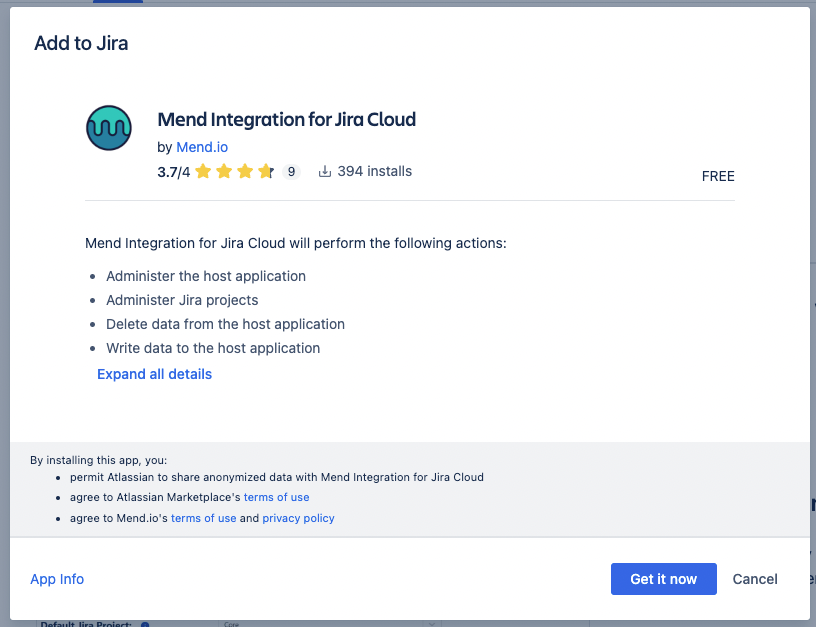
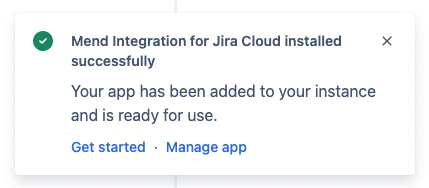
After the installation, go to the Apps menu and navigate to Mend (formerly Whitesource).
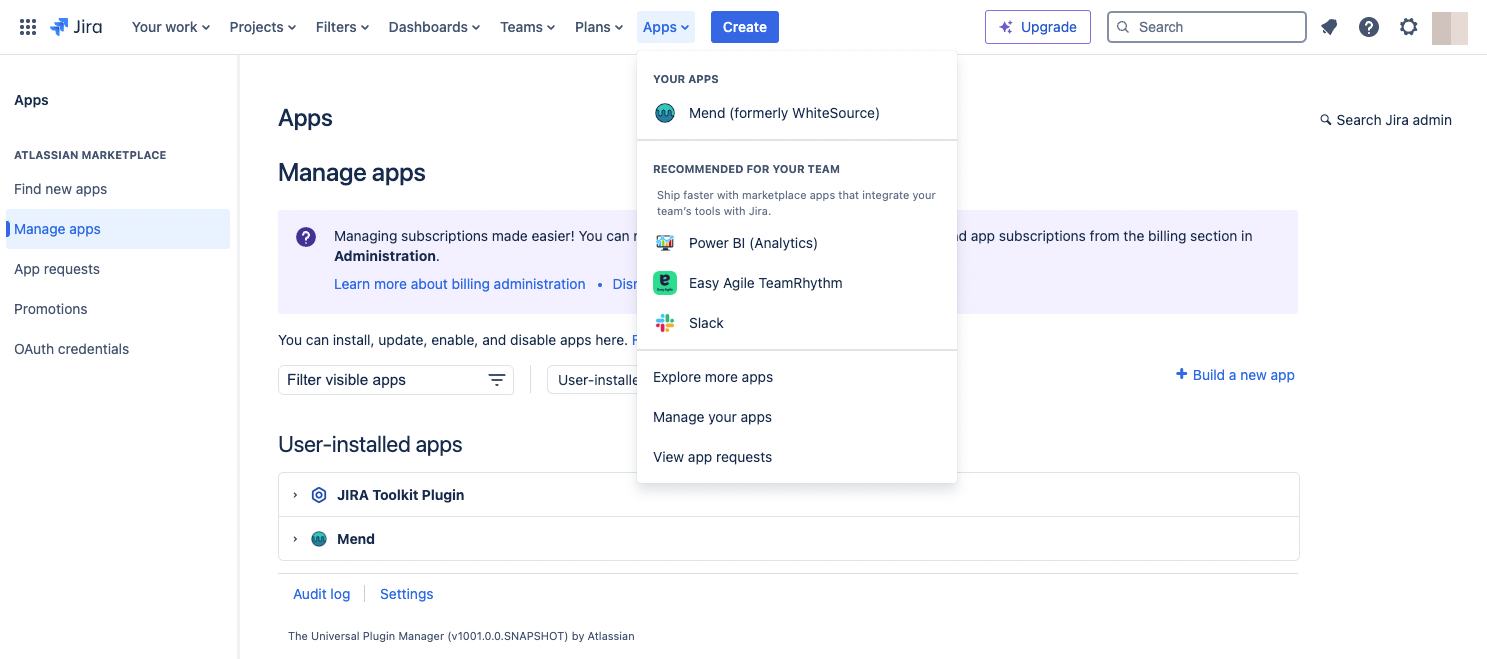
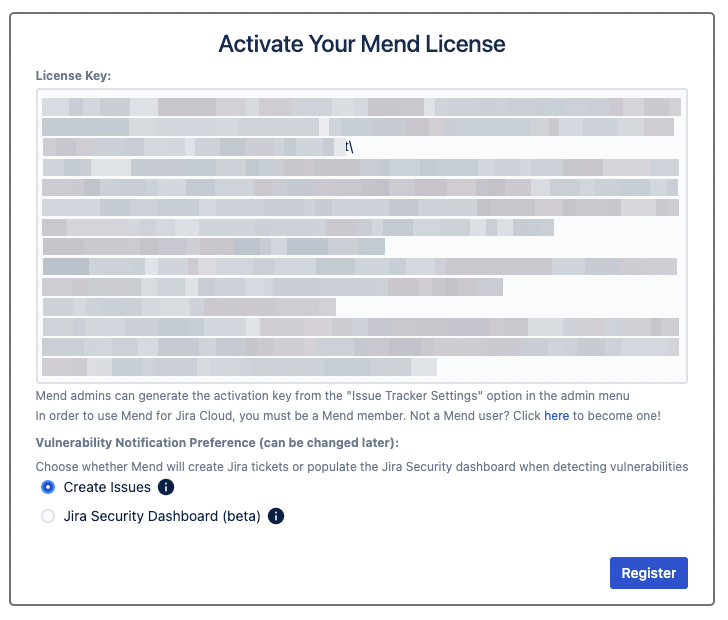
The Activate Your Mend License screen is displayed. Enter the activation key (to generate an activation key, refer here) in the provided box. Click the button for Create Issues then click Register.
Generating an Activation Key
This procedure enables you to create a token with which to validate the Jira integration.
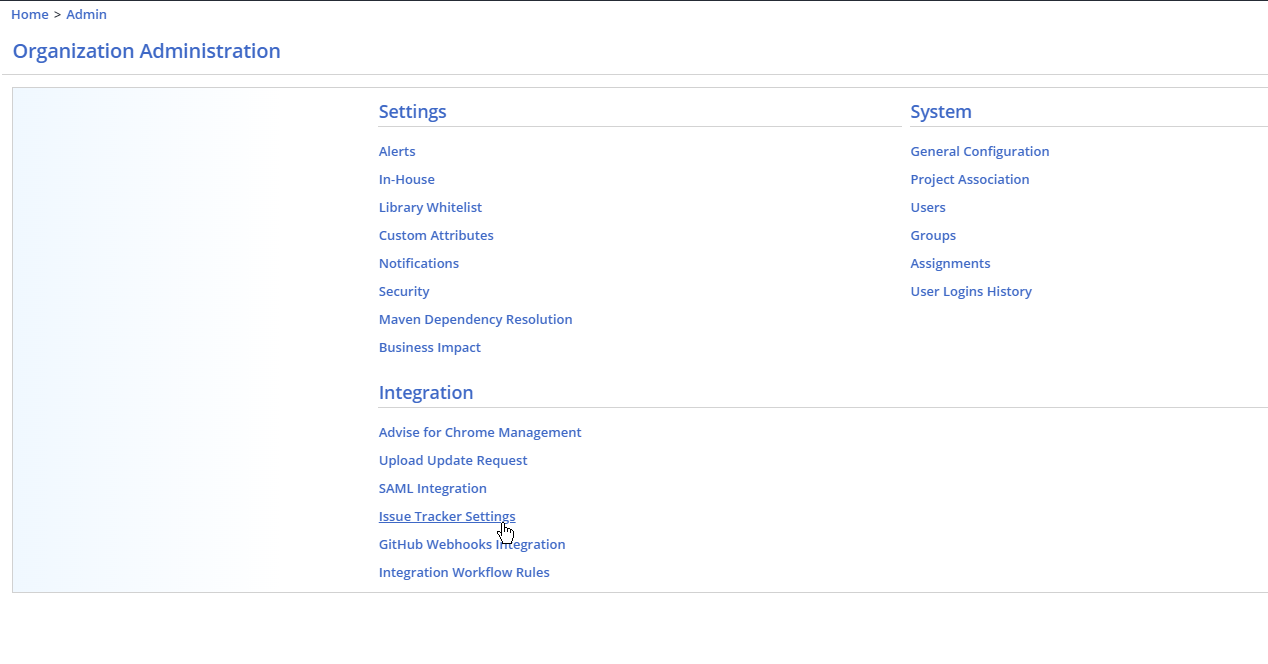
In the Mend application, click Admin. The Organization Administration screen is displayed.
In the Integration area, click Issue Tracker Settings. The Issue Tracker Settings screen is displayed.
In the Issue Tracker Plugin Integration section, click Generate Activation Key.


Copy and paste the key/token into the Mend Jira Plugin box shown above from JIRA (Activate your Mend License).
NOTE: If the activation key cannot be verified, it might be expired or you might be experiencing connectivity issues. In this case, please contact Mend Support.
When a verification indication is displayed, click Next. The plugin mapping screen is displayed.
Mapping Mend Projects to Jira Projects
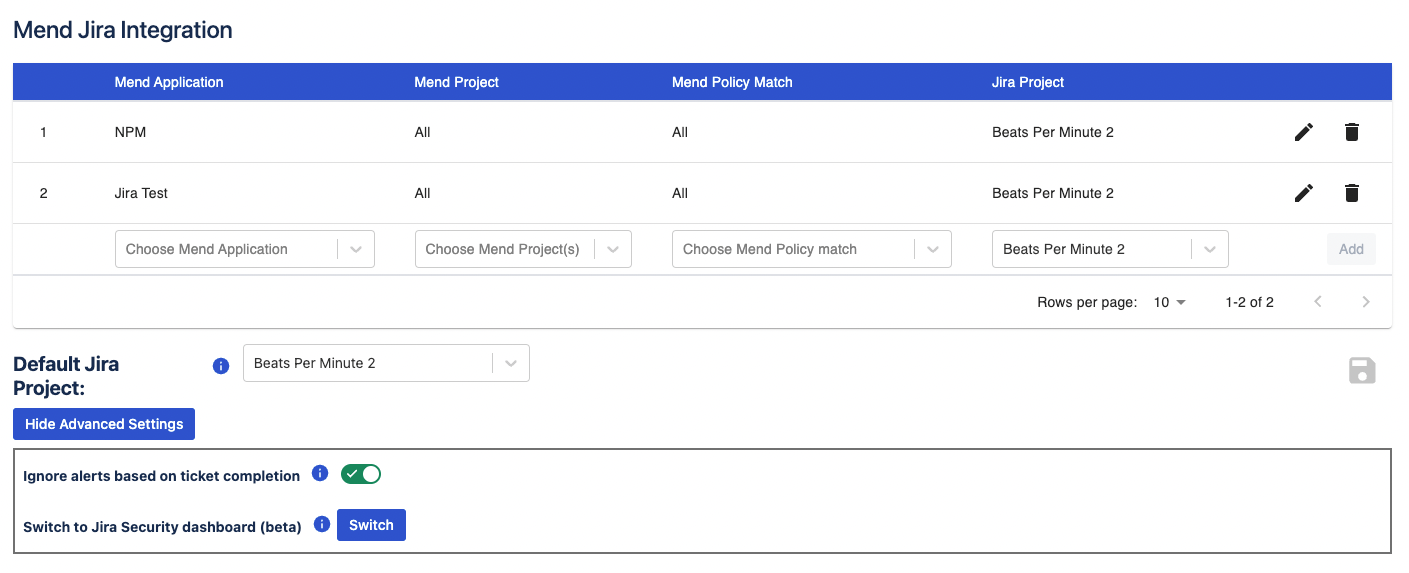
In the plugin mapping screen, you can define (or map) which Jira projects the Issues will be created in based on the Mend product / project scope and policy match type.
To map Mend products / projects to Jira projects, do as follows:
In Mend Application, select the product name from your Mend org.
In Mend Project, select one or more projects, or select Select All.
In Mend Policy Match, choose each relevant policy type for the project (for example, By License Group, Security Vulnerability Severity, etc.), or Select All.
In Jira Project, select the Jira projects to create issues in.
Select a default Jira project in which Issues without a specific mapping will be created. If no other mapping is configured, all Issues will be created in the default Jira ticket board.
Click the disk icon in the bottom right corner to save your changes.
You must select a default Jira project in order for Mend to create Jira Issues!

Creating a Policy to Trigger Issues
To create a policy to trigger issues, do as follows:
In the Mend UI, open the Policies page.
You can create a policy on any level (Organizational, Product, and Project) but it must correspond to the mapping.Click Add Policy.
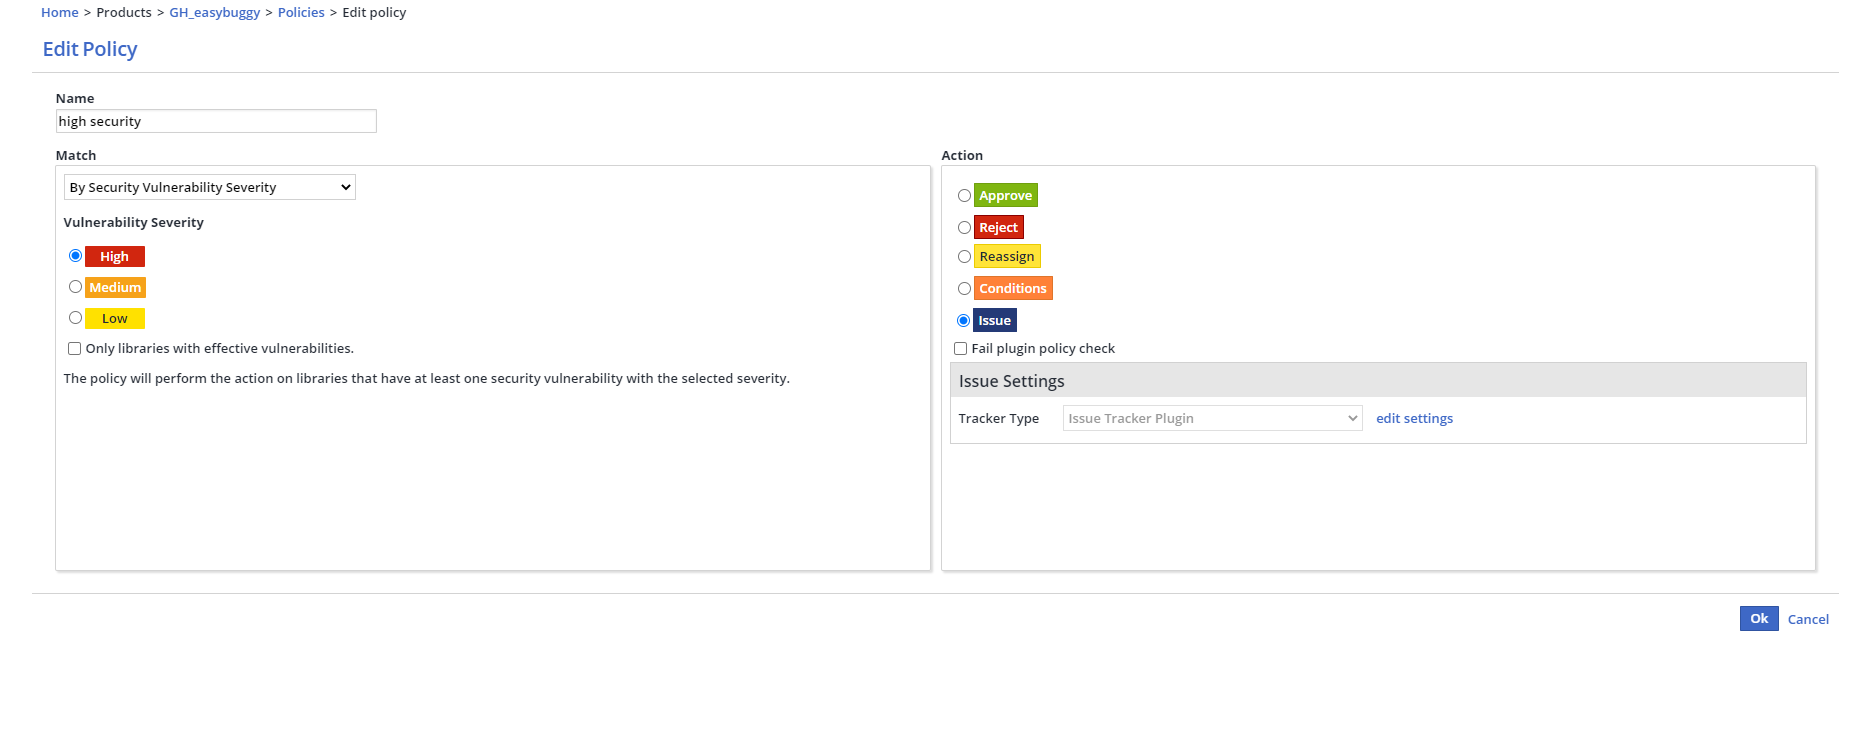
Create the policy as required. In Action, select Issue.
In Issue Settings, under Tracker Type, select Issue Tracker Plugin.
Click Add to return to the Policies page showing the Issue policy created in Mend.
Click Save to commit the changes.
When a policy is matched with a library (during a scan or when applying policies to existing inventory), issue creation is triggered in the Mend application. The Mend for Jira plugins periodically fetch this information and create the corresponding issues in Jira.
Jira Server = every 60 min
Jira Cloud = every 30 min

Ignoring Mend Alerts
You can automatically ignore Mend alerts when the linked Jira issue is marked “Done” or “Complete”. To enable this feature, do the following:
On the Plugin configuration page, click Show Advanced Settings.
Click Ignore alerts based on ticket completion.

View by Vulnerability ignored alerts


Limitations
Each Jira organization can be connected to a single Mend organization.
If the Jira projects used by the integration are set with mandatory fields, default values must be defined for each of them.
It is not recommended to change the issue type of the Mend Issue after its creation. To keep Mend and Jira in sync, the following fields should be maintained: WS-Project_Token, Library_UUID, Policy_Id.
Mend Issues created by Jira Plugins should not be deleted, as this will cause Mend and Jira to go out of sync.
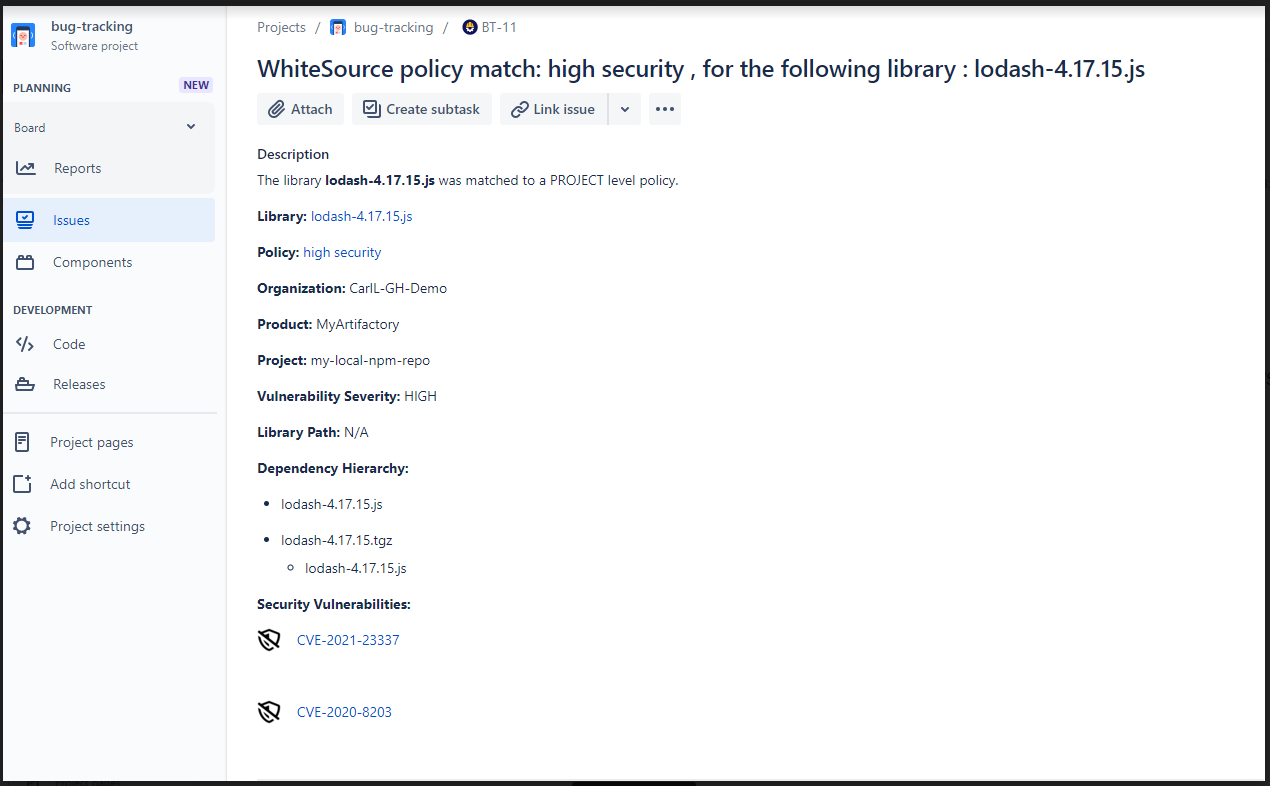
Example of a JIRA project issue
This issue description gives information on a PROJECT level policy breakdown.
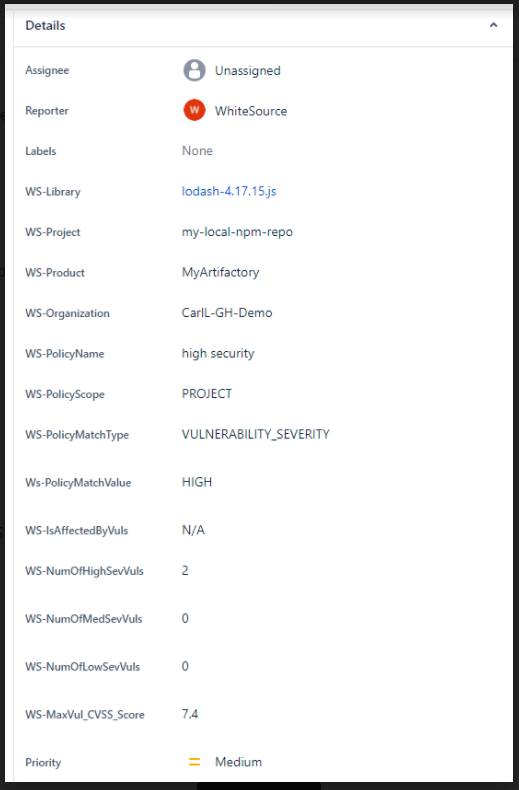
Fields
Jira Integration Installation and Walkthrough
This video demonstrates how to install the Jira Integration and walks you through how to use it.
