Configure Mend's Jira Security Dashboard
Overview
Configuring the Mend Jira Security Dashboard is a straightforward process with easy-to-follow steps.
How do I start?
A paid, active Mend license is required.
Obtain the appropriate permissions to install and manage apps within your Jira instance.
Obtain the appropriate permissions to manage project settings within your Jira instance.
The Mend Jira Cloud plugin must be installed on your Jira instance.
If this is a new installation of the Jira Cloud plugin, Mend organization administrator permissions, or, access to the Issue Tracker Activation Key within your Mend organization Admin settings are required.
Enable Jira Security for your Jira project
For both new and existing installations of the Jira Cloud plugin, the Jira Security feature must be enabled for the integrated Jira project. To enable Jira Security for your Jira project:
Within Jira, navigate to your Jira project and click on Project Settings → Features.
Navigate to Development → Security.
Toggle the activation bar to enable the Jira Security feature:

Jira Security Dashboard - New installation of the Mend Jira Cloud plugin
When installing the Mend Jira Cloud plugin, you can select the Jira Security Dashboard option during activation:
Navigate to the Mend Integration for Jira Cloud plugin page in the Atlassian Marketplace and click on the Get it now button:

You can also search for the Mend Jira Cloud plugin in Jira via Apps → Explore more apps/Find new apps → search for Mend → select the Mend Integration for Jira Cloud plugin → click on the Get app button:

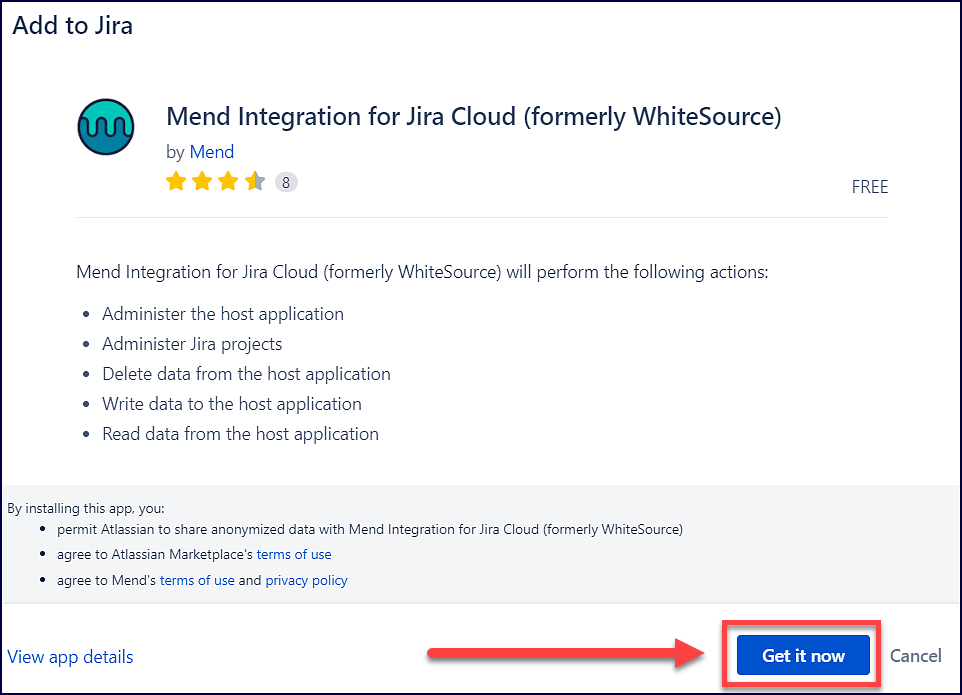
A pop-up window will appear to confirm the installation of the Mend Jira Cloud plugin. Click on the Get it now button to install the plugin on your Jira instance:
Another pop-up window will appear to inform you that the installation is in progress:

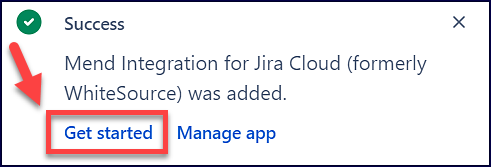
Once the installation is completed, another pop-up window will appear to notify you as well as provide direct links to the activation page of the Mend plugin (Get started) and the Manage apps page of your Jira Instance (Manage App). Click on the Get started option:
If you aren’t able to click on the Get started option from the pop-up window in time, you can access the Mend plugin activation page via:
Apps → Your Apps → Mend (formerly WhiteSource)
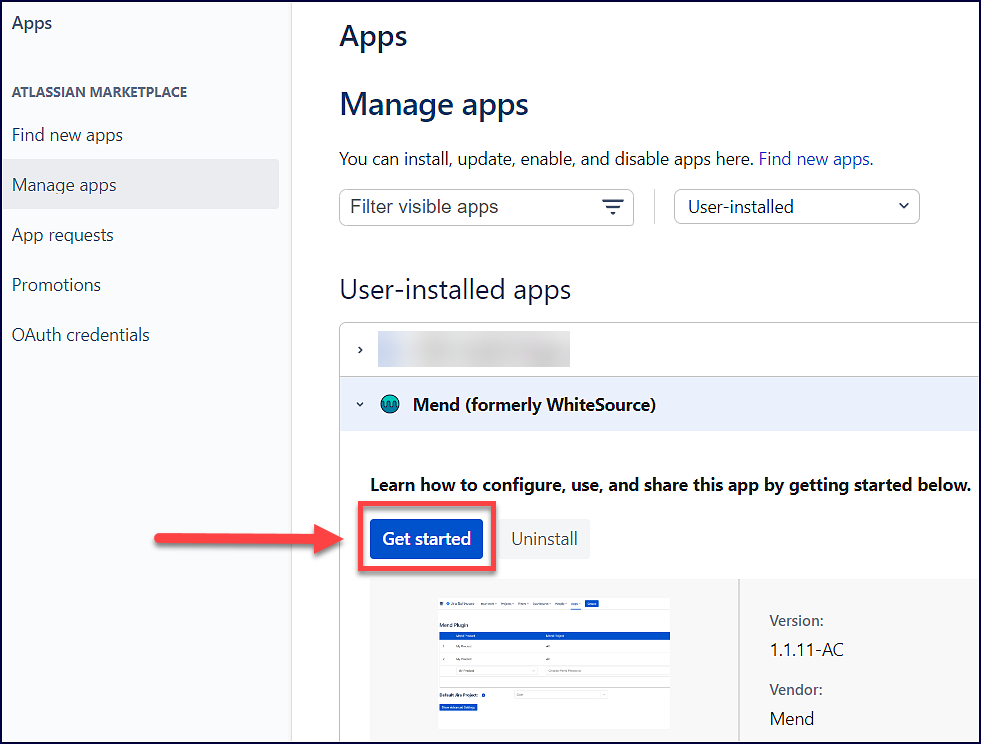
Apps → Manage apps → Mend (formerly WhiteSource) → click on the Get
On the Activate Your Mend License page, you will need to provide your Mend activation key to connect your Mend organization:
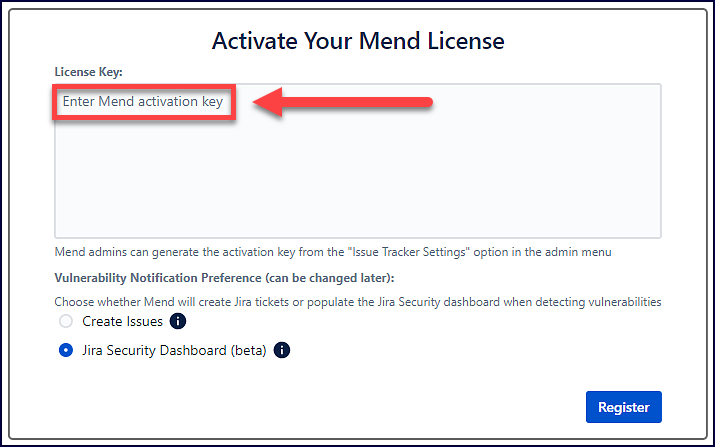
The activation key can be found in the Issue Tracker Settings of the Admin menu within the Mend Application.
Once your activation key is provided, select the Jira Security Dashboard (beta) option:

Click on the Register button to activate the Mend Jira Cloud plugin:

Congratulations! You’ve successfully installed the Mend Jira Cloud plugin. Read on to the Configure the Jira Security Dashboard section of this article to continue.
Jira Security Dashboard - Existing installation of the Mend Jira Cloud plugin
You can switch to the Jira Security Dashboard option with ease in your existing Mend Jira Cloud plugin:
To access the Mend Jira Integration mapping page, navigate to Apps → Your Apps → Mend (formerly WhiteSource) in the toolbar at the top of your screen within Jira:

You can also get to the Mend Jira Integration mapping page by navigating to Apps → Manage your Apps → Mend (formerly WhiteSource) → click on the Get started button:
In the Mend Jira Integration mapping page, click on Show Advanced Settings:

Click on the Switch button next to Switch to Jira Security dashboard (beta):

A pop-up window will appear to confirm the switch to the Jira Security mode. Click on the Confirm button to make the change:

Congratulations! You’ve successfully switched to the Jira Security Dashboard option for the Mend Jira Cloud plugin. Read on to the Configure the Jira Security Dashboard section of this article to continue.
Getting it done
Edit your Mend products in the Mend Jira Integration mapping page
To add Mend products that will be used to map your Mend projects:
Access the Mend Jira Integration mapping page by navigating to Apps → Your Apps → Mend (formerly WhiteSource) in the toolbar at the top of your screen within Jira:

You can also get to the Mend Jira Integration mapping page by navigating to Apps → Manage your Apps → Mend (formerly WhiteSource) → click on the Get started button:

Within the Mend Jira Integration mapping page, select the Mend product from the Choose Mend Application dropdown:

Click on the Add button to add the selected Mend product:

Repeat this process for each Mend product that you want to integrate with the Jira Cloud plugin.
After adding each Mend product to the mapping page, a message will appear to notify you that it was successfully added:

To delete a Mend product from the Mend Jira Integration mapping page, click on the trashcan icon next to the Mend product:

Map your Mend projects within your Jira project settings
To map your Mend projects to your integrated Jira project:
Within your Jira project, navigate to Project settings → Toolchain.
In View all tools, if the Mend Integration for Jira Cloud plugin is not there, click on the Add button → Add tool (otherwise, proceed to step 4):
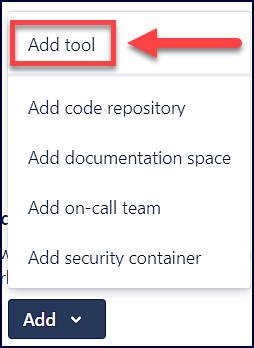
Search for the Mend Integration for Jira Cloud plugin and click on Add to project:

Within the View all tools section, click on either the + icon or the + Add security container option for the Mend Integration for Jira Cloud plugin:

Select a Mend product (Workspaces):
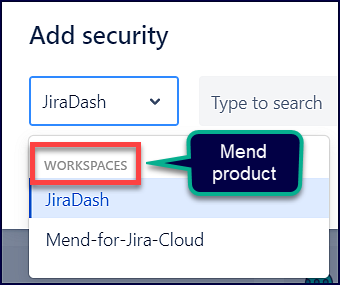
With a Workspace selected, select all of the Mend projects you want to integrate (Containers):
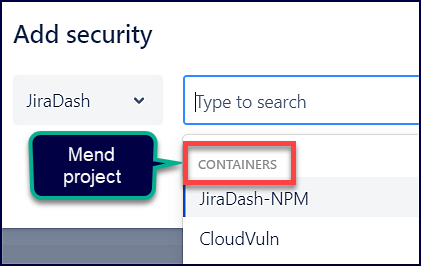
Once you have included all of your desired Mend projects, click on the Add button:

Repeat this process for every Mend product and its projects that you wish to integrate with your Jira project.
Tips:
You can add multiple Mend products and projects to be included in the Jira Security Dashboard of your integrated Jira project.
You can map the same Mend project to multiple Jira projects to display in each Jira project’s Security Dashboard.
Mend.io - JIRA Security Dashboard Integration
This video demonstrates how to install the Jira Security Dashboard Integration and provides a brief overview.
Reference
Jira Security Dashboard - Supported platform
The Mend Jira Security Dashboard falls under the Jira security tools supported only for Jira Cloud.
Switch between integration options for the Jira Cloud plugin
You can switch between the Jira Security Dashboard and the Create Issues options via the Show Advanced Settings button on the Mend Jira Integration mapping page:

Note:
Only one option for the Mend Jira Cloud plugin can be active at a time.
Label assignment is only supported in Create Issues, not in the Jira Security Dashboard.
For more information on the Create Issues option, visit our Jira Cloud Plugin original documentation.
Tip: Don’t worry about your configurations disappearing if you switch between options. Your settings are saved and will be there if you decide to change back!
Jira Security Dashboard - Jira Cloud plugin service user
When you install and activate the Mend Jira Cloud plugin, a service user is automatically created within the integrated Mend organization. It will have the name “issue_tracker_int_<MendOrganizationName>”. This service user is automatically added to the admins Group (with organization administrator permissions) and is required for the plugin to function properly.

