Overview
Mend Developer Platform provides various parameters to customize Code Security (SAST) scans, checks, and issue configurations. In this guide, we'll walk you through the process of configuring the developer platform settings, highlighting key differences between workspace and repository configurations along the way.
Getting it done
Setting up the Mend Developer Platform is effortless with our user-friendly interface. Whether configuring settings for your entire workspace or specific repositories, our platform ensures you're always in command.
Hierarchy and Inheritance
-
Settings can be configured at the workspace or repository level.
By default, workspace settings will be inherited by the repositories in the workspace.
Overriding is done by simply editing the configuration at the relevant level and saving.-
Workspace admins can edit the configuration of the workspace and its repositories.
-
Repository admins can edit the configuration of the repository.
-
-
In the workspace settings, there is a toggle to disable the ability to override at the lower level.
Under the ‘General’ tab of the workspace settings, use the “Disable Repo-level Override” toggle to prevent repository admins from overriding the settings configured at the workspace level.
Workspace admins will still be able to edit repository settings.
Bitbucket Hierarchy Structure
-
Workspace
-
Repositories
-
Scanning Base Branches and Pull Requests
By default, the Developer Platform scans:
-
Direct commits to base branches
-
Pull requests to base branches
If no base branches are configured, the default branch of the repository is treated as a base branch and commits/PRs to the default branch will be scanned.
Configure your workspace or repository settings
-
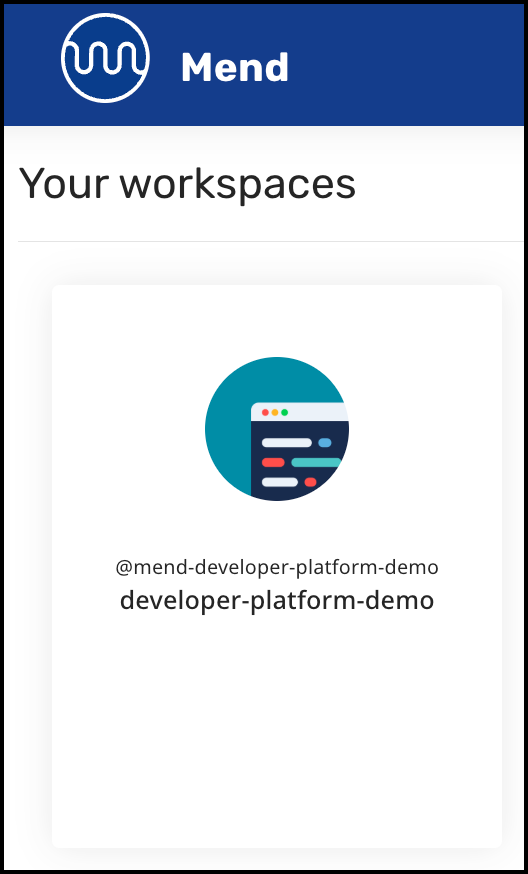
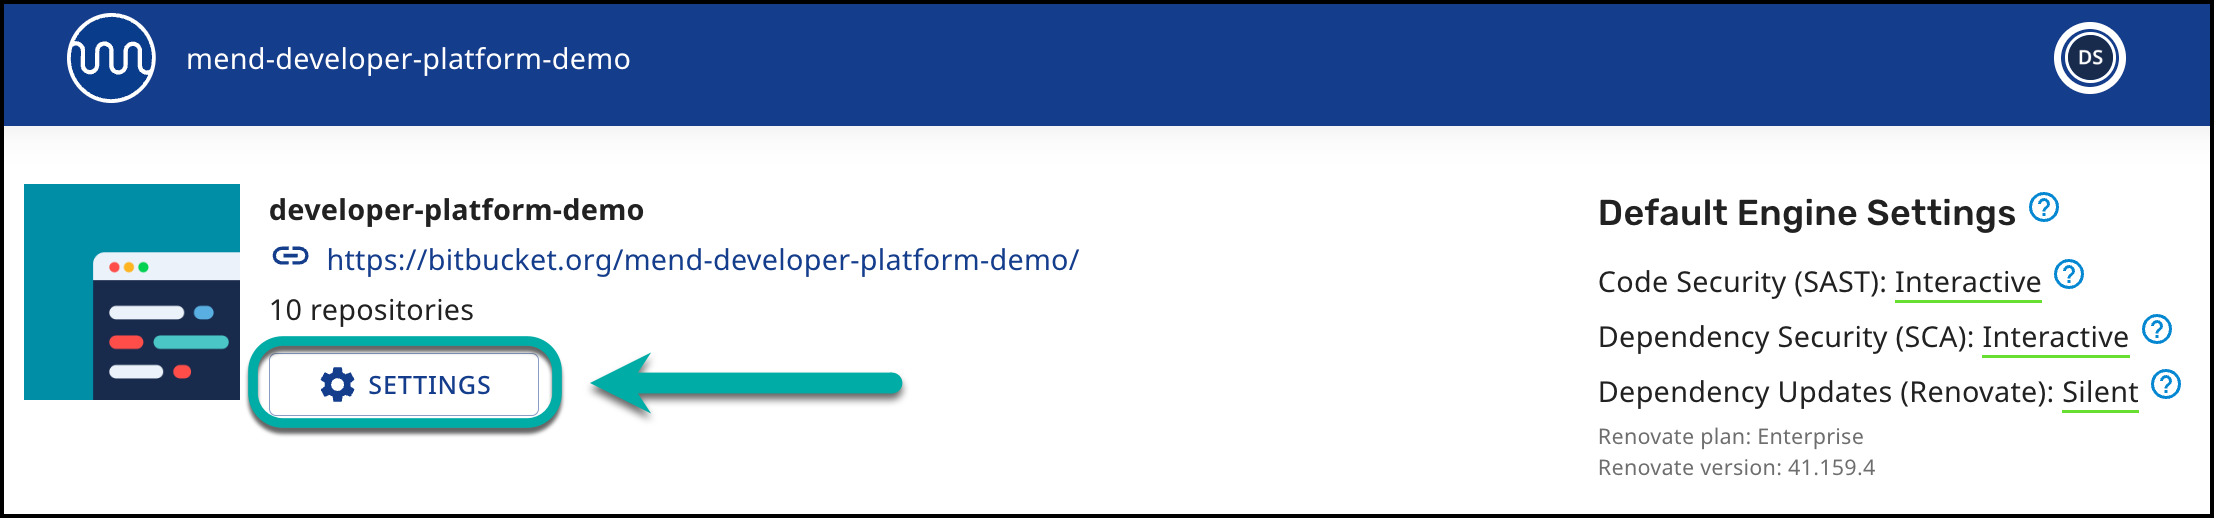
Open the workspace you want to configure on the Mend Developer Platform homepage.
-
Click SETTINGS.
The Mend Developer Platform configuration can be done via the following screens:
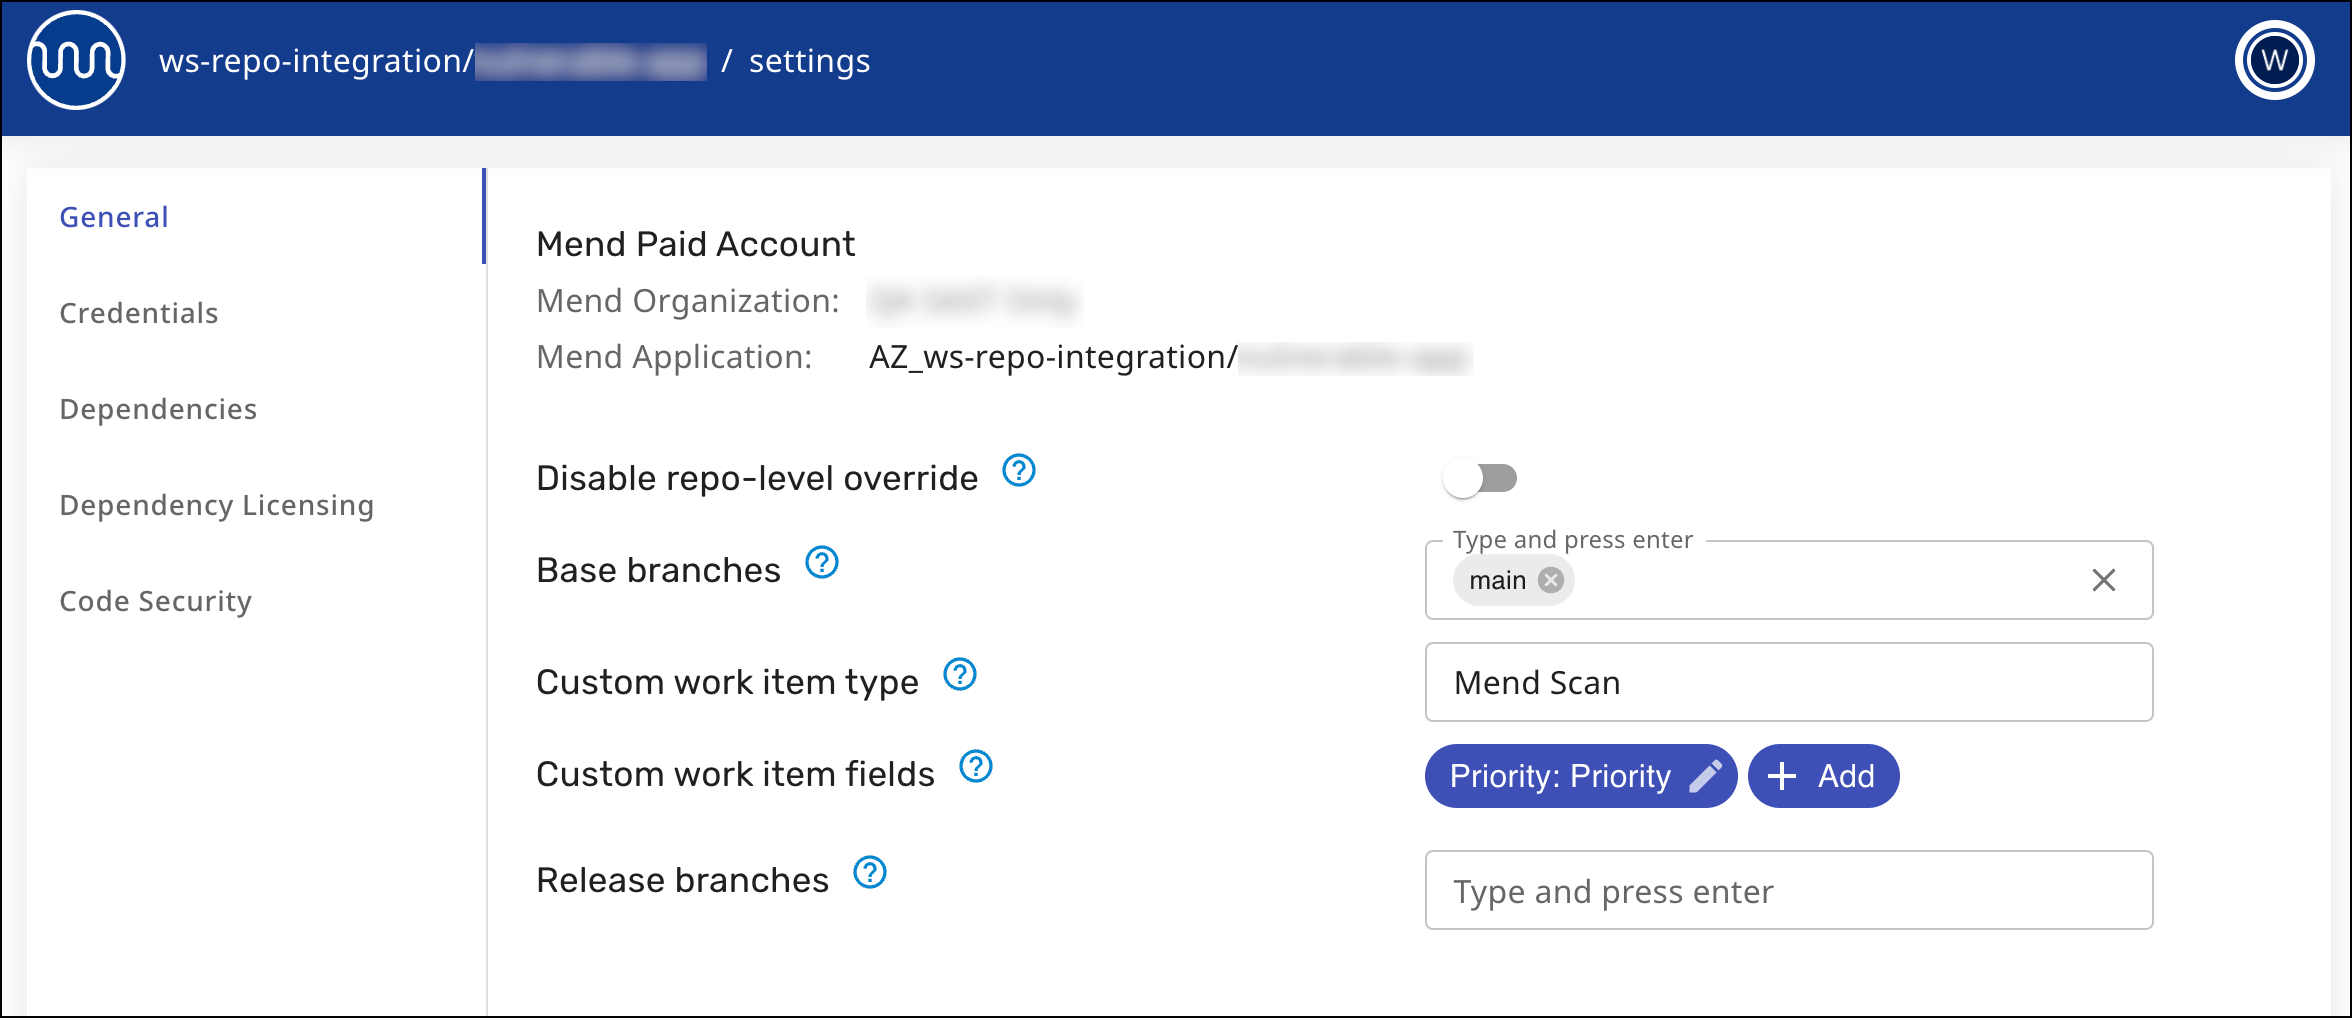
General
The General screen provides a high-level perspective, and you can track and configure the following options:
-
View the Mend Organization that your Bitbucket Cloud workspace is linked to.
-
Disable repo-level override, which toggles whether users with admin access to a repository can override the configuration set at the workspace level. Workspace admins will still be able to override on the repository level.
-
Base branches. Mend will consider the values set here as the base branches for the repo when scanning. Spaces and duplicates are not allowed.
For each specified branch, a Mend project will be created in the Mend Platform application. The name of the project will contain the suffix "_branchName". For example, MyApp_dev.
Note: Scanning multiple base branches is supported for SAST scans. To learn more, click here.
-
Custom work item type (AZDO only) - This parameter specifies the type of work item to be created for all Mend work items. Set this parameter to a string equal to the name of a work item type in your project.
-
Custom work item fields (AZDO only) - This parameter specifies custom fields to be added to all Mend work items. If a field with a matching name exists in the work item template and the value is a compatible data type, it will be added to the work item. To override a value on repo level create a custom field with the same name.
-
Project Mapping (Repo level only) - To map scans of a specific repository’s default branch to an existing Mend project instead of mapping to the default project, enter the project UUID.

Notes:
-
Release Branches do not support SAST scans.
-
If you run SAST scans on a feature branch, the scans are not visible in the scans table of the Mend SAST web application. The results are also not added to trend information or any dashboards with the Mend SAST web application.
The results of the feature branch scan are only for you as a developer to help you to get confidence in your code before you merge it.
-
Monorepo Mapping (Repo level only) - Allows splitting a single repository into multiple Mend projects by defining a mapping between repository paths and Mend projects. This configuration is done by uploading a JSON mapping file, using the git sparse syntax.

The JSON file specifies which paths in the repository correspond to which Mend projects. Each mapping entry includes the Mend project name and the directory paths to be scanned.
Example JSON file:
{
  "projects": [
    {
      "name": "first_mend_project",
      "paths": [
        "/dir1"
      ]
    },
    {
      "name": "second_mend_project",
      "paths": [
        "/dir2/subdir/another_subdir"
      ]
    }
  ]
}
In the above example:
-
The directory /dir1 will be scanned as part of the Mend project first_mend_project.
-
The directory /dir2/subdir/another_subdir will be scanned as part of the Mend project second_mend_project.
Notes:
-
Directories not included in this mapping are excluded from scans.
-
Renovate continues to scan the entire repository and is not affected by the mapping file.
-
Overlapping mappings (where multiple projects cover the same path) are allowed but not recommended due to potential scanning conflicts or duplicate results.
-
Once a monorepo mapping JSON file is uploaded and saved for a repository, Mend will respect this configuration. Subsequent commits will trigger scans only for the projects whose mapped paths are affected by the changes.
Credentials
Mend Developer Platform supports multiple Workspace Access Tokens, available with Bitbucket Premium only. These tokens are rotated automatically so that API calls are distributed across them. This helps prevent hitting Bitbucket’s API rate limits.
-
To ensure proper operation with Mend Developer Platform, each Workspace Access Token must have the following permissions enabled in Bitbucket:
-
Account: read
-
Projects: read, admin
-
Repositories: admin
-
Pull Requests: write
-
-
You can upload up to nine Workspace Access Tokens for a Bitbucket workspace.
-
Workspace Access Tokens should be uploaded to the existing Workspace credentials screen, using the naming convention
WORKSPACE_ACCESS_TOKEN_1,WORKSPACE_ACCESS_TOKEN_2, etc. -
Each token should be dedicated to Mend and not shared with other bots or tasks.
-
We recommend naming these tokens “Mend” in Bitbucket for clarity in user-facing views, though this is not enforced.
-
Set tokens to 365 days if your company policy requires expiry, or no expiry if allowed.
-
When using workspace access tokens, the system validates their status and will display one of the following warnings in the Credentials table and in a banner in case of an issue:
-
Invalid - The token is not recognized or has expired.
-
Insufficient - The token is valid but does not have the required permissions.
-
Note: This setting is available for SCA, SAST and Renovate.
Notifications
Code Security (SAST)
In this screen menu, you can control if the Mend Code Security (SAST) engine is enabled and if repositories are going to be scanned for Code Security (SAST).
-
Enable - Controls if code security scans are executed on this repository.
-
Checks - If enabled, Mend will create Build status for code security scans and provide results in commit comments.
-
Conclusion status - Determine when the Code Security Check should report a failure or success status on “New findings” introduced in the commit. The available parameter values are:
-
failure- Code Security Check will fail when the Code Security scan detects “New findings” which are more severe than theseverityThreshold. -
success- Code Security Check will succeed despite any “New findings” returned by the SAST scan.
-
-
Severity threshold - Set the threshold of “New findings” introduced in the commit which would trigger the Conclusion status to return a failed build. The available parameter values are:
-
high- Trigger the threshold when the scan outputs a new finding of severityhighor above. -
medium- Trigger the threshold when the scan outputs a new finding of severitymediumor above. -
low- Trigger the threshold when the scan outputs a new finding of severitylowor above.
-
-
Scan pull requests - If enabled, Mend will scan pull requests to base branches in this repository.
-
Note: If you run SAST scans on a feature branch, the scans are not visible in the scans table of the Mend SAST web application. The results are also not added to trend information or any dashboards with the Mend SAST web application.
The results of the feature branch scan are only for you as a developer to help you to get confidence in your code before you merge it.
-
Issues - Defines if Mend will create issues for the code findings.
For the Issues to be created, the repository should have an Issue Tracker enabled. This is done in the repository settings in Bitbucket Cloud.
-
Remediation - Enable or disable AI-based remediation suggestions for your Code findings. If enabled, snippets of your source code will be shared with our AI model to provide remediation suggestions.
-
Scanner
-
Incremental scans - Mend will perform a faster scan that only checks files that are affected by the latest code change.
-
Snippet size - Size of the source code snippet presented for a finding.
-
The snippet size value also controls the size of the snippets that are stored by Mend for each step of a code security finding. This helps you to review the results outside of the repository, e.g. in the web UI of the Mend App.
-
To perform incremental scans on feature branches, it’s required to enable “scan Pull Requests”.
-
When “incrementalScan” is enabled, feature branch scans will always be incremental.
-
Base branch scans will be incremental as long as there are no changes in the scan engine that are relevant to the scanned project (e.g., Java for Java projects).
-
-
Secrets scan - Mend will scan code and configuration files to find exposed credentials.
-
Custom configuration - You can manage the custom configuration parameters when running a code scan:
-
|
Parameter |
Description |
|---|---|
|
engines |
Optional. Default Value: Auto-detects language. A comma-separated list of SAST engine/language IDs to be used in the analysis (e.g. 1,2). The available Engine IDs can be found in our CLI Parameters documentation. |
|
csharpEngineGeneration |
Optional. Default Value:
|
|
cppEngineGeneration |
Optional. Default Value:
|
|
goEngineGeneration |
Optional. Default Value:
|
|
javaEngineGeneration |
Optional. Default Value:
|
|
jsEngineGeneration |
Optional. Default Value:
|
|
pythonEngineGeneration |
Optional. Default Value:
|
|
pathExclusions |
Optional. Default Value: |
|
maxFileSize |
Optional. Default Value: |
|
timeouts: perScan |
Optional. Default Value: |
|
timeout: perLanguage |
Optional. Default Value: |
|
timeout: perFile |
Optional. Default Value: |
Example Custom Configuration File
{
    "engines": [1, 2, 3],
    "pathExclusions": ["abc", "def"],
    "maxFileSize": 1024,
    "javaEngineGeneration": 2,
    "jsEngineGeneration": 2,
    "csEngineGeneration": 2,
    "timeout": {
        "perScan": 480,
        "perLanguage": 480,
        "perFile": 600
    }
}