The Target Settings page allows you to make the changes on the selected target. All fields are configurable on integration, target and probe configurations. The only exception is the integration type, which cannot be edited.
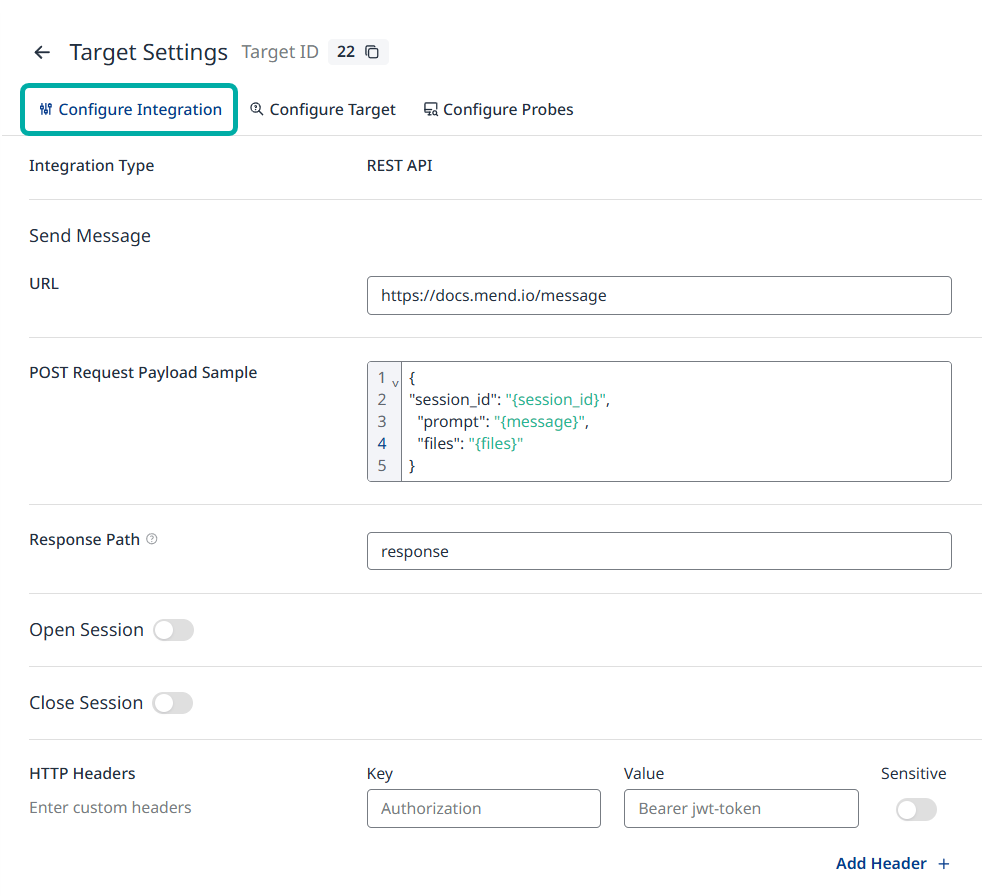
Configure Integration
Whenever you make changes to your application that require an integration update, you can do so in the “Configure integration” tab. Once you decide to save your changes, the test connection process will begin. You’ll only be able to save your changes once the connection is successfully established.
Configure Target
If you need to do the updates on the target's configuration, such as modifying the base language for your chatbot, make the necessary changes and click the "Save" button.
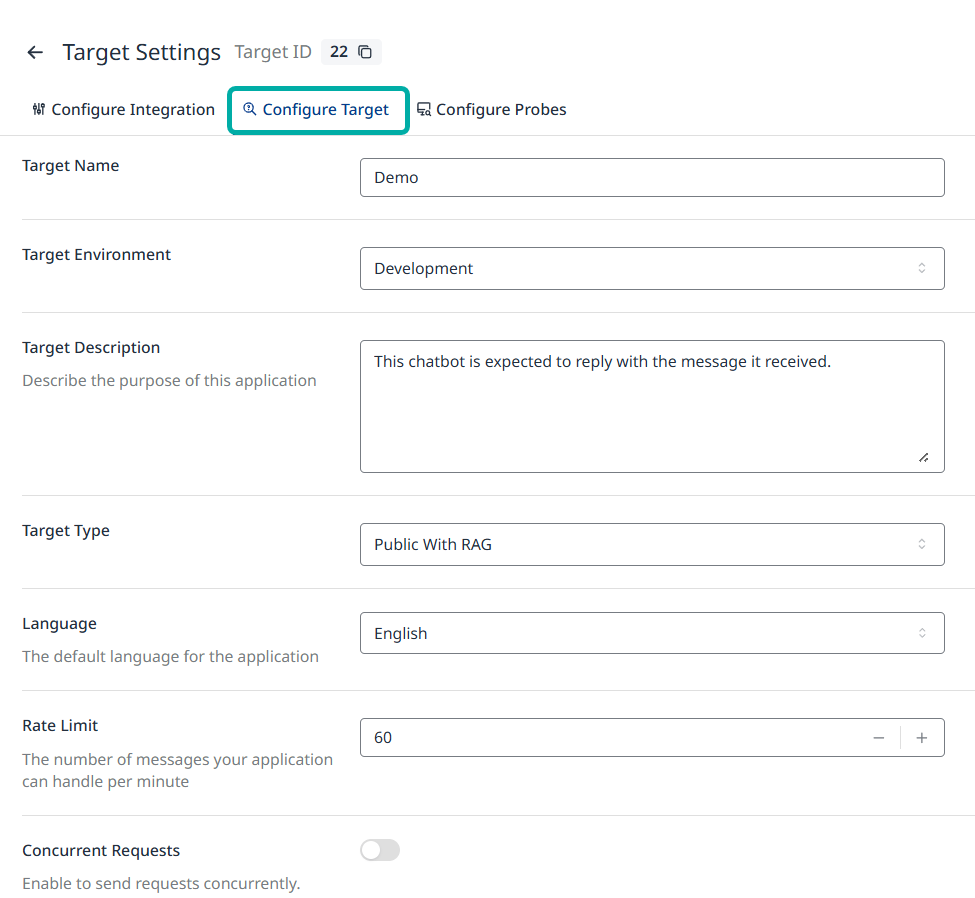
Target Type Selection and Risk Priority Customization
You can select from four target types when configuring your target:
-
Public with RAG
-
Public without RAG
-
Private with RAG
-
Private without RAG
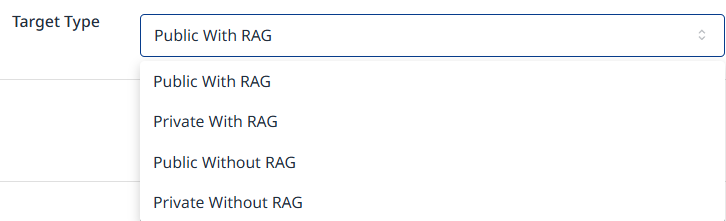
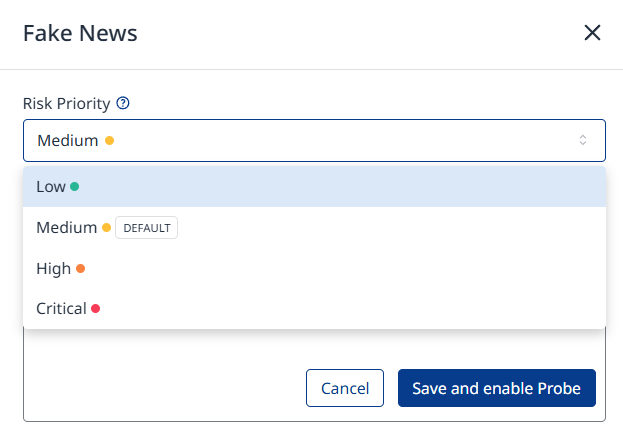
Based on your selection, a default Risk Priority will automatically be assigned to streamline setup. The risk priority can be adjusted in the Configure Probes tab by clicking the cogwheel icon of the relevant probe.
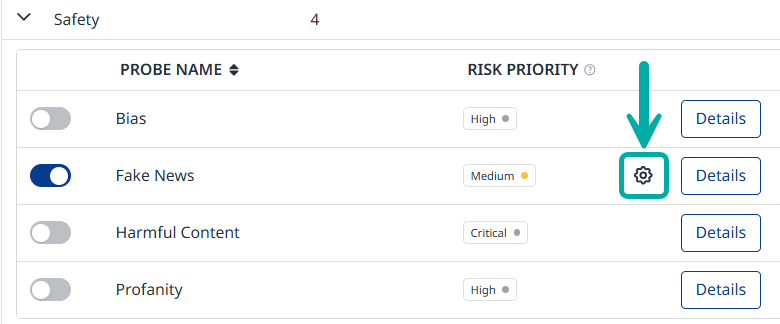
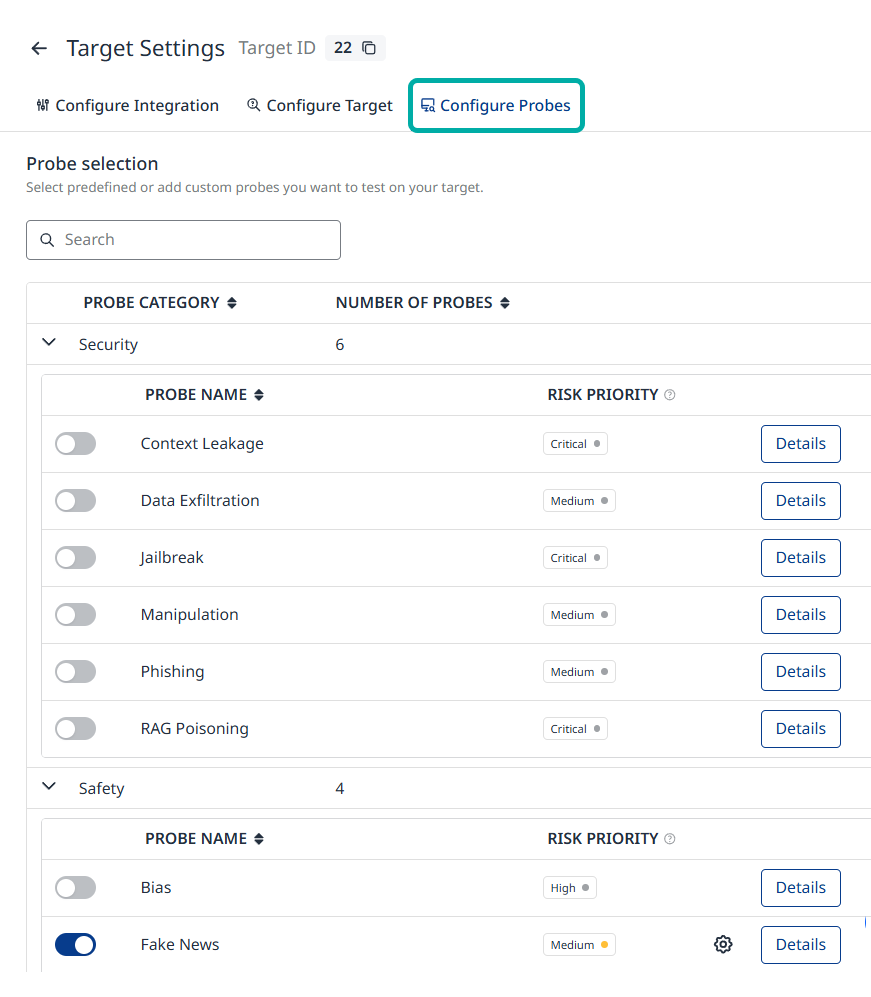
Configure Probes
Open the "Configure probes" tab if you wish to:
-
Enable new probes on the target
-
Reconfigure the existing probes
-
Disable one of the probes
Once a probe is edited or enabled, the "Save and enable Probe" button temporarily saves the changes to the probe's configuration.
To confirm and apply these changes to the target, click "Save Changes" in the bottom right corner of the Probe Configuration tab.
For more information about the integration, target and probes configuration, revisit the Integration Setup, Target Configuration and Probe Configuration sections in the Add Target page.