Overview
This feature provides enhanced security and efficiency by enabling Mend AppSec Platform organization administrators to easily manage access to the Mend organization using an intuitive IP Allowlist interface which supports Classless Inter-Domain Routing (CIDR).
-
Users will be blocked from logging in if their IP address is not on the IP Allowlist.
-
You can configure individual IP addresses (e.g., 192.168.0.0) or CIDR IP ranges (e.g., 192.168.0.0/24) in the IP Allowlist.
-
The IP Allowlist applies to both the UI and the API.
Known Limitations
-
Although individual IP addresses configured in the Legacy SCA application's whitelist will be applied and displayed in Mend AppSec Platform's IP Allowlist, CIDR ranges cannot be fully managed from the Legacy SCA application, they are displayed and can be deleted there, but cannot be edited to a different CIDR value. CIDR ranges must be edited from the Mend AppSec Platform IP Allowlist interface.
Getting it done
Note: By default, only Organization Administrator users can configure the IP Allowlist.
-
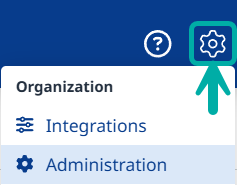
Click the cogwheel icon in the upper-right corner of the GUI and select Administration:
-
Select IP Allowlist from the Administration menu on the left:

-
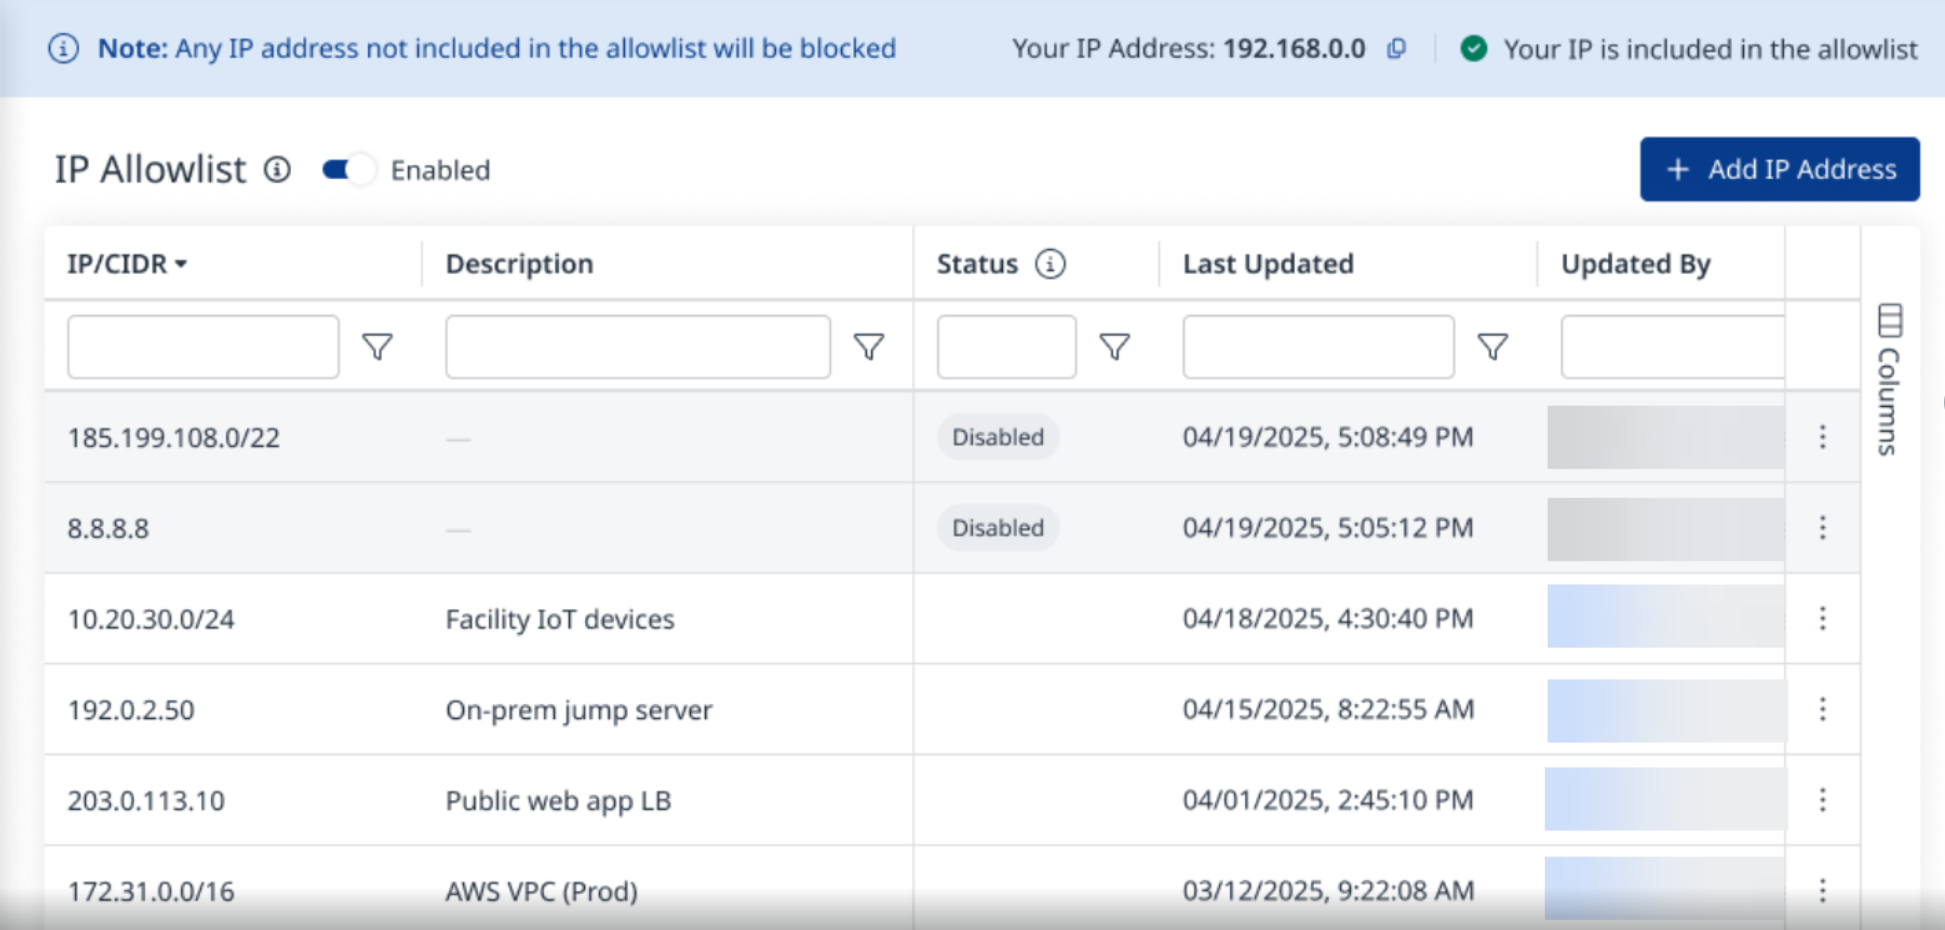
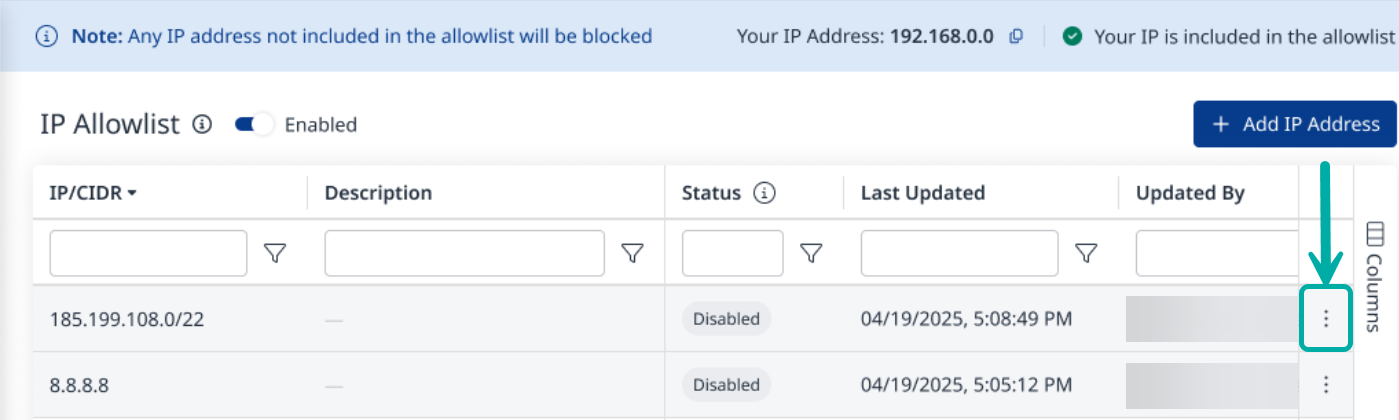
This will take you to the IP Allowlist configuration page:
The Allowlist Configuration Page
Add New IP Addresses/Ranges
-
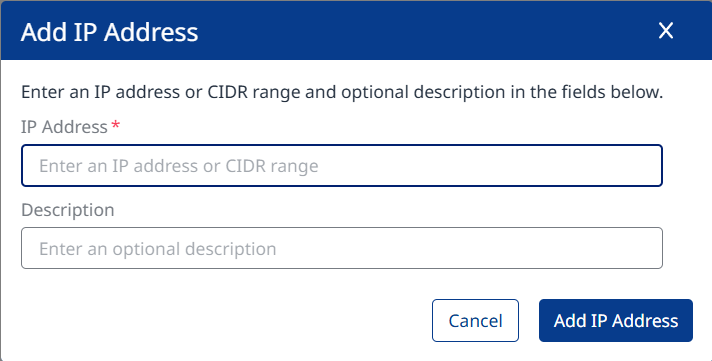
Click the +Add IP Address (

-
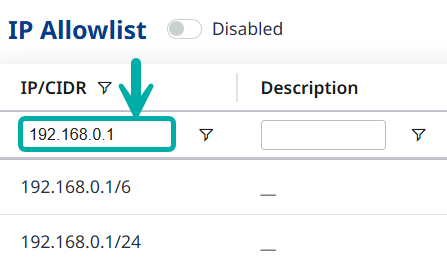
An /N or /NN at the end of an added IP address (e.g., /6 or /24) indicates it’s a CIDR IP range.
Example: “192.168.0.0/24”. -
Inputted IP formats undergo automatic validation. Entries can only be saved after validation.
The system also prevents duplicate entries from being created.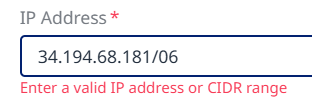
Example: Invalid IP Format
-
-
(Optional) It is recommended to provide a meaningful description to help identify the entry.
-
Save the entry by clicking the Add IP Address (
-
Enable/disable the IP Allowlist feature using the toggle at the top.
Note that you can add entries when the toggle is disabled, allowing you to work on an exhaustive IP allowlist without risking blocking your users in the meantime.
As long as the feature is disabled (

Once enabled (


Note: There must be at least one active IP entry when the allowlist feature is enabled.
Note: The Allowlist table contains an indication of the user’s own IP address as well as its existence in the allowlist table, to prevent users from accidentally blocking themselves from accessing the platform.
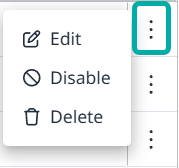
Edit/Disable/Delete Existing IP Addresses/Ranges
Individual entries can be edited, disabled or deleted using the Actions menu at the far right:
Note: The last active IP cannot be disabled or deleted while the allowlist feature is enabled.
Searching IP Addresses
You can search for a specific IP address, to determine if it’s included in the allowlist. IP ranges will be taken into consideration and indicated in the search results, if applicable.