Note: This integration is currently in open beta.
Overview
The Mend Kubernetes (K8s) integration can connect with your Google Kubernetes Engine using your provided access and secret keys, enabling you to scan and secure containers running in GKE environments, either in Autopilot or Standard mode.
Prerequisites before you Configure Mend’s Kubernetes Integration for Google GKE
-
Your Mend.io user must be an organization administrator.
-
A Google Cloud service account key file with permissions to access your GKE clusters.
Set up the Kubernetes Integration for Google GKE in the Mend AI Native AppSec Platform UI
As an administrator, navigate to the Integrations page and click the Google GKE integration card:
This will spawn the integration setup wizard.
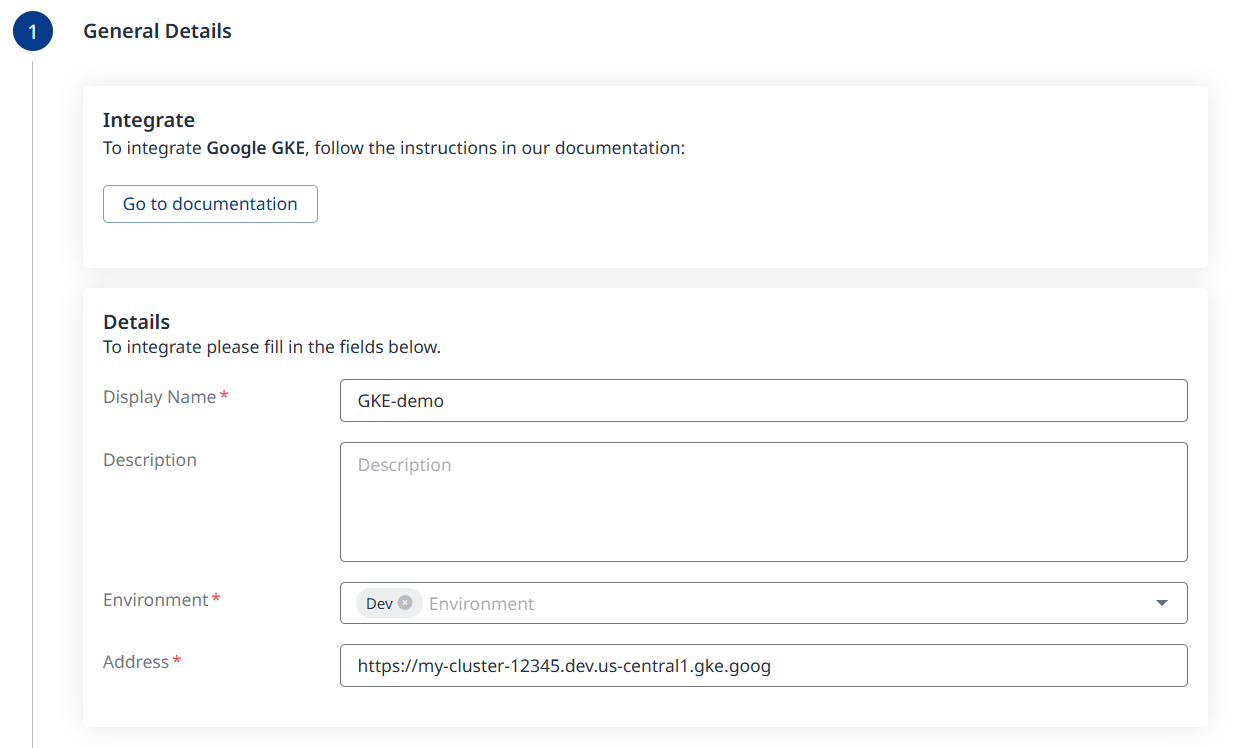
Step 1 - General Details
-
Fill in the desired Display Name (mandatory).
-
Add a Description (optional).
-
Select the Environment (Production/Dev/QA/Staging). (Mandatory; multi-selection is supported).
-
Specify the Address for reaching the GKE cluster endpoint.
Step 2 - Authentication
Upload your Google Cloud service account key file.
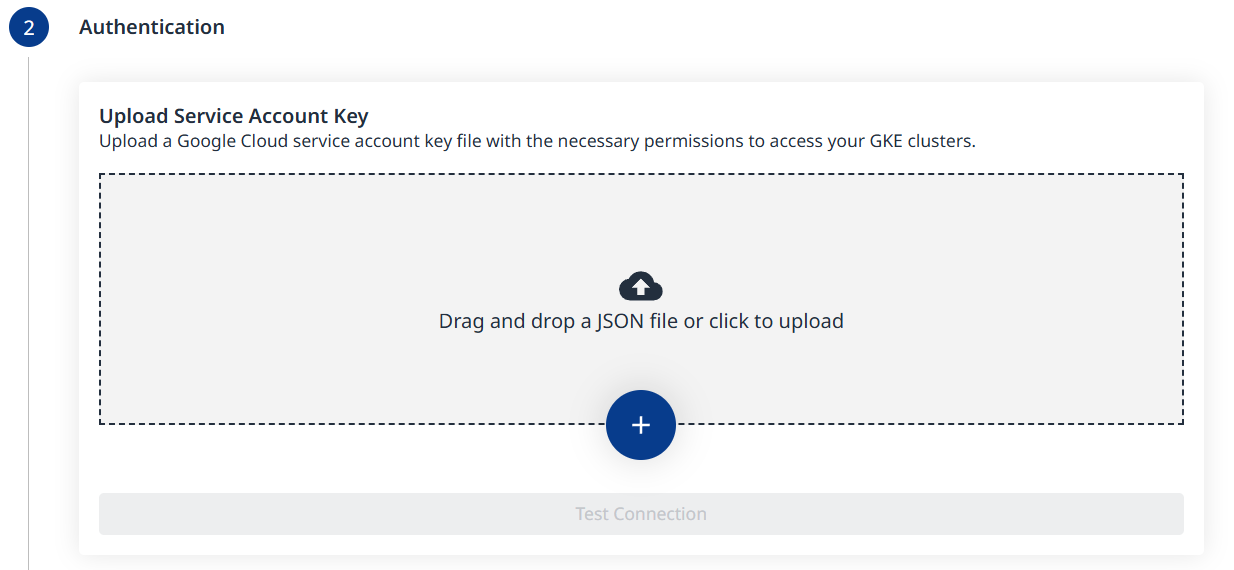
Once a valid key file is uploaded, the Test Connection button will become clickable. Use it to verify connectivity and proceed to the next step.
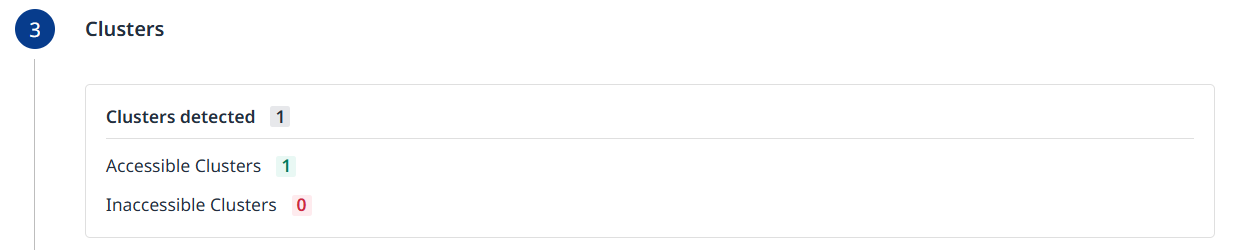
Step 3 - Clusters
The summary of detected clusters will be displayed. Click Next to proceed to the next step.
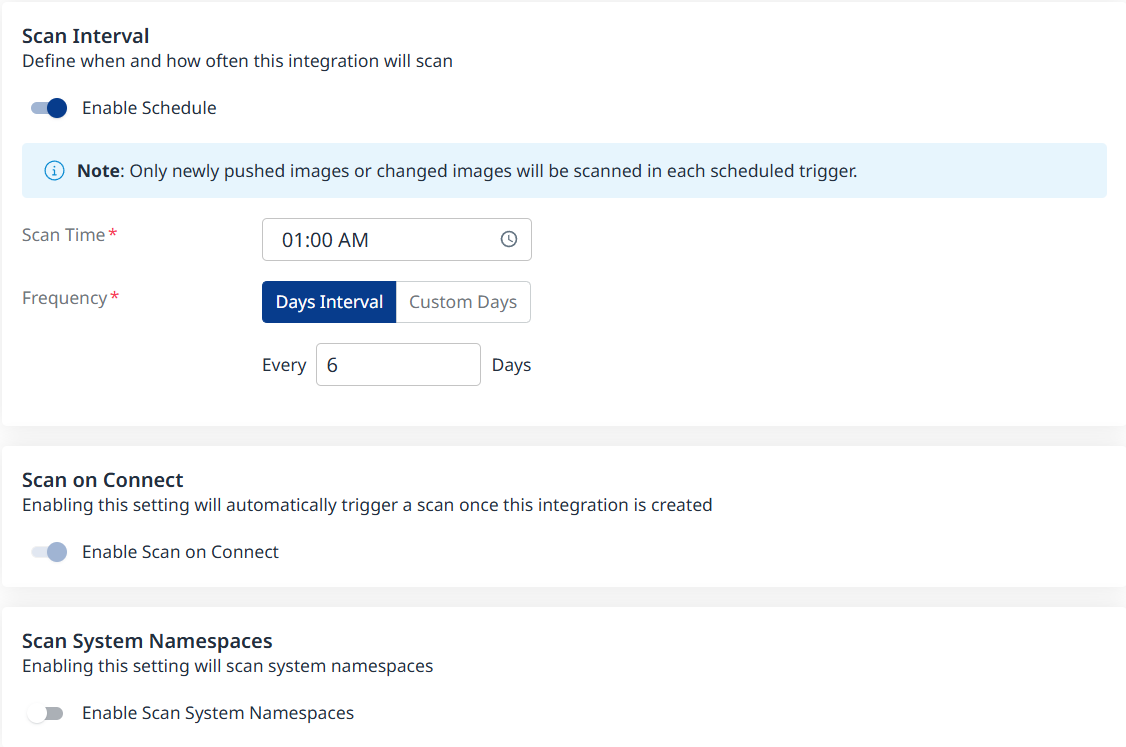
Step 4 - Configuration
Fill in the Configuration information to define your scan schedule:
-
Enable Schedule - Toggle off to disable scheduling.
-
Scan Time
-
Frequency
-
Scan on Connect - While toggled on, it means a scan will be triggered automatically once the integration setup is completed.
-
Scan System Namespaces: Toggle on to include otherwise skipped Kubernetes namespaces (i.e., kube-system, kube-public and kube-node-lease), which represent Kubernetes system components rather than customer workloads. Disabled by default.
Scheduling Kubernetes image scans is crucial for maintaining the security and integrity of your container images. By default, a scan interval of 7 days will be applied. You can change the scan interval in 1-day increments or select specific days of the week when you wish for scans to be executed.
Note: After the first scan (in which the latest 10 tags are scanned), in every scheduled scan only newly pushed images from the registry or changed images will be scanned. This is because vulnerability and package updates occur automatically in an asynchronous manner, keeping the security information up-to-date without requiring new scans.
Click the Next (
Step 5 - Summary
In this step, the summary of your input from the previous steps will be displayed. You can go back to the previous screens of the wizard to make changes, by clicking the ‘Back’ button at the bottom right corner of the screen. If you wish to confirm your configuration and add your registry, click the ‘Done’ button:
Update the Configuration for an Existing Integration
After the integration is set up, you can edit its configuration by following these steps:
-
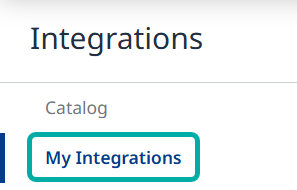
Navigate to your Profile → Integrations → My integrations
-
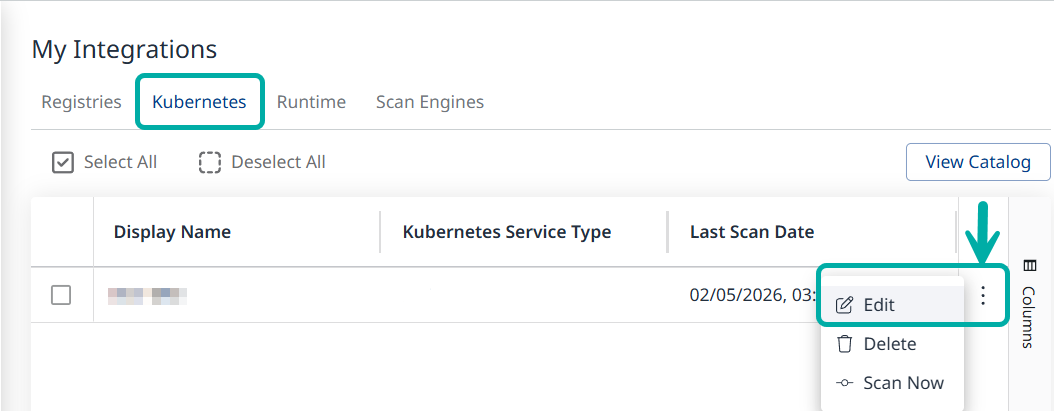
Locate the desired integration and select Edit from the Actions menu on the right.
-
This will take you through the setup wizard, starting from the authentication step.