Overview
You can install the Mend for Jira Cloud plugin via the Atlassian Marketplace app page:

Getting it done
Prerequisites before installing the Jira Cloud plugin
To configure the Jira Cloud integration, the following is required:
-
Administrator permissions to your Jira Cloud instance.
-
Organization administrator permissions in the Mend Platform for the relevant organization.
-
For Jira Security Dashboard: The Jira Security feature must be enabled for the Jira projects you wish to integrate with the Mend for Jira Cloud plugin.
Installation steps for the Jira Cloud plugin
Step One: Grab your activation key from the Mend Platform
-
Log into your organization via the Mend Platform.
Note: Make sure you are an organization administrator. -
Navigate to the settings “cog” icon → Integrations:

-
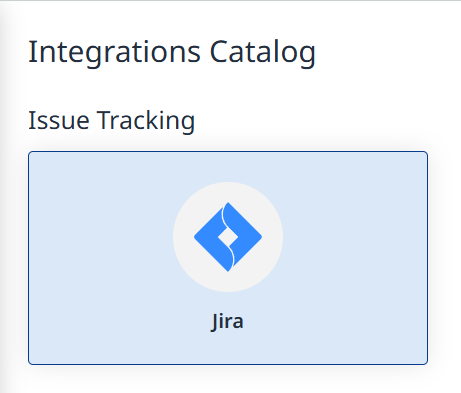
Select Jira from the Integrations Catalog:
-
Click on the Generate Activation Key button that appears to get your activation key for the Jira Cloud plugin:

-
Copy and save this value for the next step.
Step Two: Install the Mend Integration for Jira Cloud extension from the Atlassian Marketplace
-
Sign into your Jira Cloud instance.
-
Navigate to the Jira Cloud plugin’s page on Atlassian Marketplace: Mend Integration for Jira Cloud.
-
Click on the “Get app” button:

-
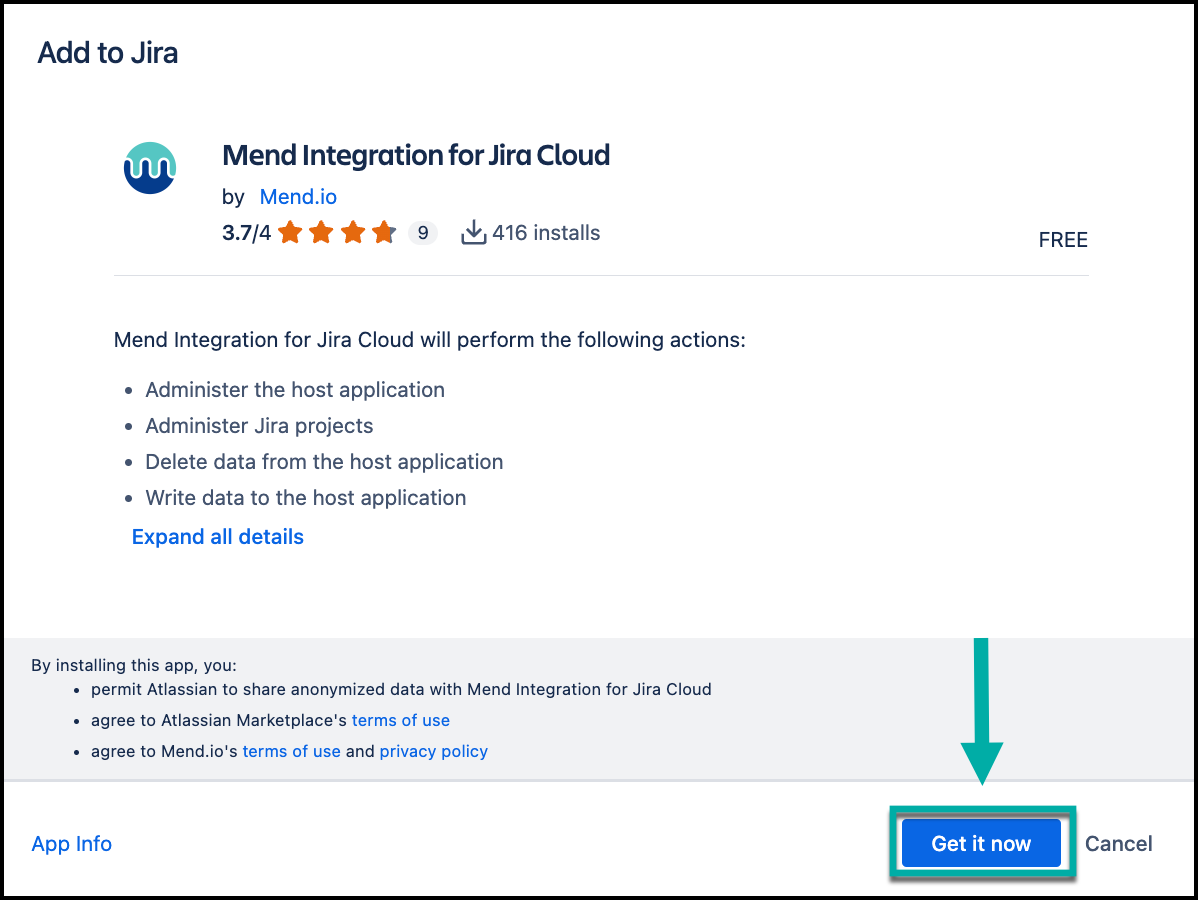
A pop-up window appears, Click on the “Get it now” button to install the Mend for Jira Cloud plugin:
-
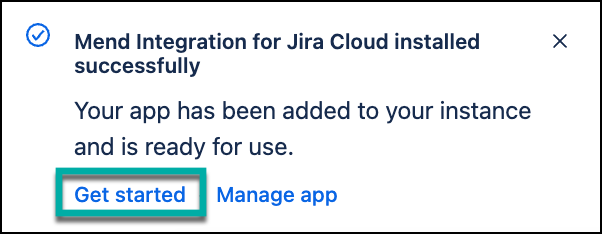
Once the plugin installs, another pop-up window will appear, declaring the installation success. Click on the “Get started” option to navigate to the activation page:
-
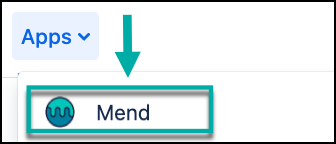
If you do not see this pop-up window, you can navigate to the activation page via Apps → Your Apps → Mend:
-
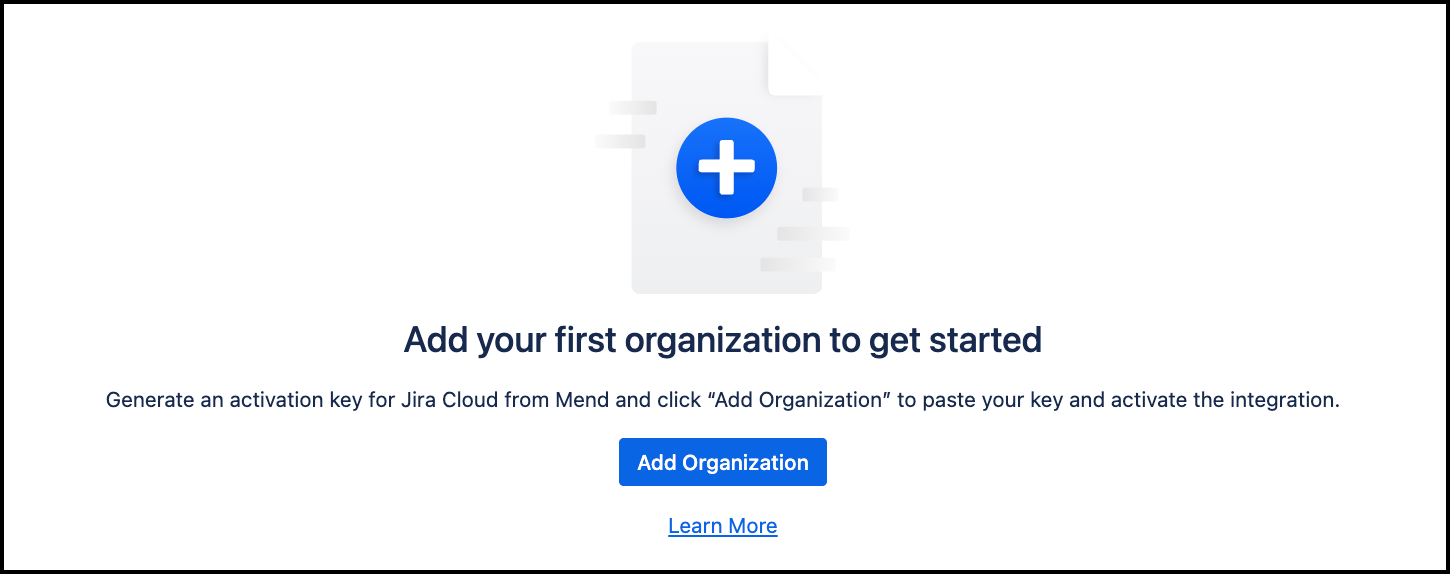
On the Add your first organization to get started page, click Add Organization to start onboarding your organization(s).
-
On the Add an Organization page, add your activation key from the installation step into the Mend Platform Activation Key section.

-
Select which Vulnerability Notification Preference you prefer:
-
Create Issues: Using a pre-defined workflow from your organization in the Mend Platform, automatically create Jira issues for findings that meet the conditions of the workflow, or create issues manually.
-
Jira Security Dashboard (beta) - SCA Only: Monitor your Jira projects with a centralized view of security issues and risks across your organization.
-
-
Assign your Default Jira Cloud Project to where the issues will be created (Relevant only to “create issues” mode).
-
Click on Add Organization to activate the Mend for Jira Cloud plugin.
Next steps
After installing the Mend Integration for Jira Cloud, proceed to Configure Mend for Jira Cloud to complete the setup. This includes onboarding your Mend organization(s), mapping projects, and adjusting integration preferences.
Reference
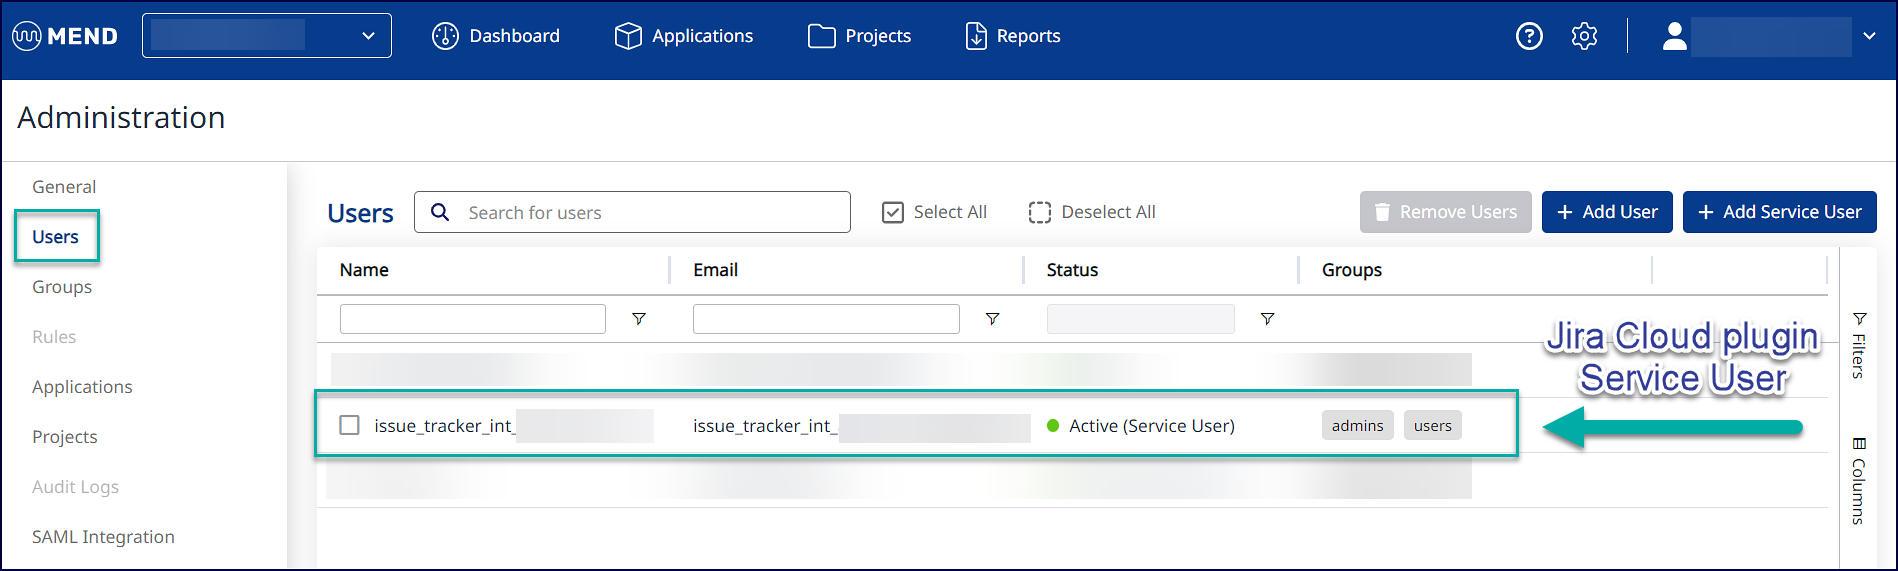
Jira Cloud plugin service user
When you install and activate the Mend Jira Cloud plugin, a service user is automatically created within the integrated Mend organization with the name: issue_tracker_int_<MendOrganizationName>.
This service user is automatically added to the admins Group (with organization administrator permissions).
Note: The Jira Cloud plugin service user must remain within the admins Group with organization administrator permissions in order for the plugin to function properly.