Install Mend Developer Platform for Bitbucket Cloud
Overview
In this article, you will find step-by-step instructions for installing the Mend Developer Platform for Bitbucket Cloud.
Getting it done
Prerequisites
Access to a Bitbucket workspace and a user with Admin privileges
If your workspace has conditional access to certain IP addresses, add the IP addresses listed under “developer-platform” in this file to your allowlist.
Also, for paid Mend customers only:
Mend Account with SCA/SAST entitlement on the Mend AppSec Platform
Admin Access to Mend AppSec Platform to generate Activation Key
Notes:
You should have access to the Mend Platform only if you wish to unlock all the premium features, such as SCA and SAST. If you solely intend to utilize Renovate, there is no need to create a Mend account.
A GitHub.com token is recommended for running scans. Without it, GitHub release notes won’t be retrieved, which will result in a warning message.
Installing Mend Developer Platform for Bitbucket Cloud
For users who are migrating from the old Mend for Bitbucket Cloud integration, please refer to the instructions in our Transition Guide for Mend Developer Platform documentation.
Log in to the Mend Developer Portal and authorize with your Bitbucket Cloud user.
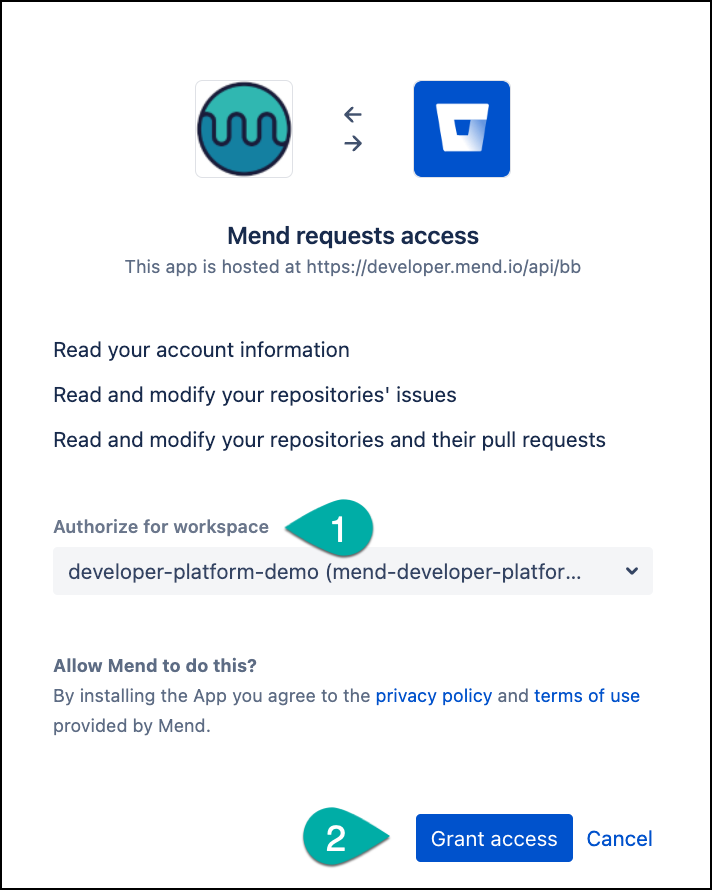
Click on “Go to Bitbucket” and select the workspace where the app should be installed.
Grant access for the Mend Bitbucket Cloud App.
After granting access, you will see your workspace available in the Mend Developer Portal.
Click on the workspace for which you would like to install the Mend App.
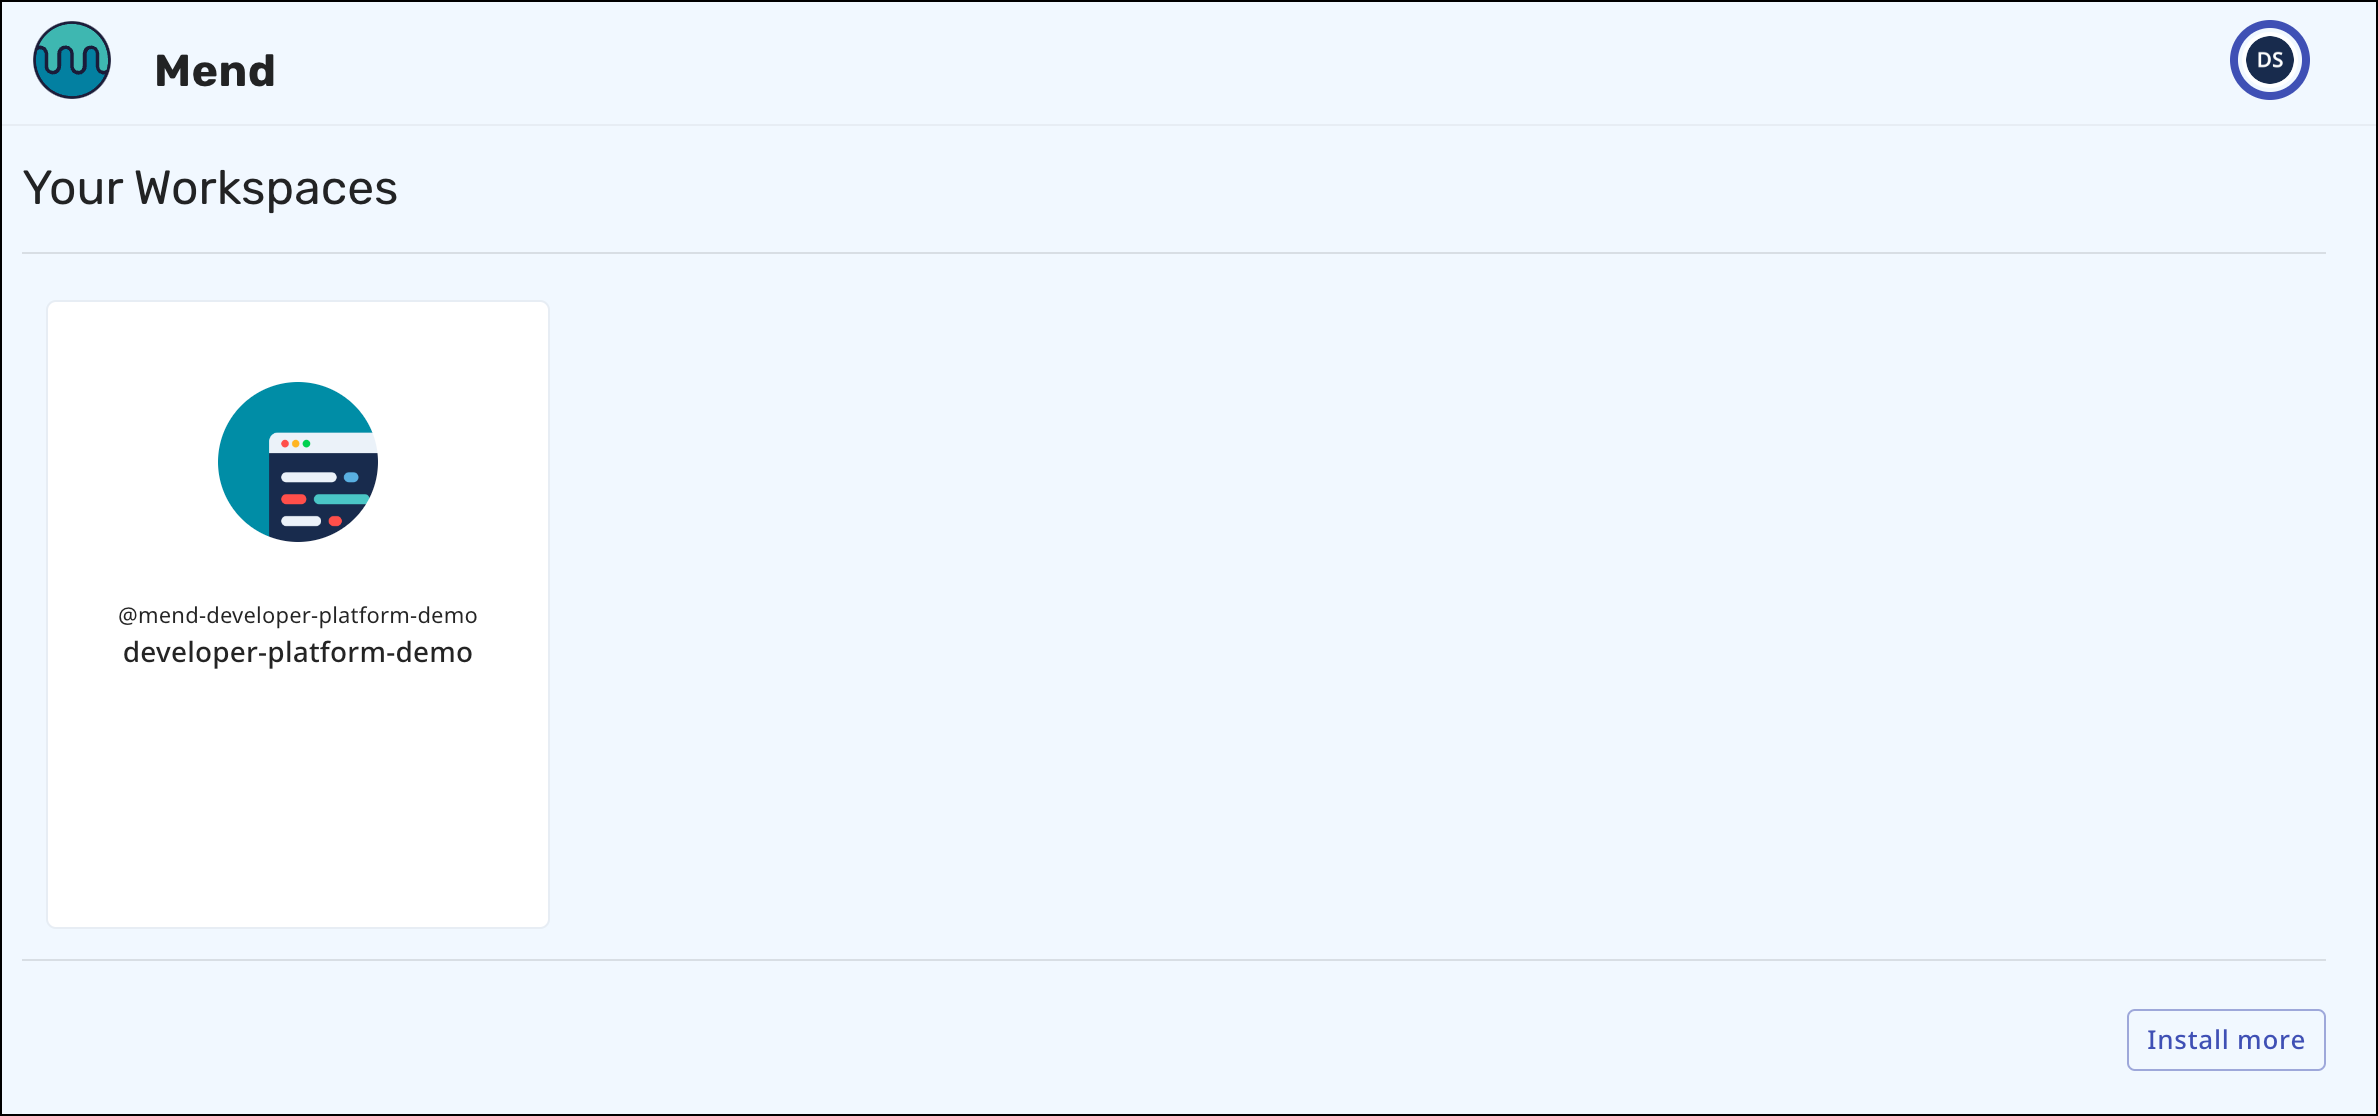
Note: You can integrate multiple BB workspaces with 1 Mend organization. Click “Install more” to onboard additional workspaces to your Mend Developer Platform App.
The Setup Wizard will open, where two product options will be presented.
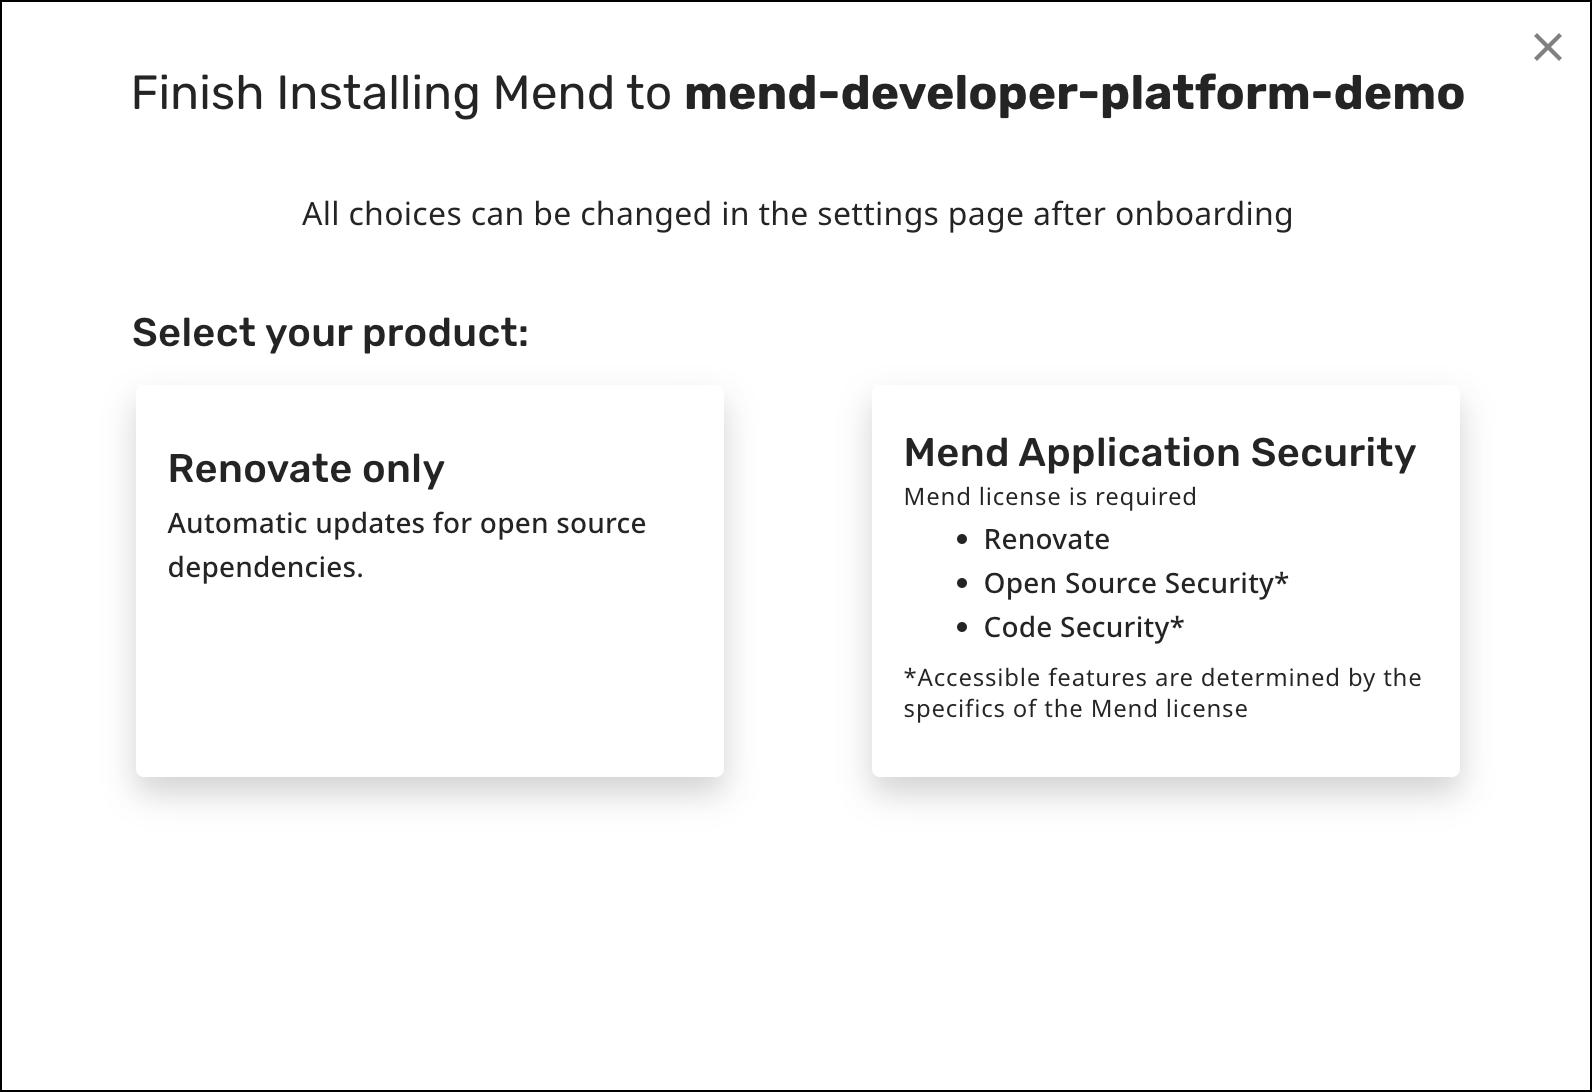
Renovate-only users: Choose Renovate only, then skip to step 11.
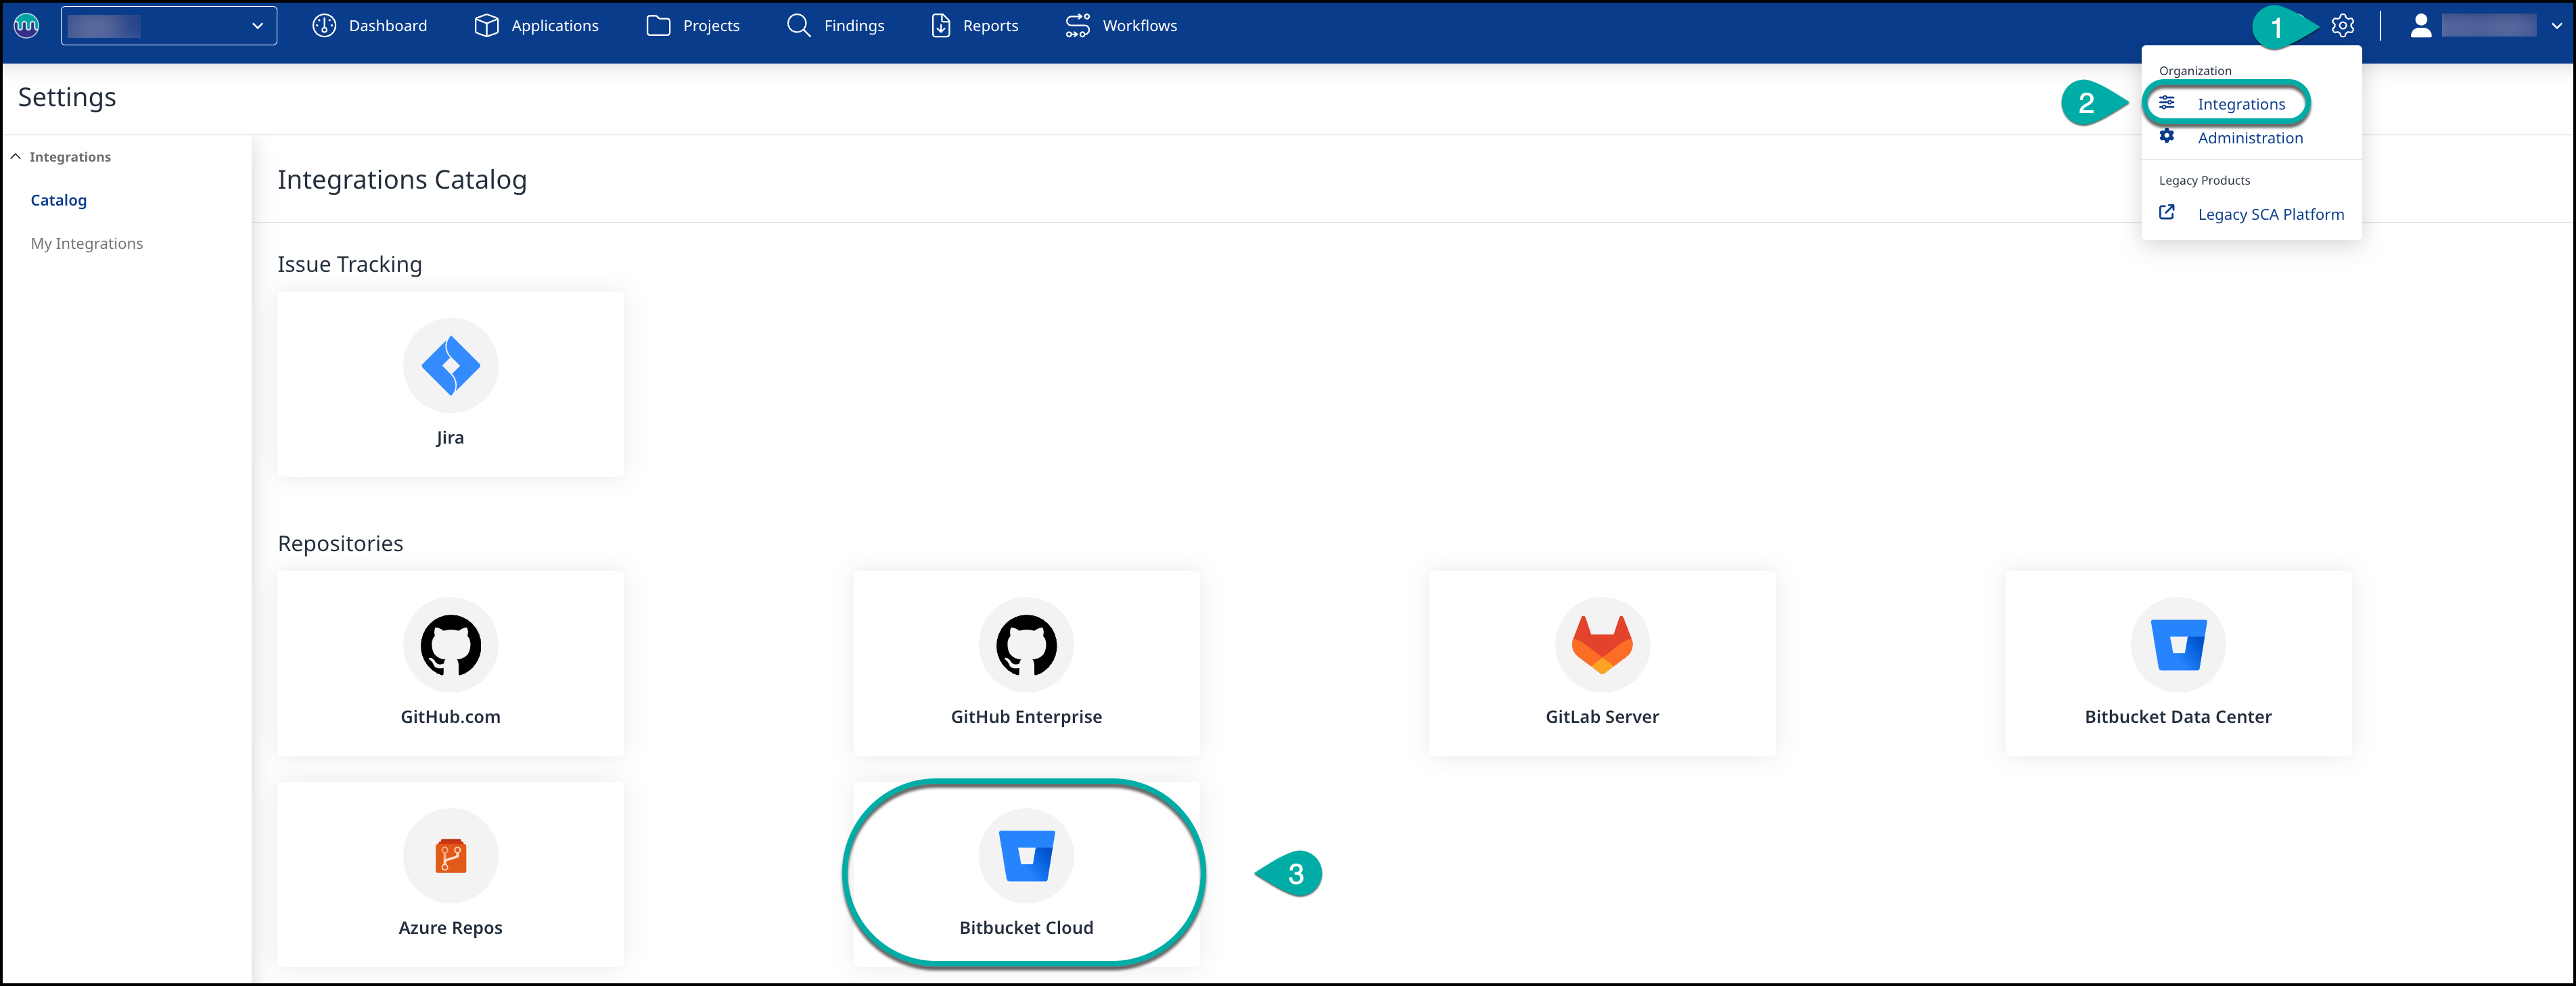
Paid Mend customers: Choose Mend Application Security, then continue to follow all steps.Open the Mend Platform and navigate to Integrations under the Settings toggle, then select the Bitbucket Cloud integration.
Click Get Activation Key and copy the activation key. This will be used in step #10.
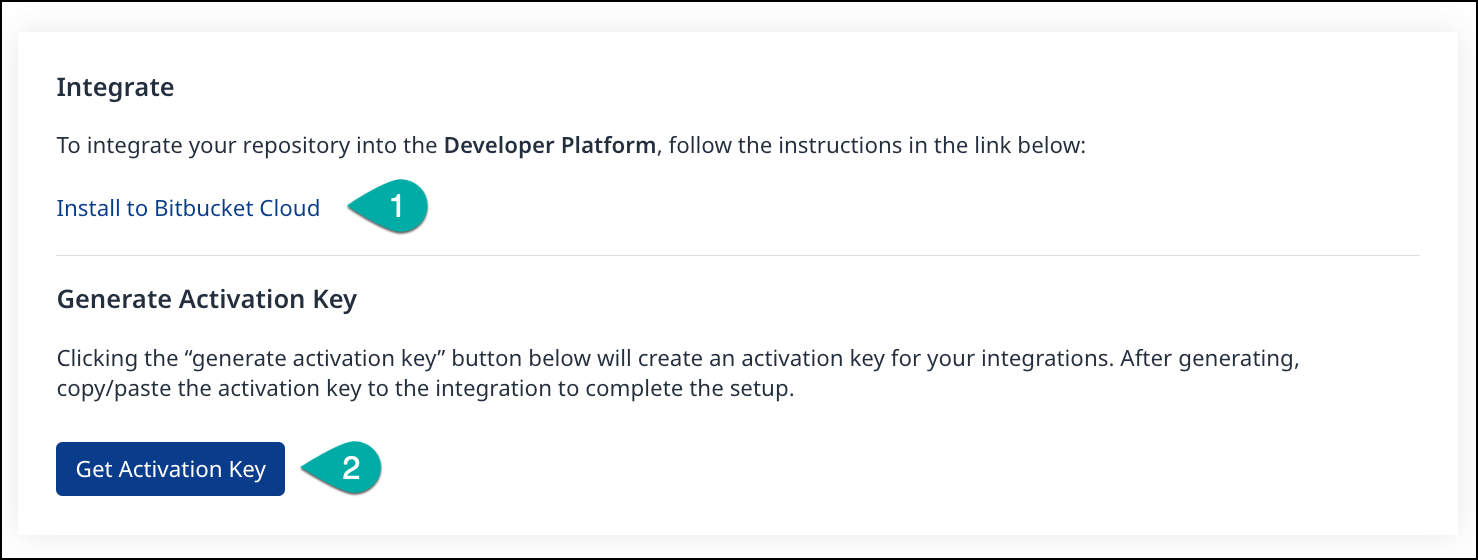
Return to the Mend Developer Portal to complete installation.
Using the Activation Key copied from the Mend Platform (as described in the previous step), paste the Activation Key into the Mend Activation Key box to connect your Bitbucket workspace with your paid Mend account.
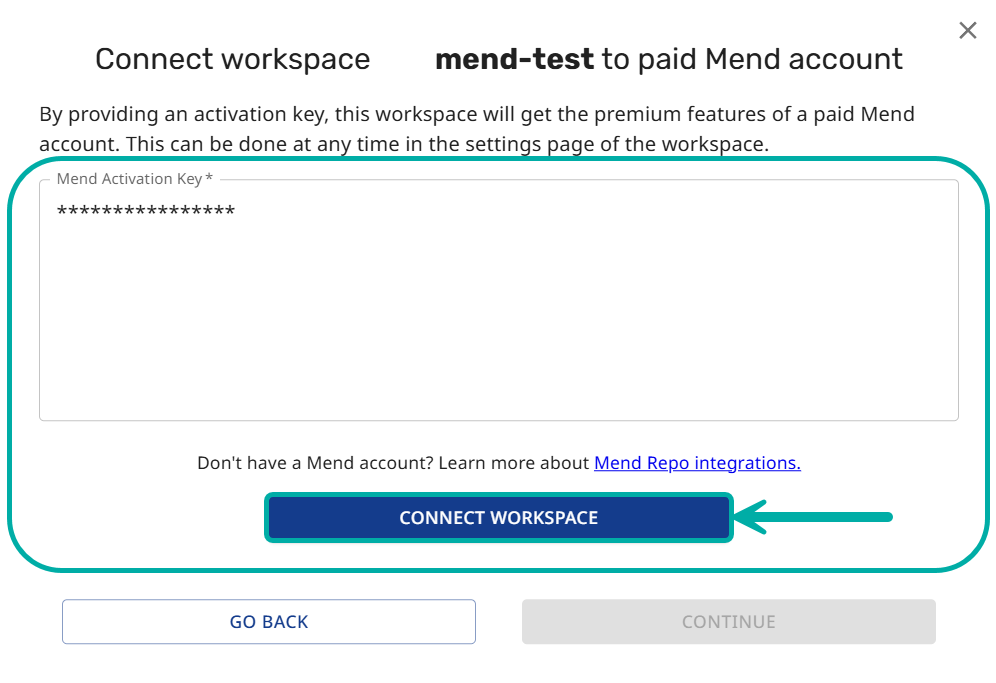
Click CONNECT WORKSPACE, and then CONTINUE.
You’ll see the name of the Mend Organization that your workspace is now connected to.Now you have the option to activate the Mend App for all repositories or only selected repositories. Select your preference, and then click CONTINUE.
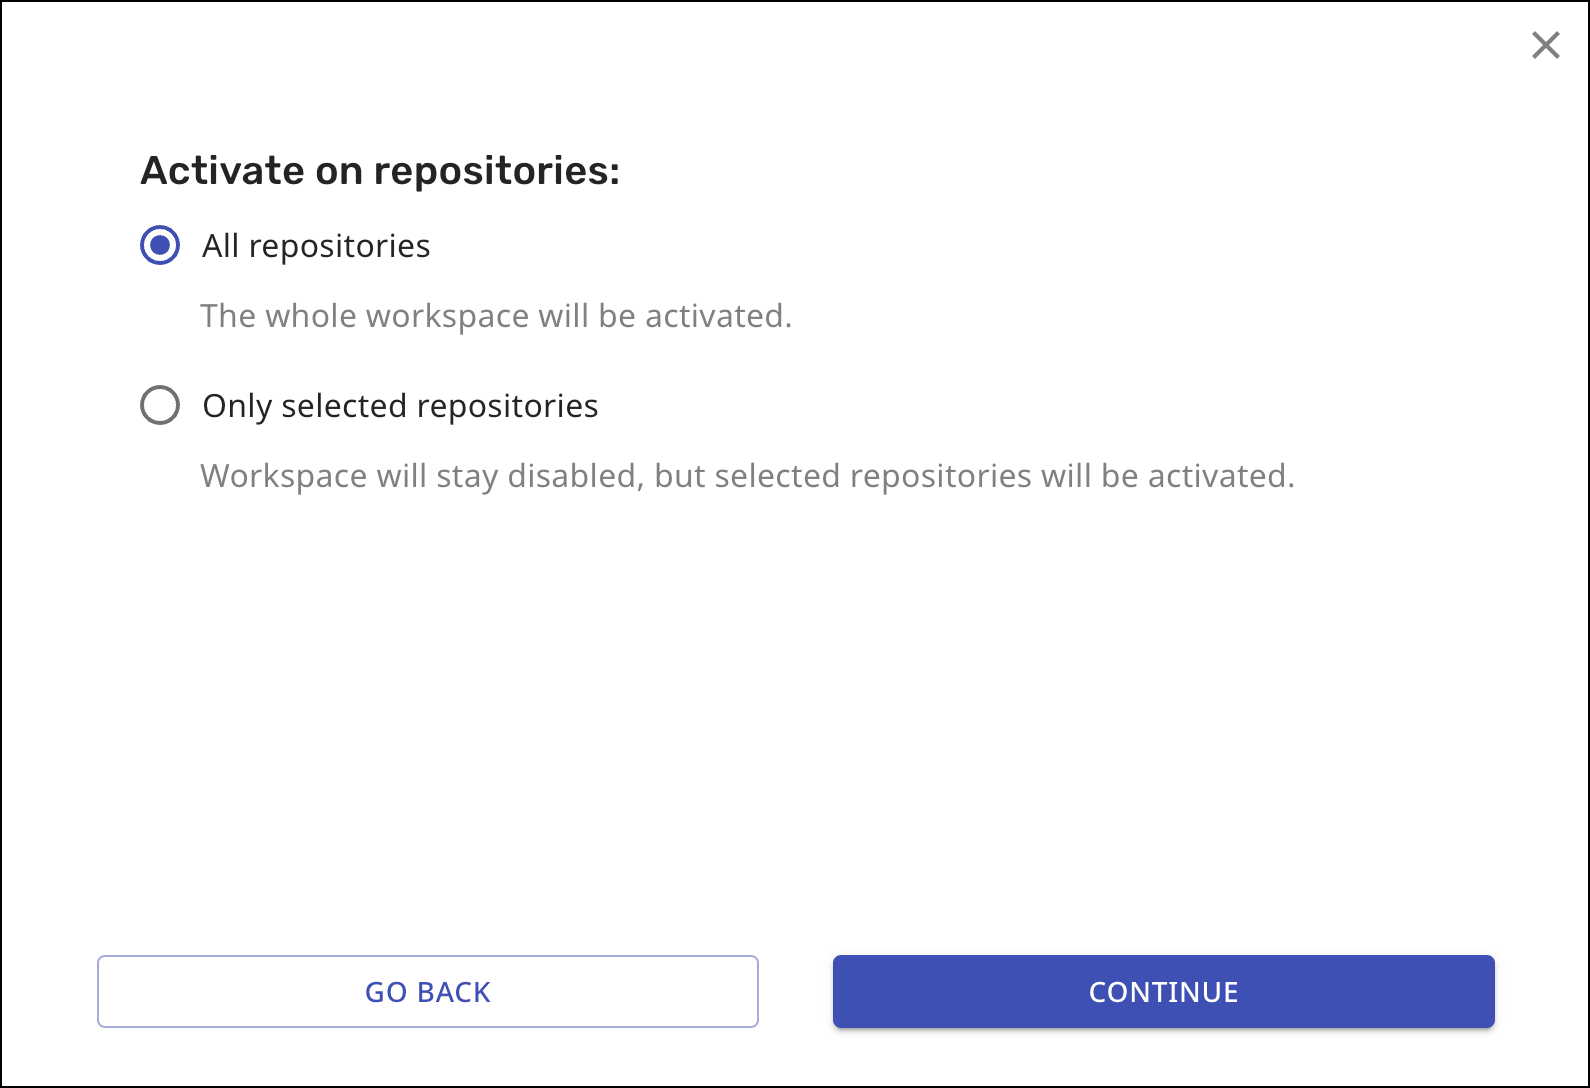
During the installation process, please note that the Mend Developer Platform app is installed for the entire workspace. This means that it will have access to all repositories within the workspace, regardless of the repositories selected during installation.
The purpose of selecting repositories at this step is to define which repositories will have the available engines enabled and activated.
The next screen is different for Renovate-only users and paid Mend customers.
Renovate-only users: Select “Silent mode” or “Interactive mode”, the press CONTINUE.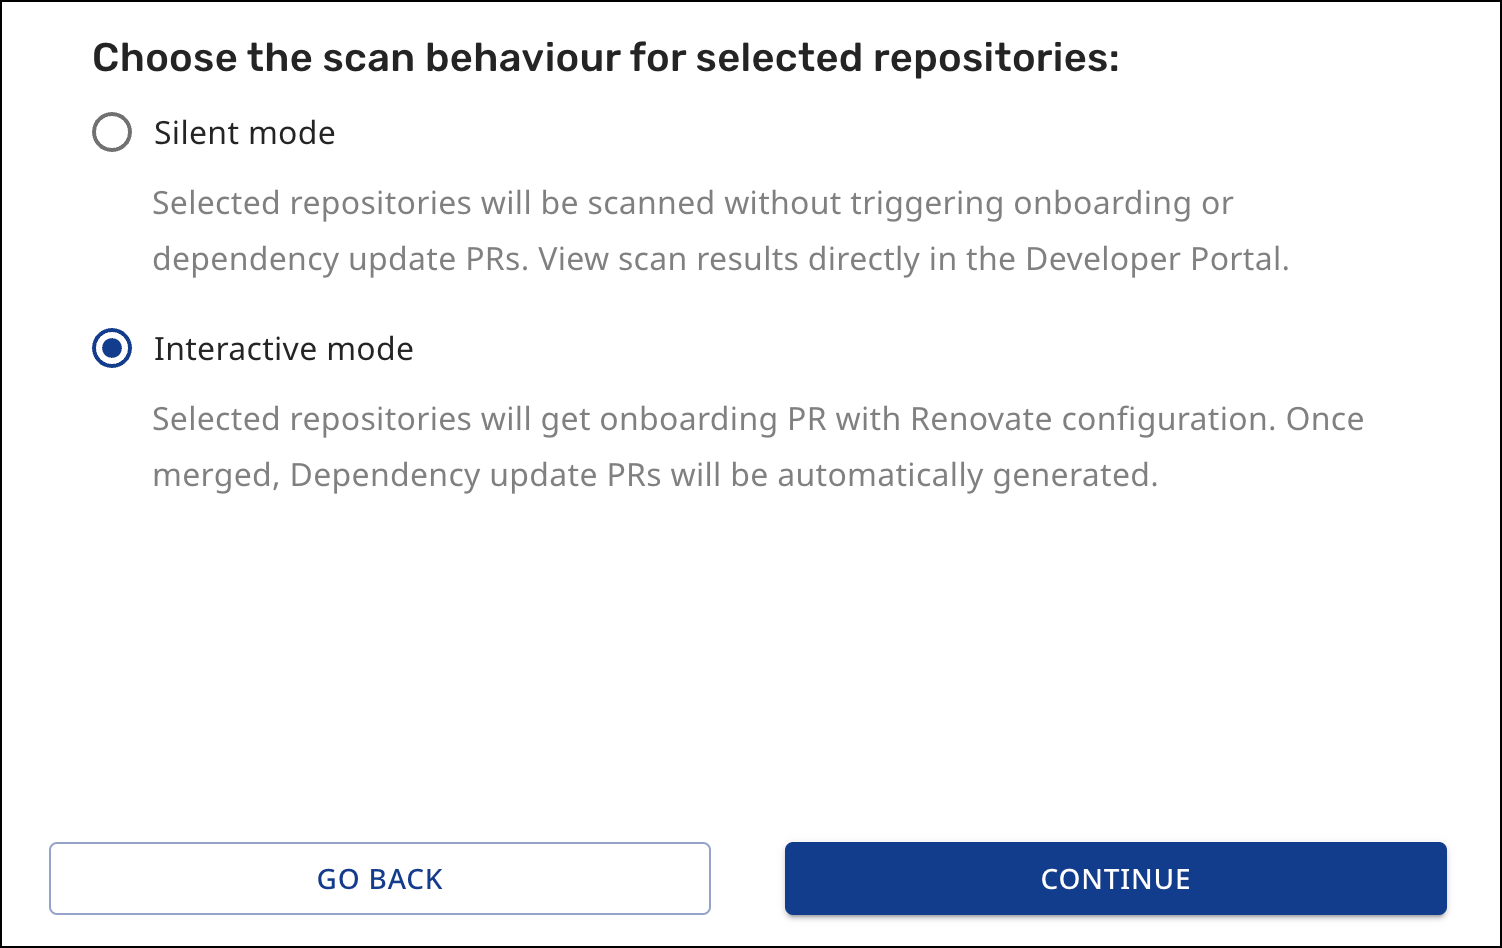
Paid Mend customers: Select “Scan only” or “Scan and alert”, then press CONTINUE
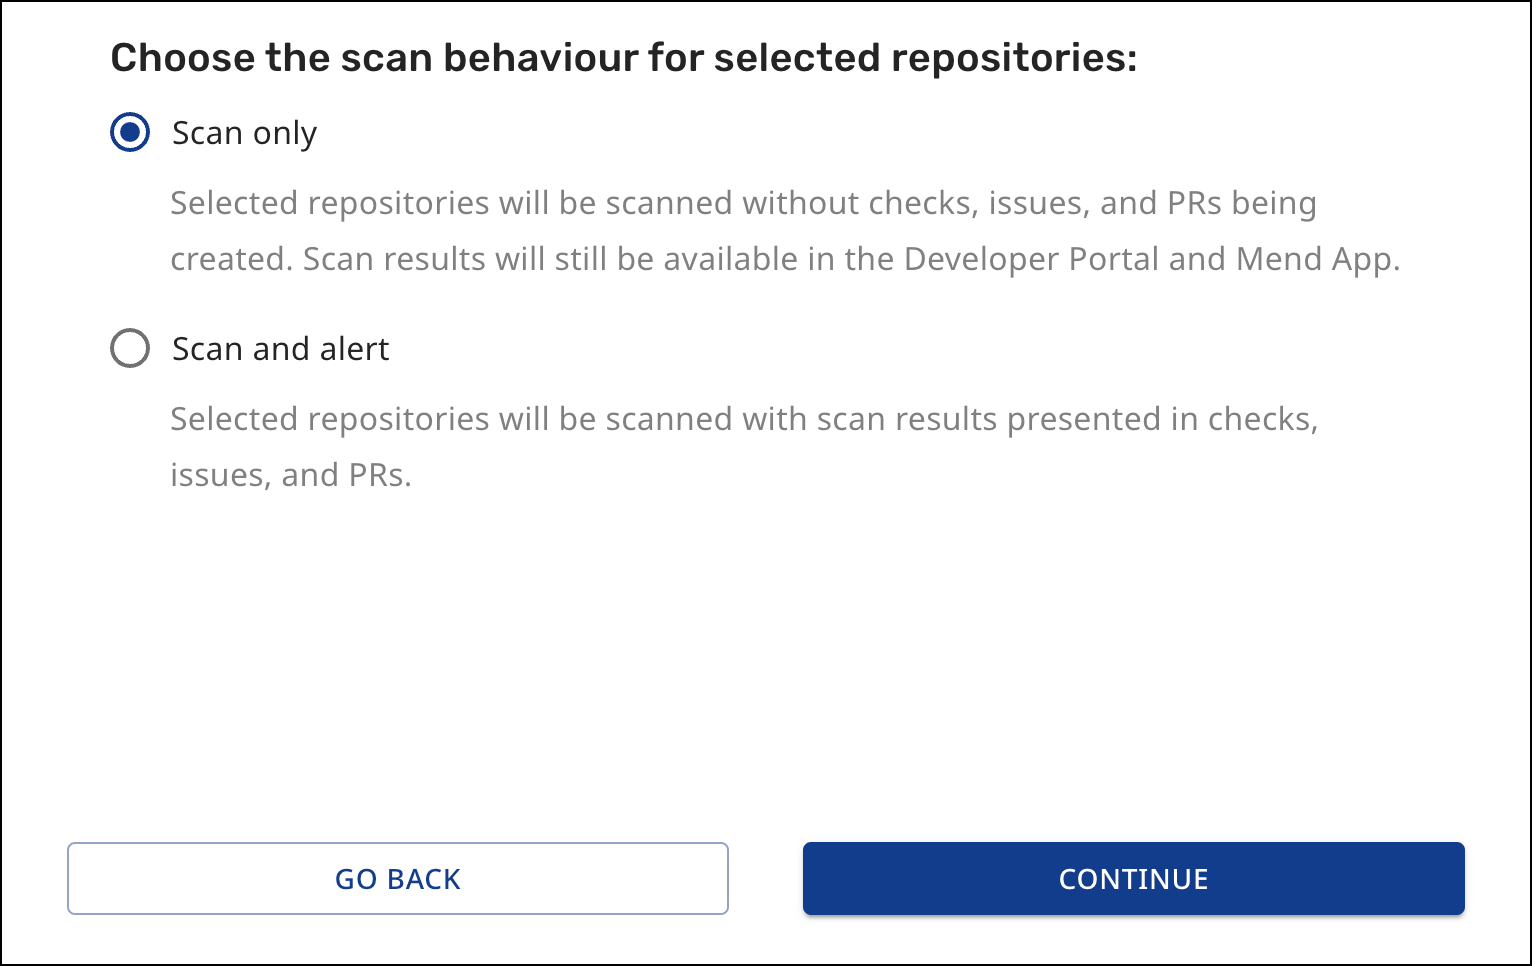
This completes the installation steps for Mend Renovate and Mend Developer Platform.
Create a branch restriction in Bitbucket Cloud using Mend checks
To create a Bitbucket Project branch restriction that will block pull requests to the default branch of each repository when the Mend check fails (using the default Mend configuration):
Within Bitbucket, select Projects on the top navigation bar to access the projects within the workspace.

Select the Project in which you want to add branch restrictions.
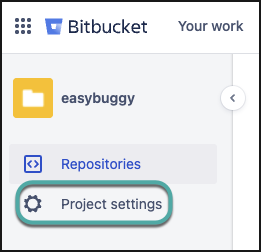
Select Project Settings on the left navigation sidebar.
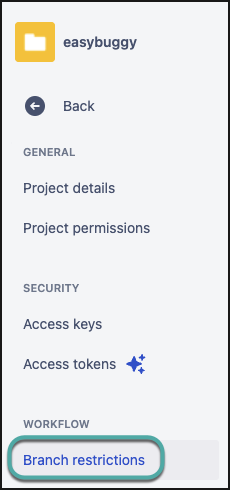
Select Branch restrictions on the left navigation sidebar.
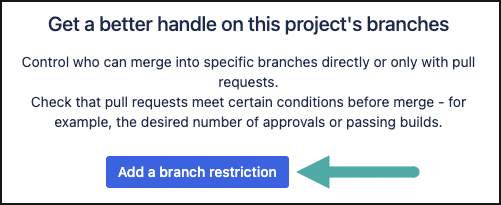
Select Add a branch restriction.
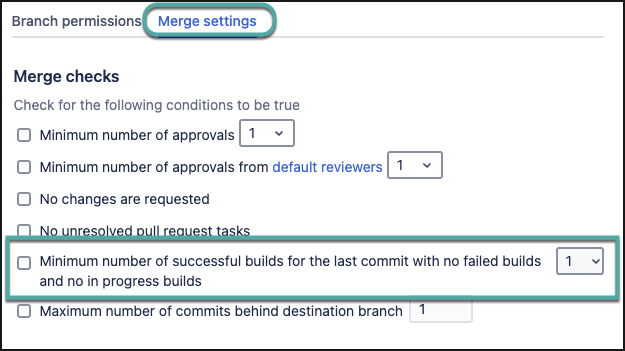
Select the Merge settings tab.
Check the following box ‘Minimum number of successful builds for the last commit with no failed builds <number> and no in progress builds' - please set 'number’ to your company policy.
Click Save.
Uninstall Mend Developer Platform for Bitbucket Cloud
To uninstall Mend Developer Platform for Bitbucket Cloud from your Mend Developer Platform account or your Bitbucket Workspace settings:
Uninstall from the Mend Developer Platform
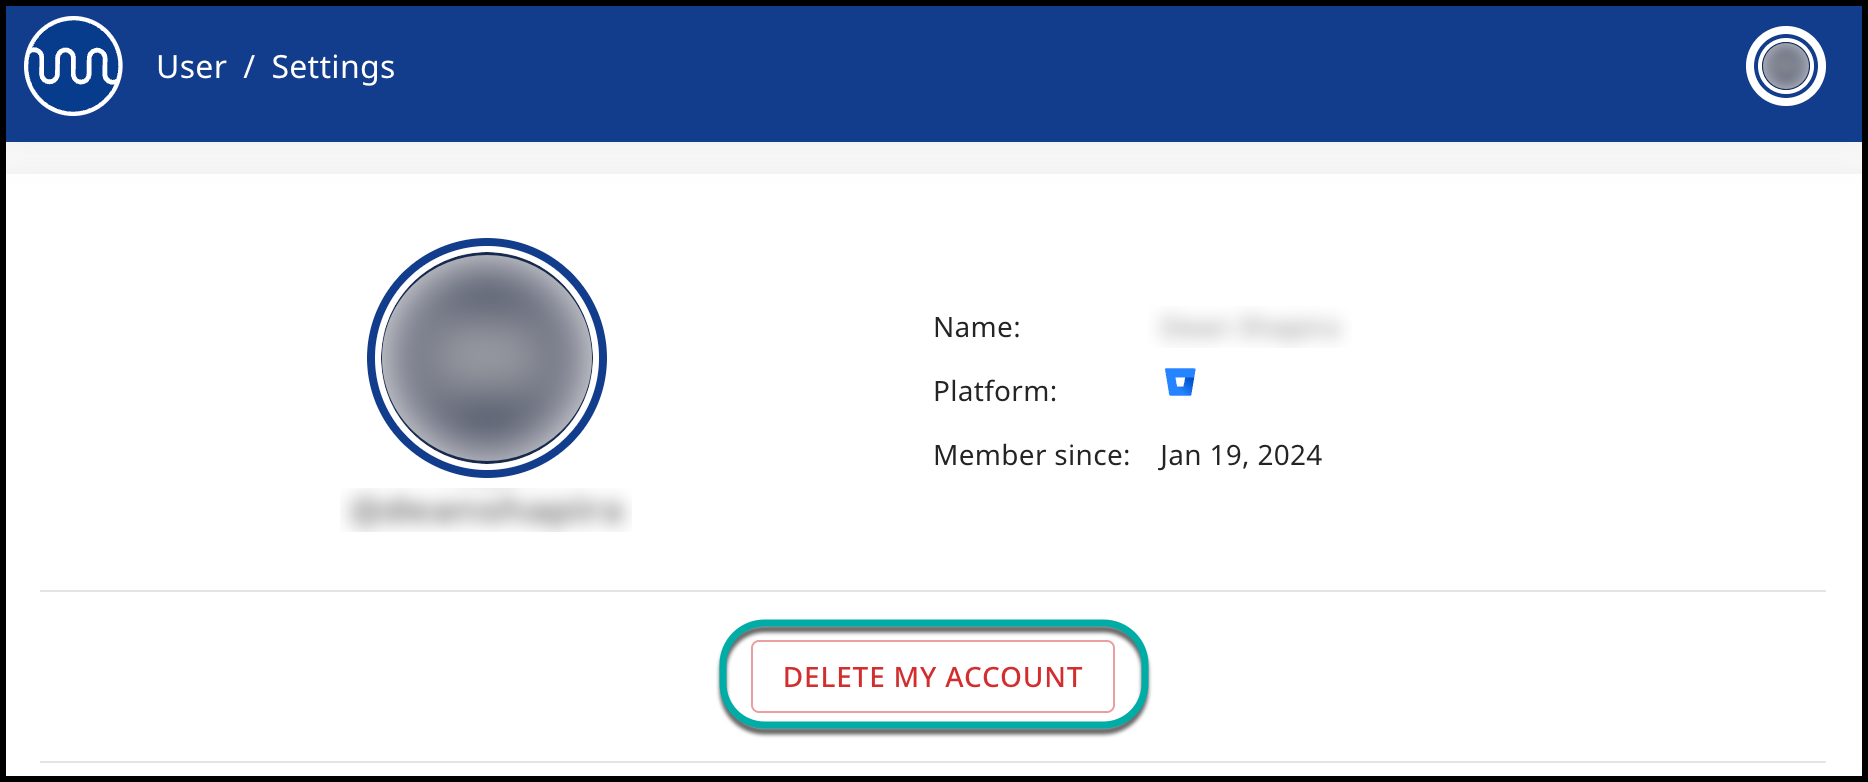
Within the Mend Developer Platform, navigate to your Profile → select the Account Settings option of the organization:

Click on DELETE MY ACCOUNT.
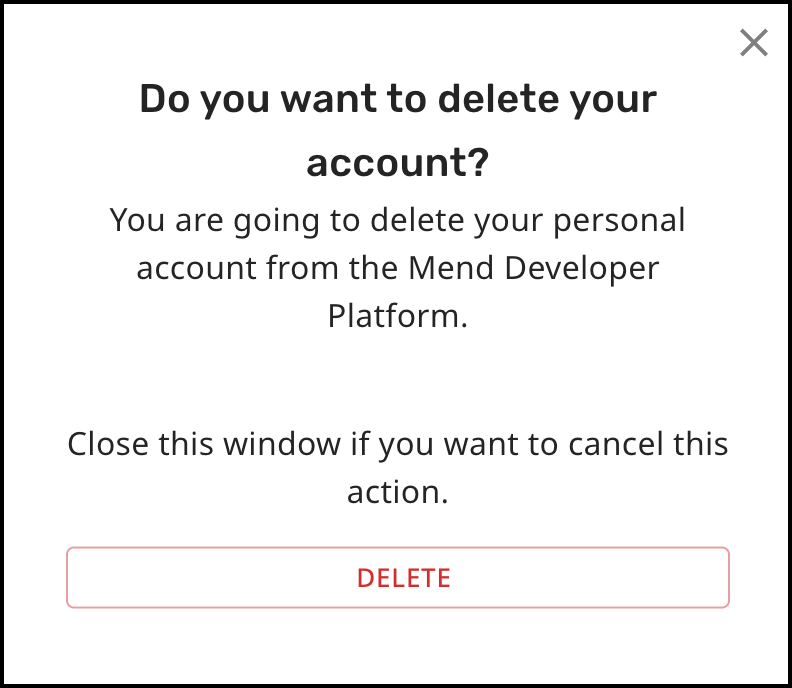
Confirm your action to delete your Mend Developer Platform account.
Uninstall from the Bitbucket Workspace Settings
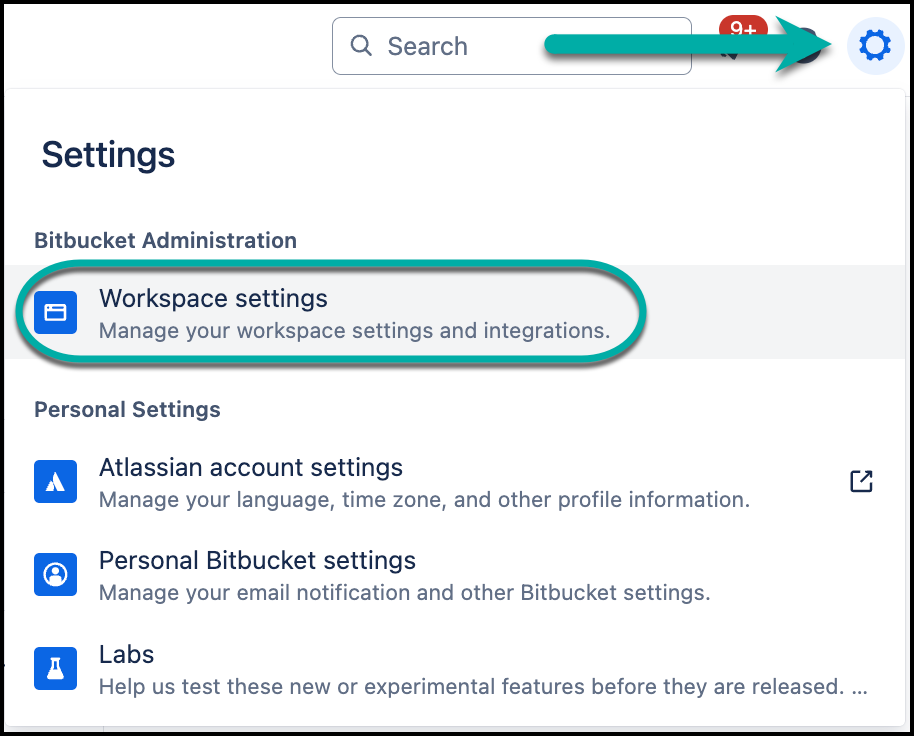
Within your Bitbucket account, click on the gear icon (
 ) in the sidebar to open Workspace Settings.
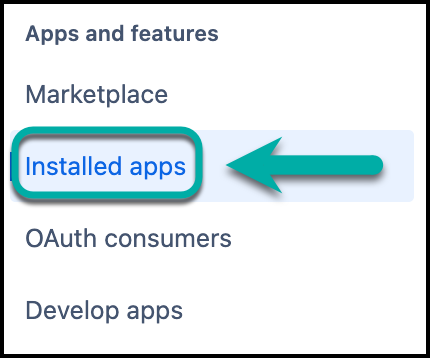
In the left-hand menu, under Apps and features, select Installed Apps.
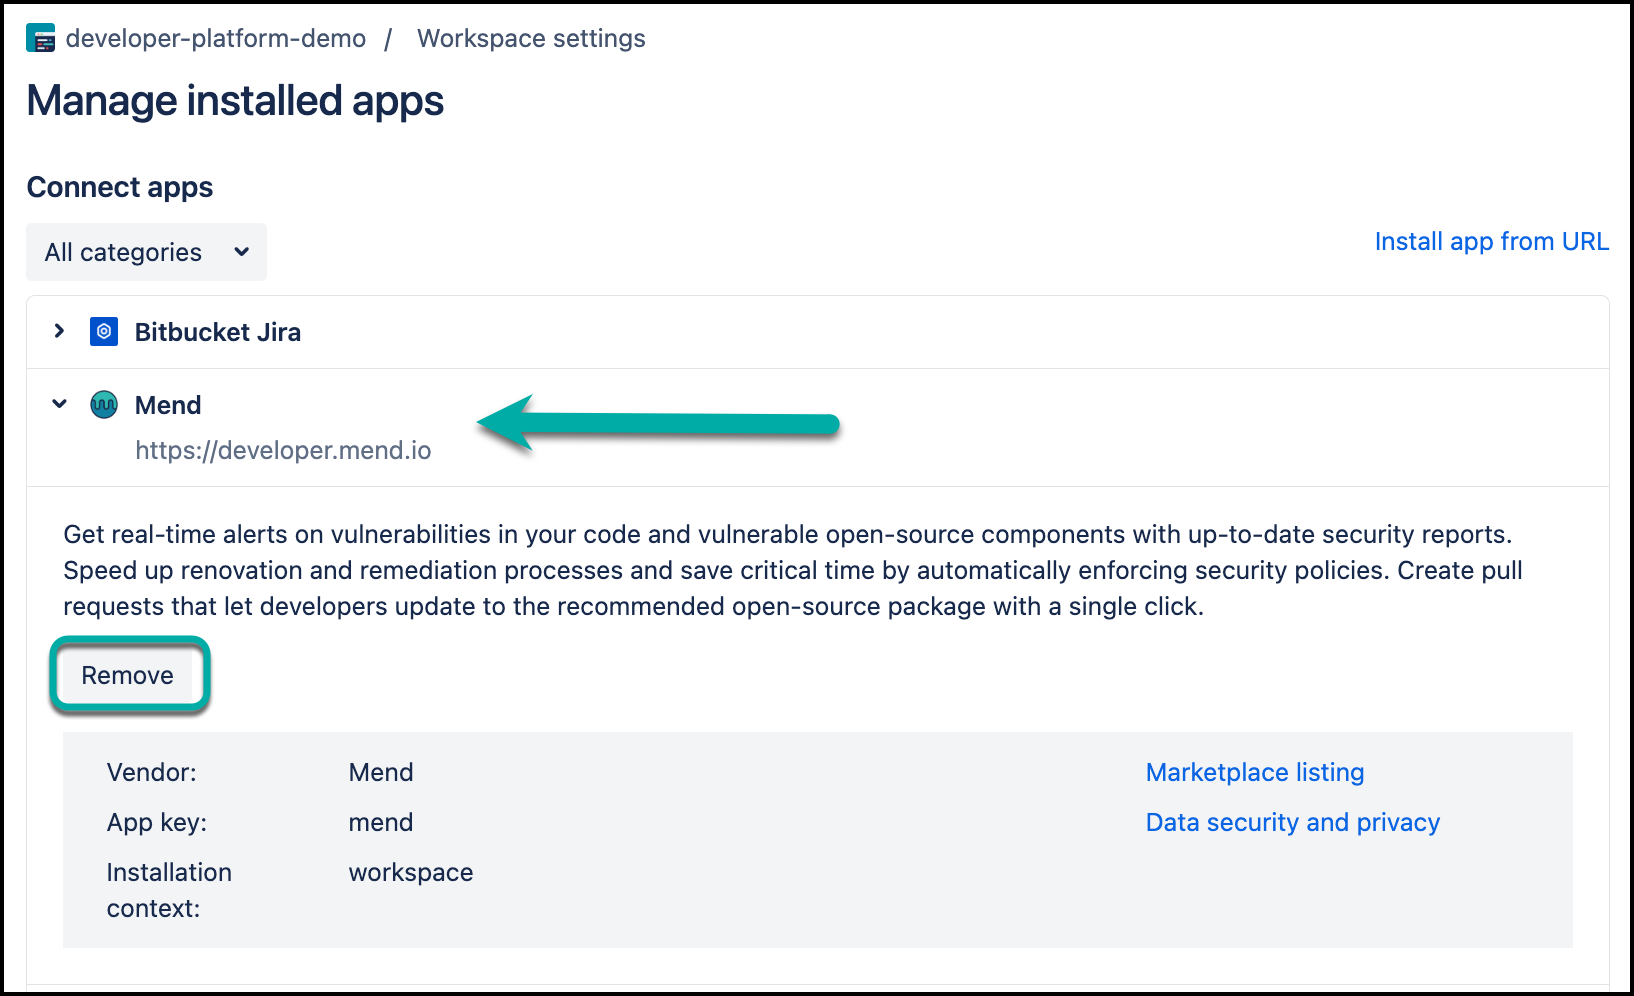
Scroll to locate the Mend integration. Click on the integration entry to expand its details, and then click the Remove button to uninstall it from your workspace.
