Configure Single Sign-On (SSO) with Microsoft Entra ID for the Mend AppSec Platform
Overview
This is a step-by-step guide for setting up our SAML Integration offering with the Identity Provider (IdP), Entra ID. Mend offers SAML integration for two purposes:
Authentication for login
Role Management (optional)
This article covers SAML integration for Authentication only. Information regarding Role Management can be found here: SAML 2.0 Integration
Common SAML Terminology Referred to in Entra ID
Assertion Consumer Service (ACS) URL: This is referred to as the Reply URL within the “Set up Single Sign-On with SAML” page when creating the Entra Enterprise application.
Entity ID: This is referred to as the Identifier within the “Set up Single Sign-On with SAML” page when creating the Entra ID application.
Microsoft Entra Identifier: This information is provided in the 4th section of the “Set up Single Sign-On with SAML” page.
Metadata: For our purposes in this article, this information is provided in the 3rd section of the “Set up Single Sign-On with SAML” page.
Prerequisites
Please confirm you have the proper permissions in the Azure Portal to create an Entra Enterprise Application and assign users and groups to it appropriately.
Please confirm you are a Mend Admin in order to create the SAML integration within your Mend organization.
Getting it done
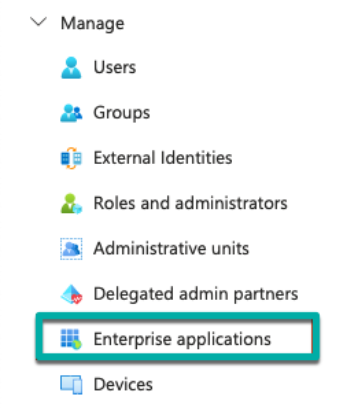
In the Azure Portal, navigate or search for “Microsoft Entra ID”. Navigate to “Manage” on the left-hand side and click “Enterprise Applications”:
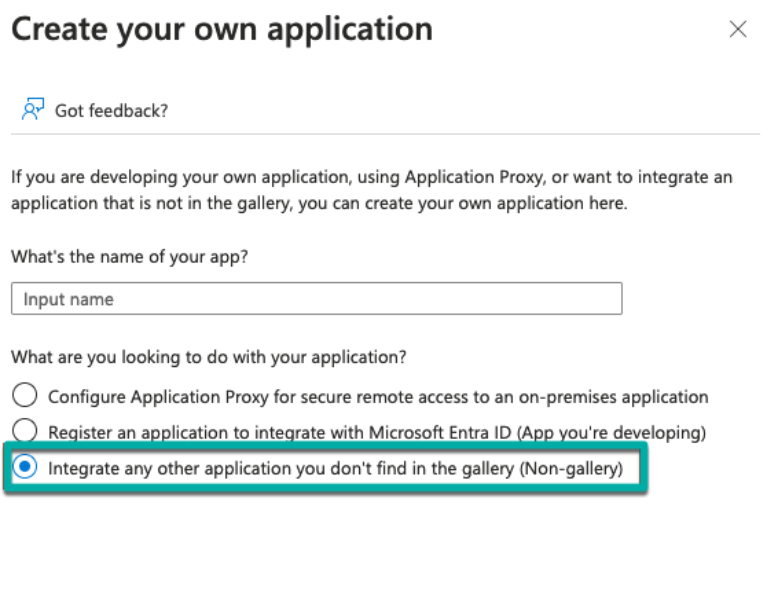
Click “New Application” and select “Create your own application”:


Give your application a name and select “Integrate any other application you don’t find in the gallery (Non-gallery)”:
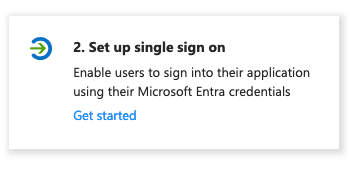
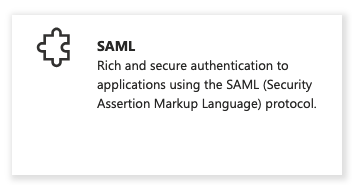
Select “Set up single sign on” and then “SAML”:
Enter the following information:
Identifier (Entity ID):
urn:auth0:<environment>:wss-con-<orgUuid>This value can be found in the SAML Integration page on the Mend Platform, labelled as “Entity ID”.
Reply URL (Assertion Consumer Service URL):
https://login-<environment>/login/callback?connection=wss-con-<orgUUid>This value can be found in the SAML Integration page on the Mend Platform, labelled as “Callback URL”.
If you would like to do role and group mapping, then set the appropriate claims in the “Attributes & Claims” section.
The Sign On URL is only required for SP-initiated login. Use your Mend Platform URL for this field if needed.
Copy the “App Federation Metadata URL” and save that in a spot for later.
Now, heading over to the Mend Platform, access the Mend organization that you wish to integrate with SAML and navigate to Configure → Administration → SAML Integration sidebar option:
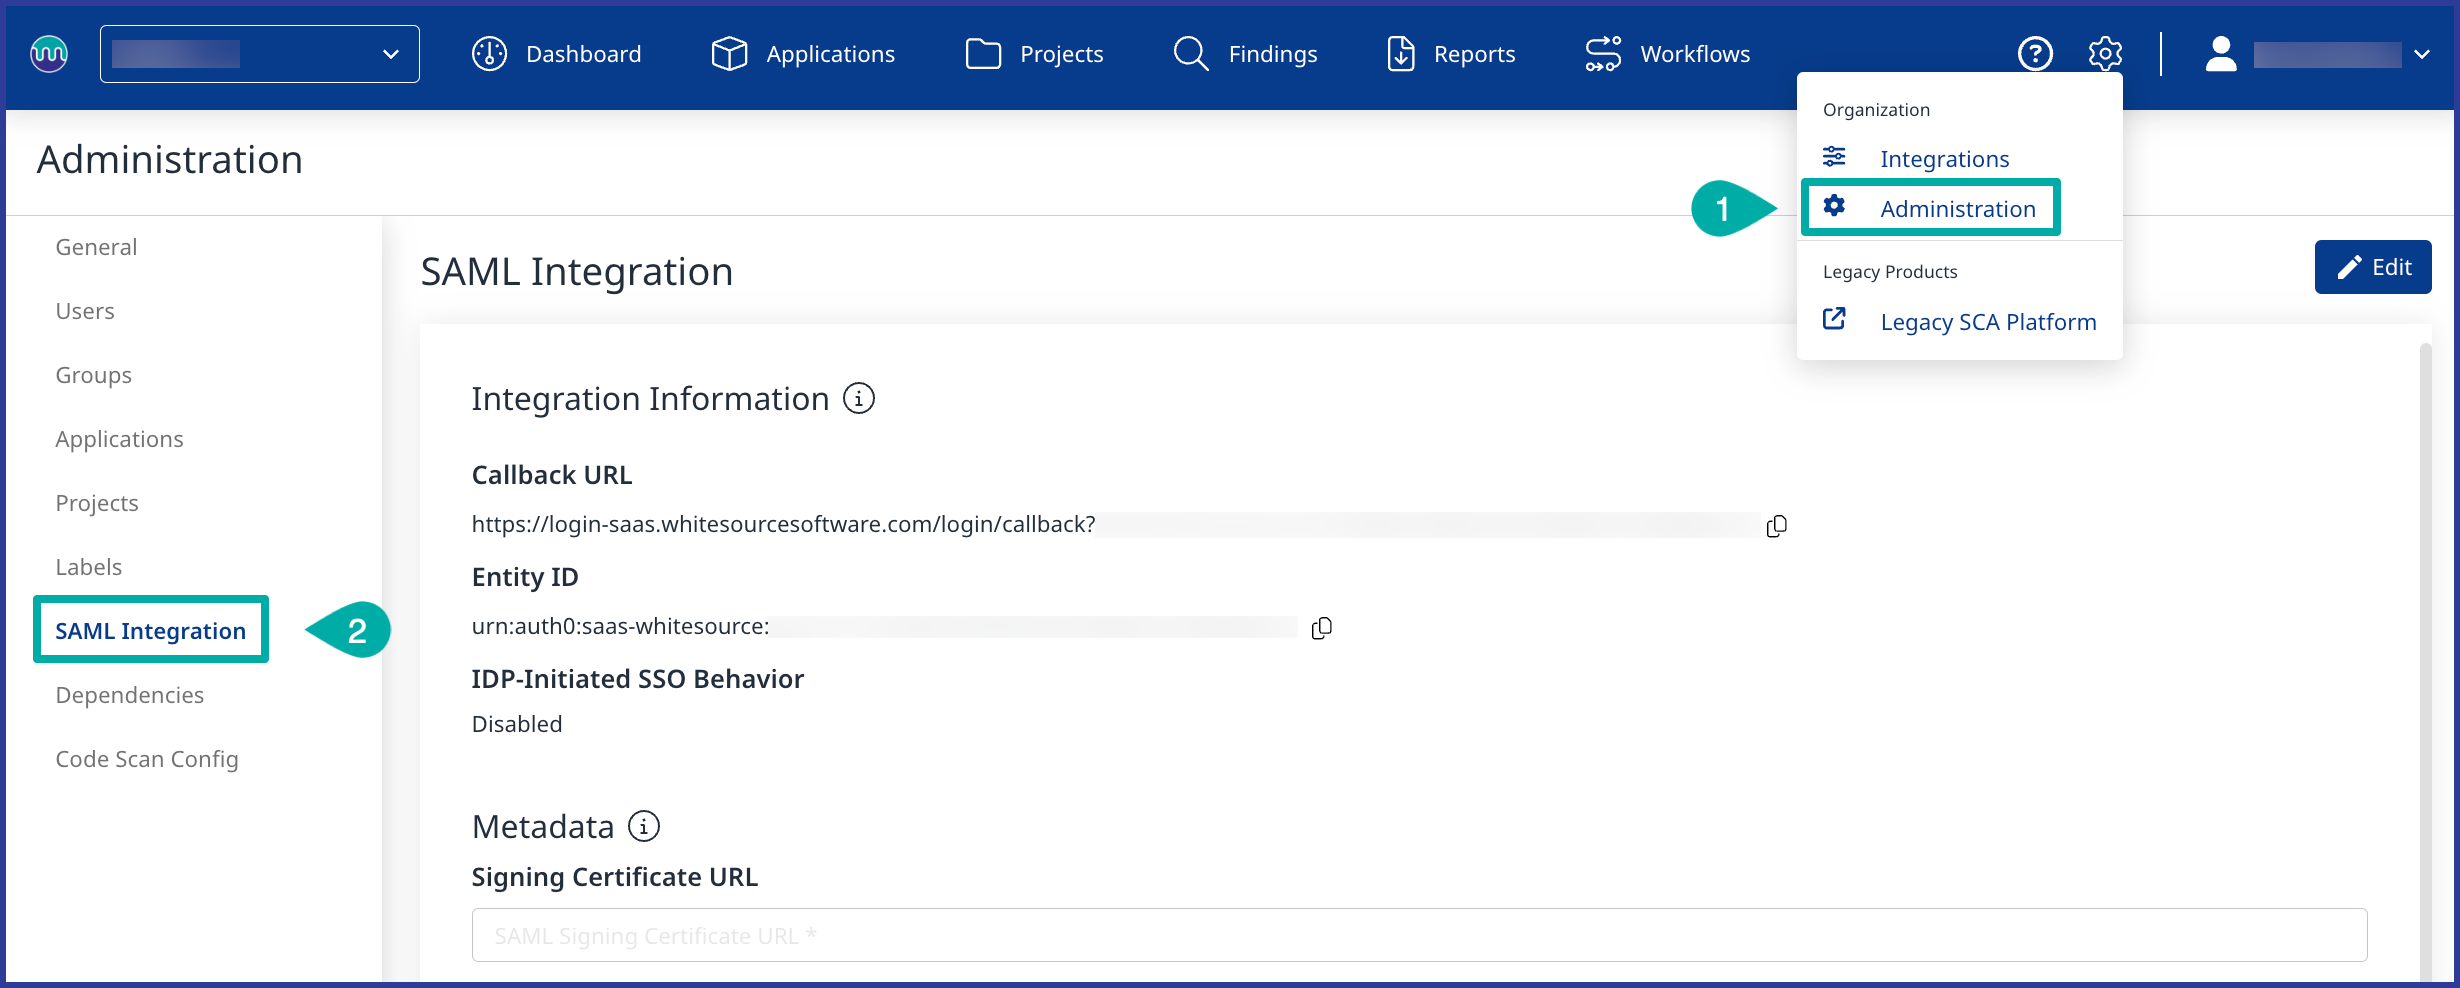
Within the SAML Integration tab, you will see the following required settings:
Signing Certificate URL: This is going to be the Metadata URL under the Sign On section of the SAML Application we have just created.

The signing certificate URL will be in the format:
https://login.microsoftonline.com/<tenant-id>/federationmetadata/<federation-version>/federationmetadata.xml?appid=<app-id>Email Domains section: In the Email Domains section add the email domain(s) used by your organization.

Key Attributes section: In the Key Attributes section, add the attributes from your IdP that match the Mend Platform key attributes provided (Name, Email, Group, and Role). These were set earlier when creating the Enterprise Application. Below is a simple example:

These fields would typically be set as follows:
Name = givenname
EmailAddress = emailaddress
Group = <your group claim> (typically in the format of a URL)
Role = <your role claim> (typically in the format of a URL)Group Claims: To ensure that group names are human-readable within the Mend Platform, configure Azure Entra ID to emit Cloud-only group display names.
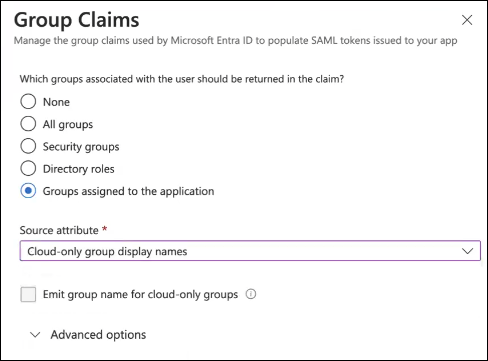
After saving, you will get your claim name (in the format of a URL) which you would then put in the Key Attributes section above.
Depending on your Entra ID SSO configuration, retrieve either the group name or group ID of the group that is sent in the SAML Assertion and enter this into Mend Platform:
If your configuration sends group names, use the exact group name as shown in Entra ID.
If your configuration sends group IDs, use the corresponding group ID value.
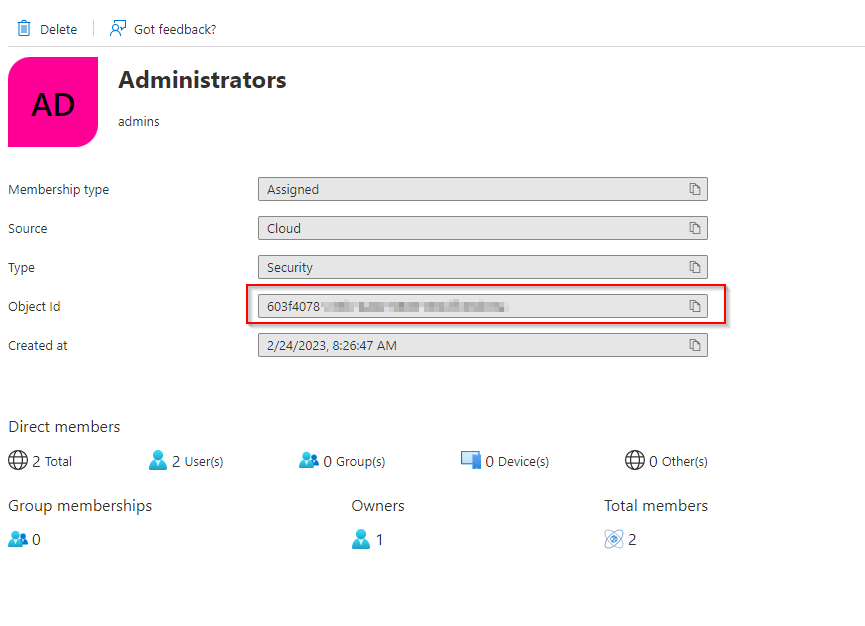
Role Mapping Section: In the Role Mapping Section, enter the group ID/group name retrieved from the previous step and map them to the groups created inside the Mend Platform.

Once finished, select Save in the top right-hand corner of the page and the settings will be applied, and a prompt informing you the settings have been successfully saved will appear, confirming the integration has been successful.
An assigned user or group of the application will be able to use the Mend Platform by specifying hte relevant
<environment>URL in the browser (e.g. https://saas.mend.io/app).
