Overview
This documentation provides System Admins with a technical guide to managing user groups within the Mend Platform. In this guide, we will explore the technical aspects of group creation and user group management, empowering you to streamline user access and enhance platform security.
Note: All users must belong to at least one group.
Getting it done
Create a New Group
-
Log into the Mend Platform.
-
Click the settings gear in the top right corner of the page.
-
Click Administration to navigate to the Administration page.

-
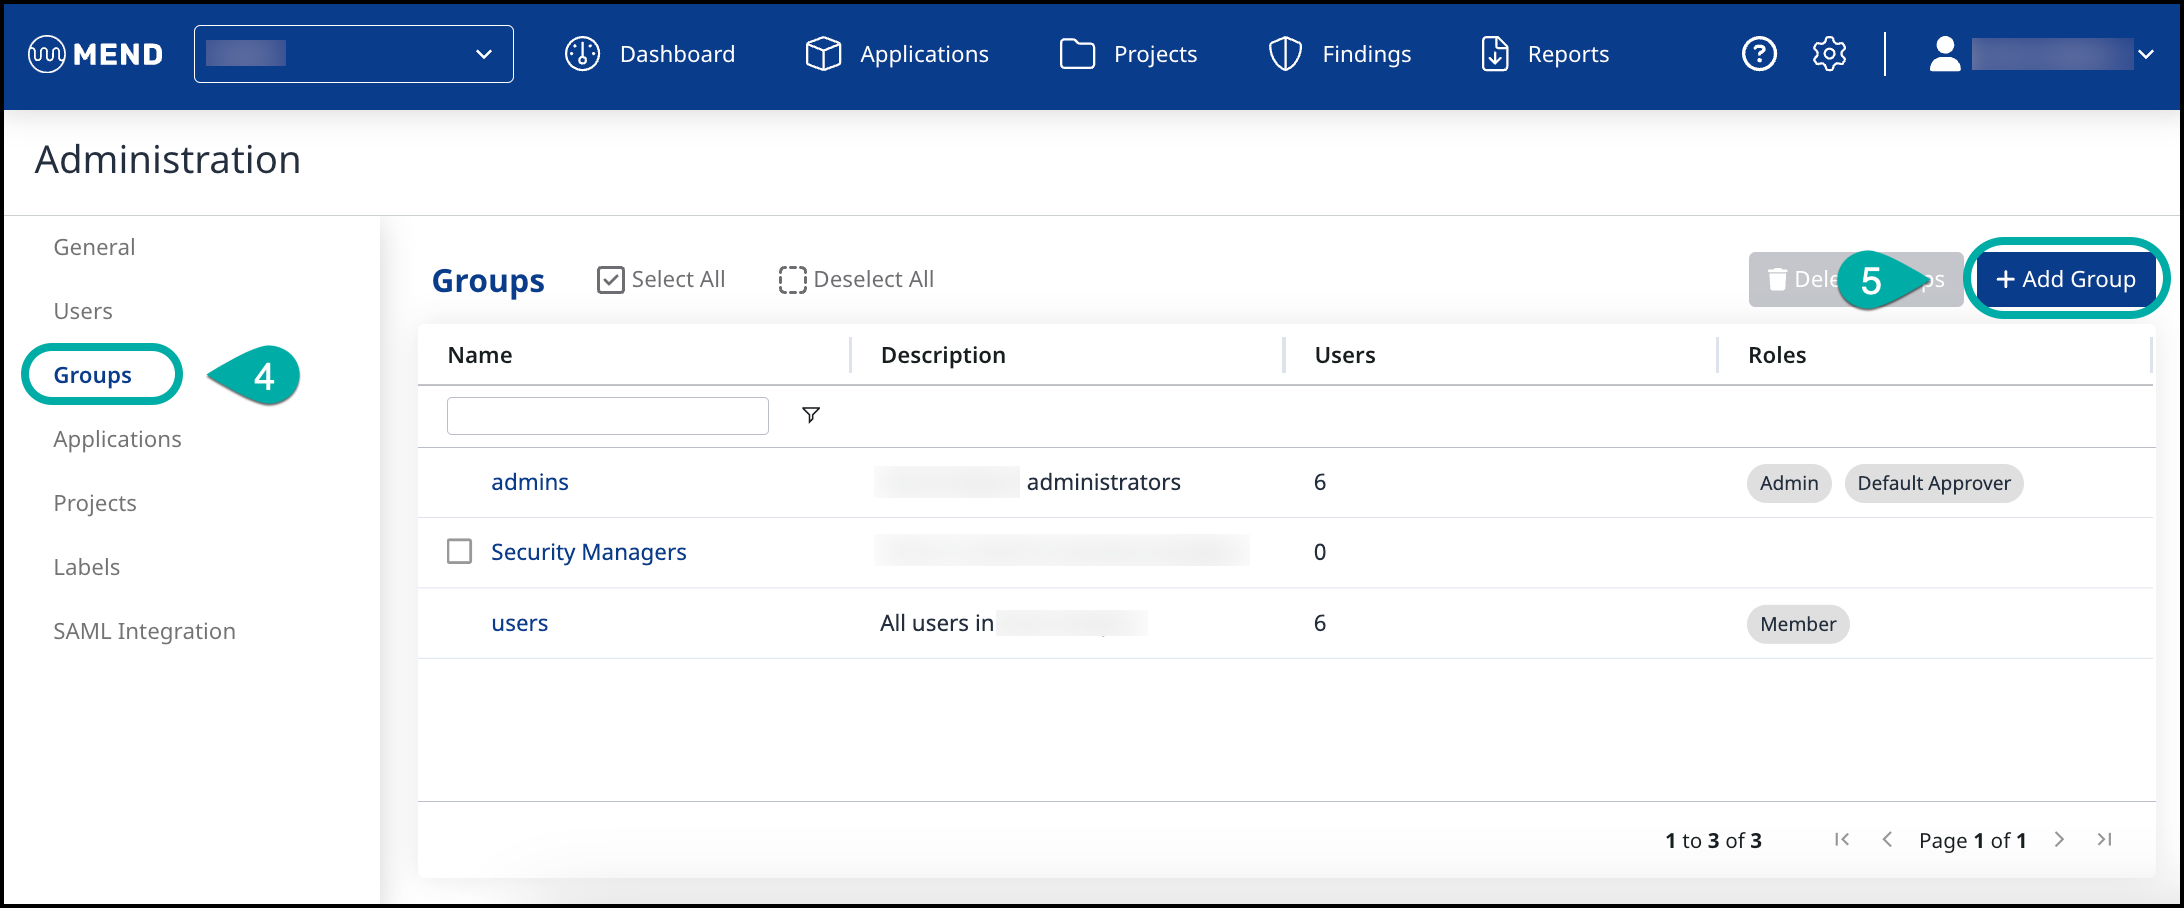
Click Groups in the left Administration list to navigate to the Groups management page.
-
Click the + Add Group button in the top right corner of the Groups table.
-
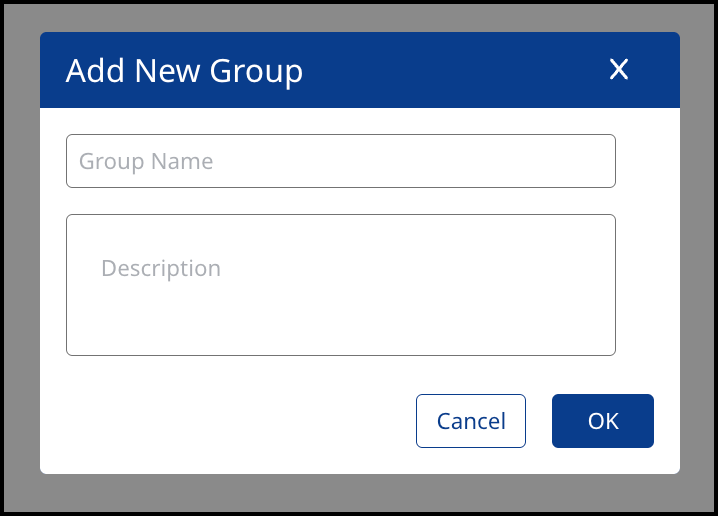
In the Add New Group dialog box alongside the table, provide a name and description of the new group and
-
Click “OK”. The new group will be displayed in the Groups table.
Visit the Limitations page to learn which characters can be used in group names.
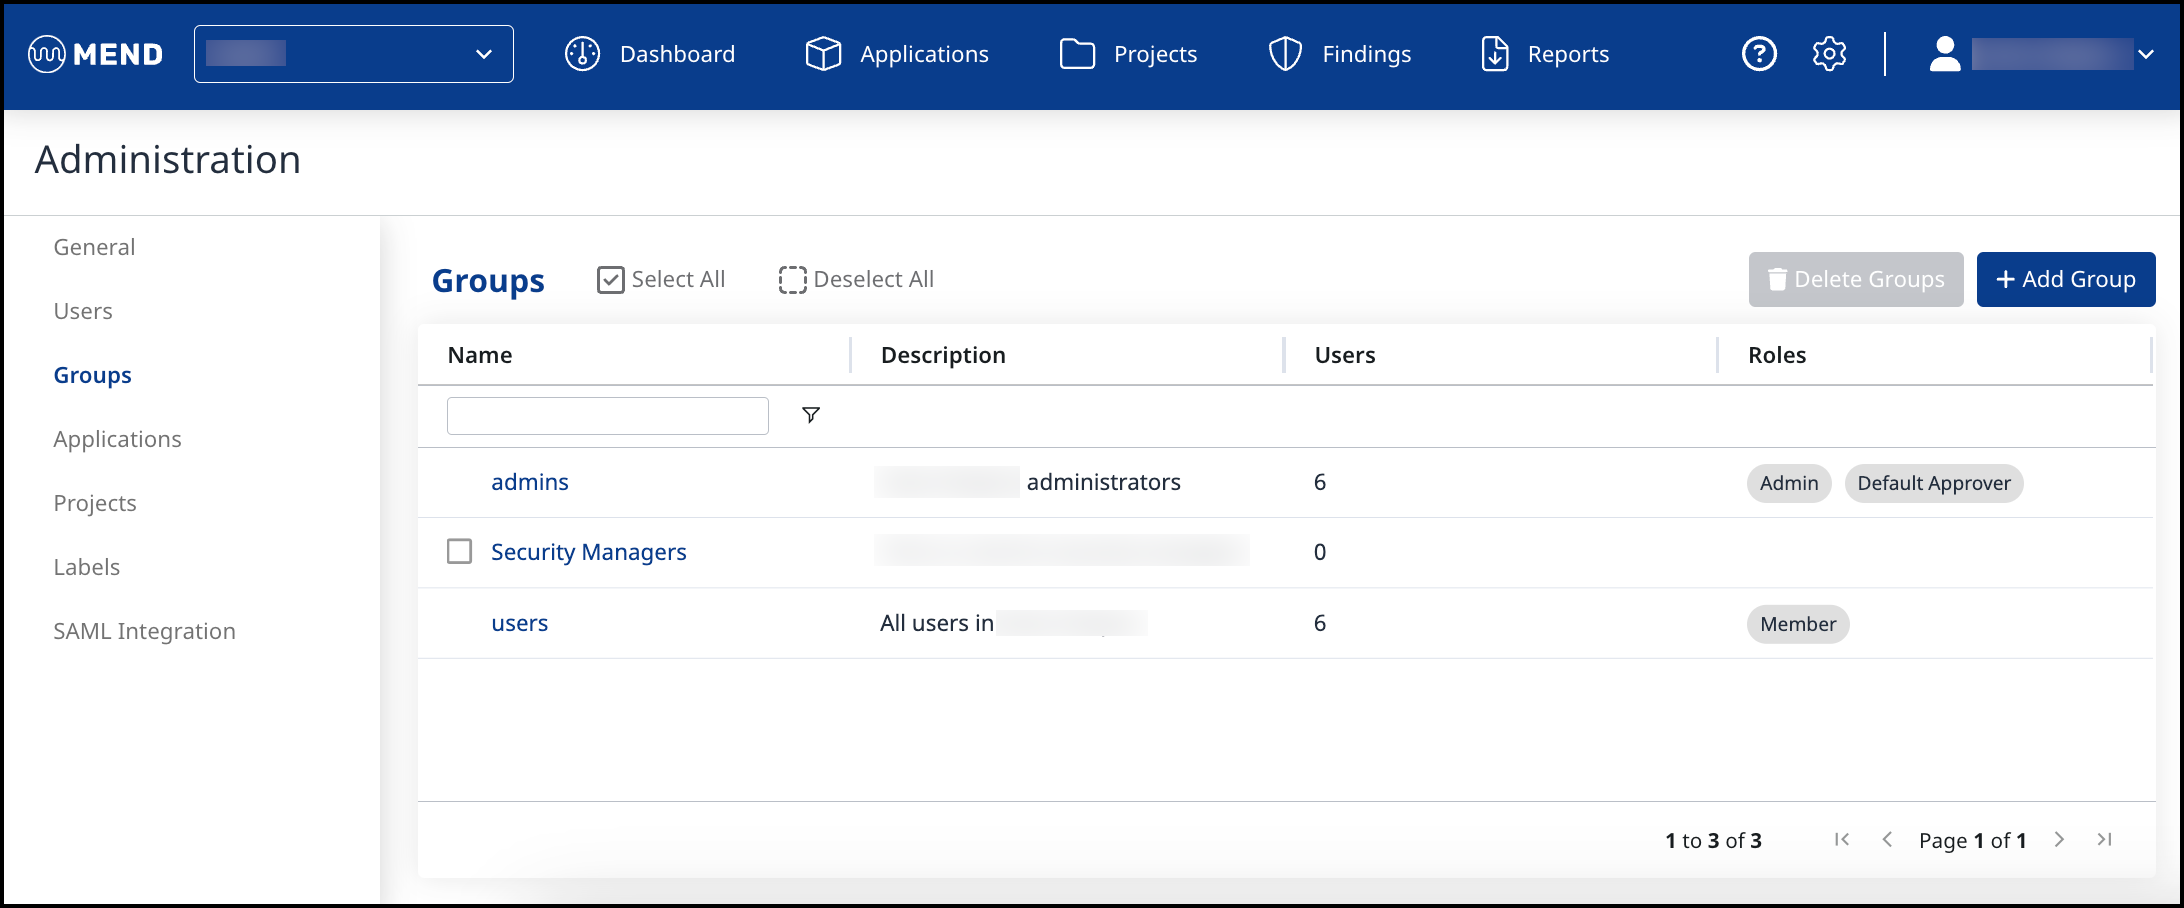
The Groups Table
The Groups table displays the following information on each group:
-
Name: The name of the group.
-
Description: The email address of the user
-
Users: The number of users in the group.
-
Roles: The roles that are assigned to a specific group.
Assign Users to Groups
To assign a user(s) to a group, do as follows:
-
Select the relevant group in the Groups table.
-
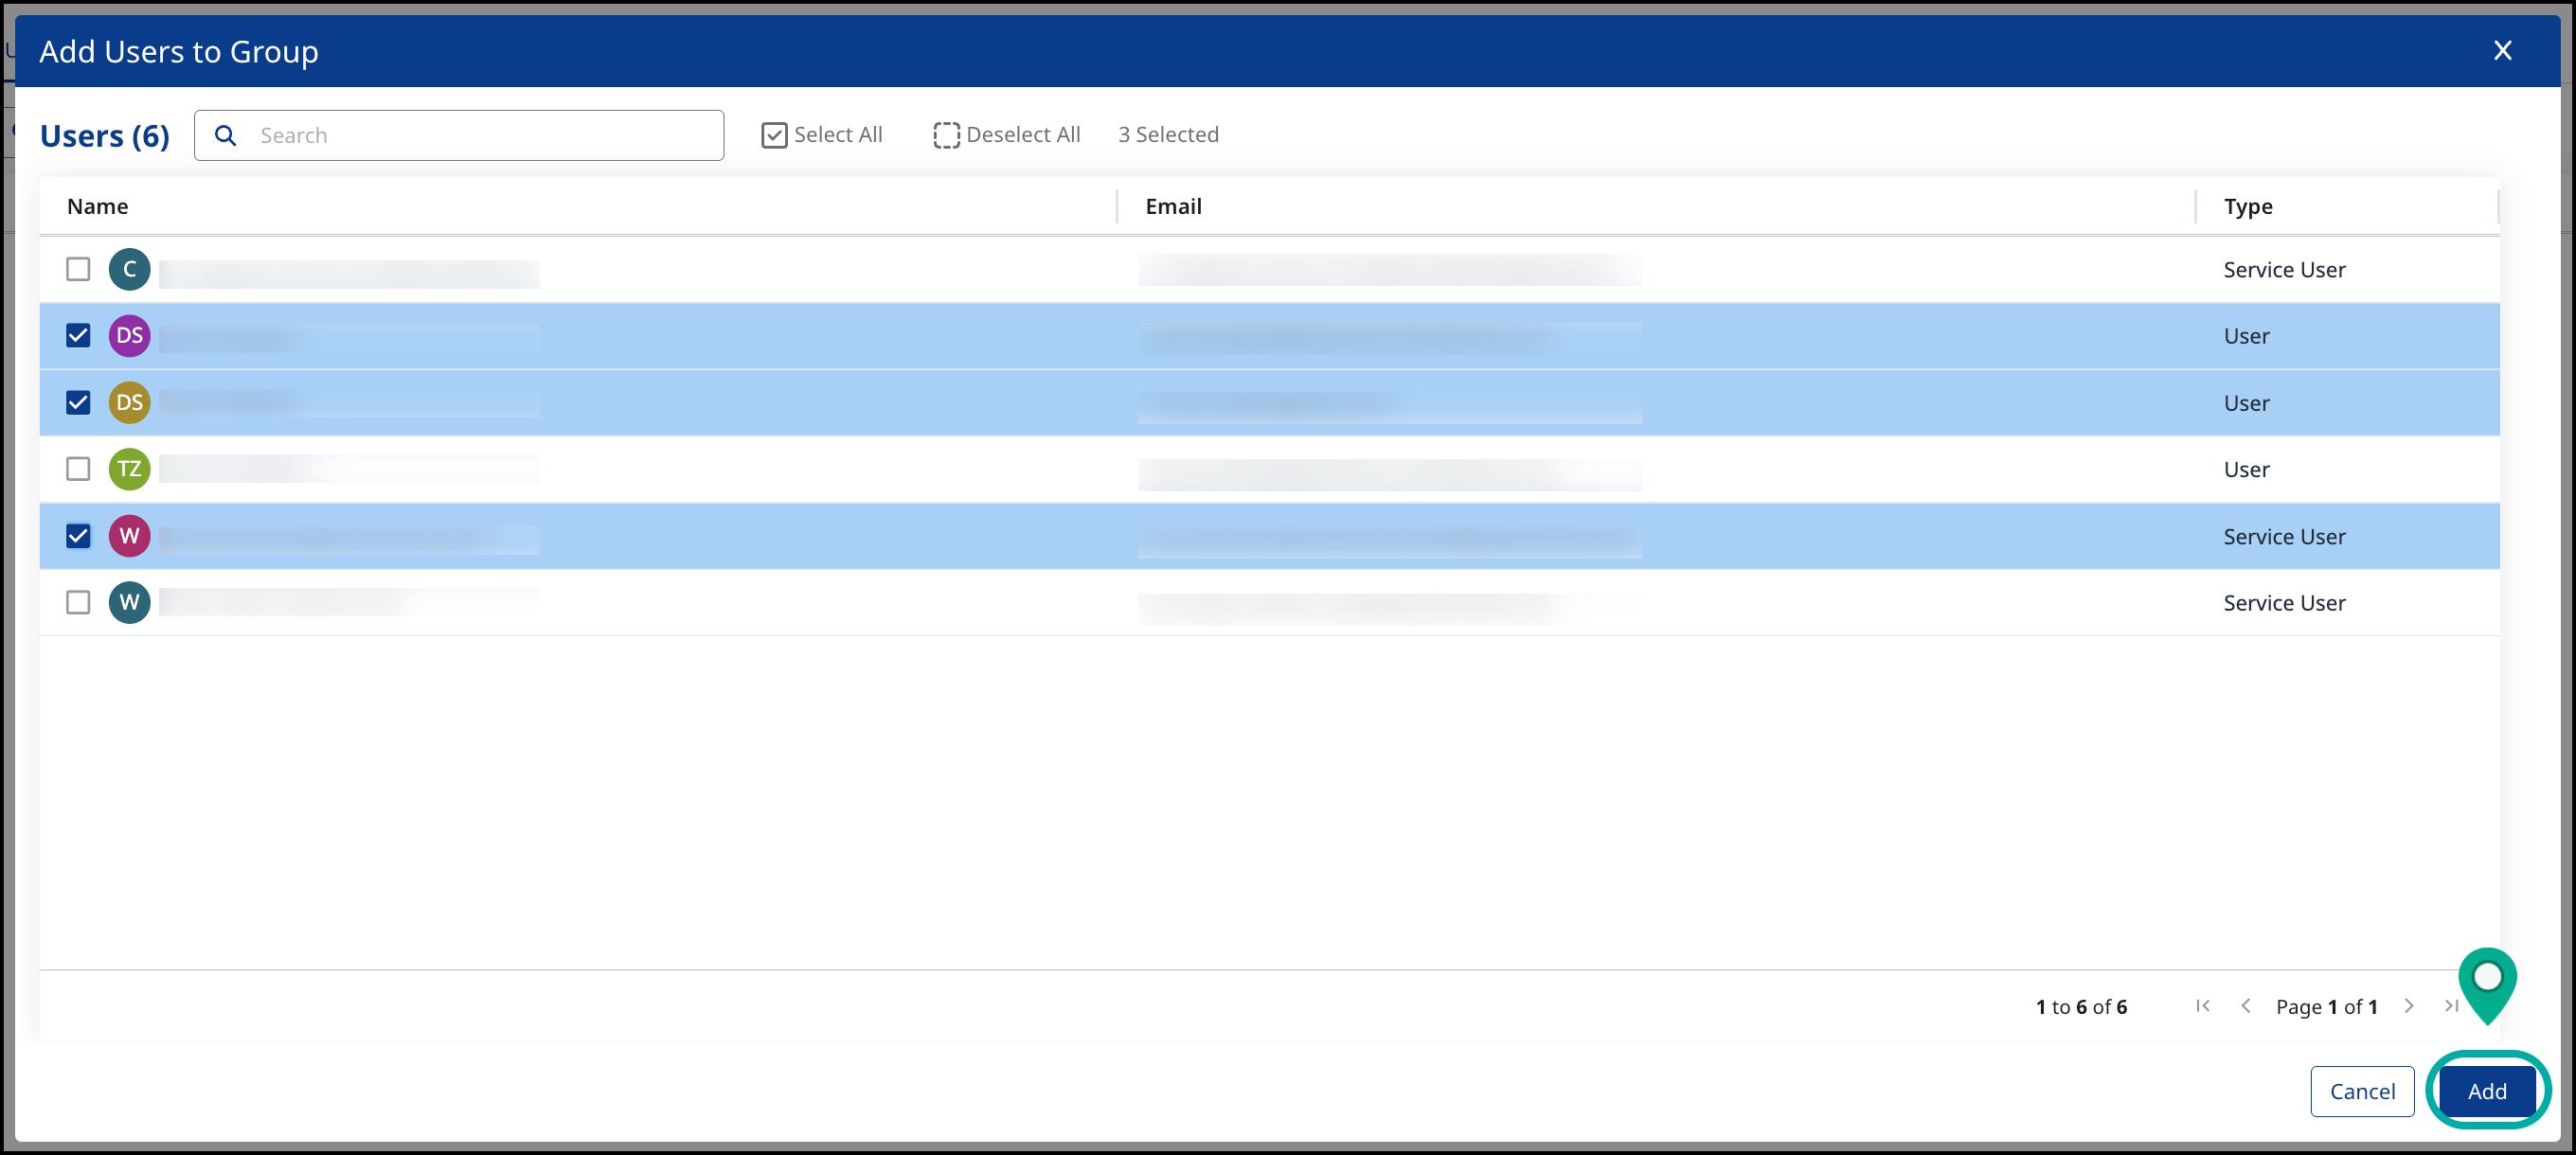
Under the Users tab, click on the + Add User. The Add Users to Group dialog box opens, displaying a list of all the users in the organization with their email addresses.
-
Select the user(s) that you want to add to the group and
-
Click ״OK״. The group and its members will be displayed under the Groups table.
-
To add more users, click Add.
Remove Users from Groups
-
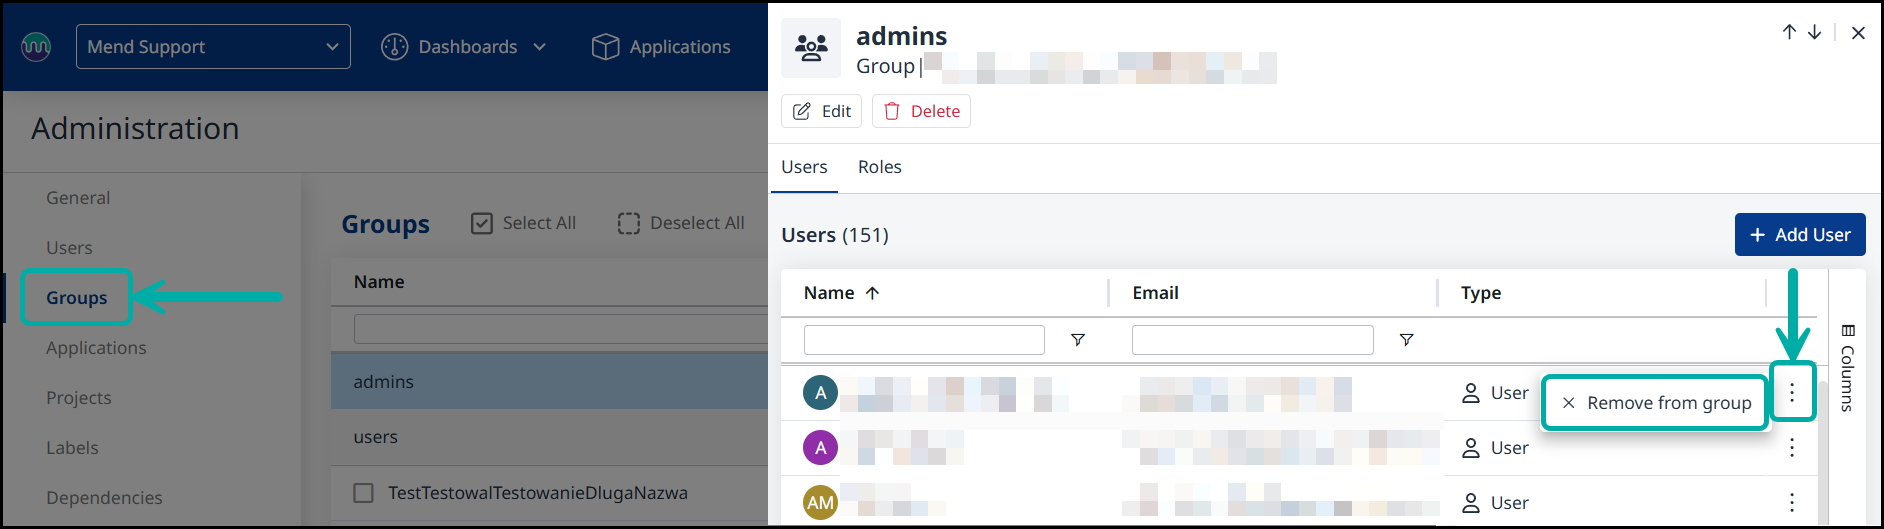
To remove a user from the group, navigate to Administration → Groups.
-
Select the group from which you wish to remove the user(s).
-
Under the group’s Users tab, click the ellipsis button at the right edge of the user you wish to remove.
-
Click Remove from group.
Manage an existing Group
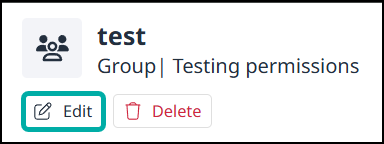
You can edit the name and description of an existing group:
-
Click on the Edit button under the group name
-
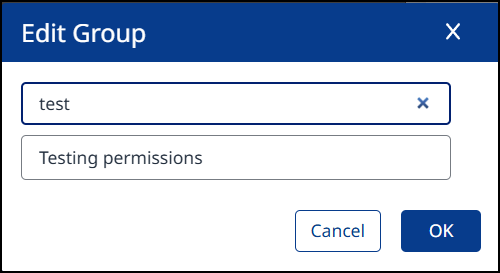
In the Edit Group dialog box, change the group name and/or description.
-
Click “OK” to confirm the change.