
Overview
This page provides step-by-step instructions on how to run the Unified Agent from Azure DevOps Services.
NOTE: Before you begin, make sure that the relevant package manager is installed. For details, see Getting Started with the Unified Agent | Prerequisites .
Unified Agent Configuration
The below integration uses environment variables to configure the Unified Agent so that the default configuration values are used.
For more information, see the following articles:
-
Getting Started with the Unified Agent | Setting-Up-the-Unified-Agent
-
Unified Agent Configuration Parameters | Configuring-the-Unified-Agent-by-Environment-Variables
Setting up Your Build Pipeline
-
Go to Pipelines > Builds > New > New Build Pipeline.
-
Select the source for your code. You can create a pipeline using YAML (Option 1), or use the classic editor to create a pipeline without YAML (Option 2).
Option 1: Creating a Pipeline Using YAML
-
In the Where is your code? screen, select a YAML-enabled option.

-
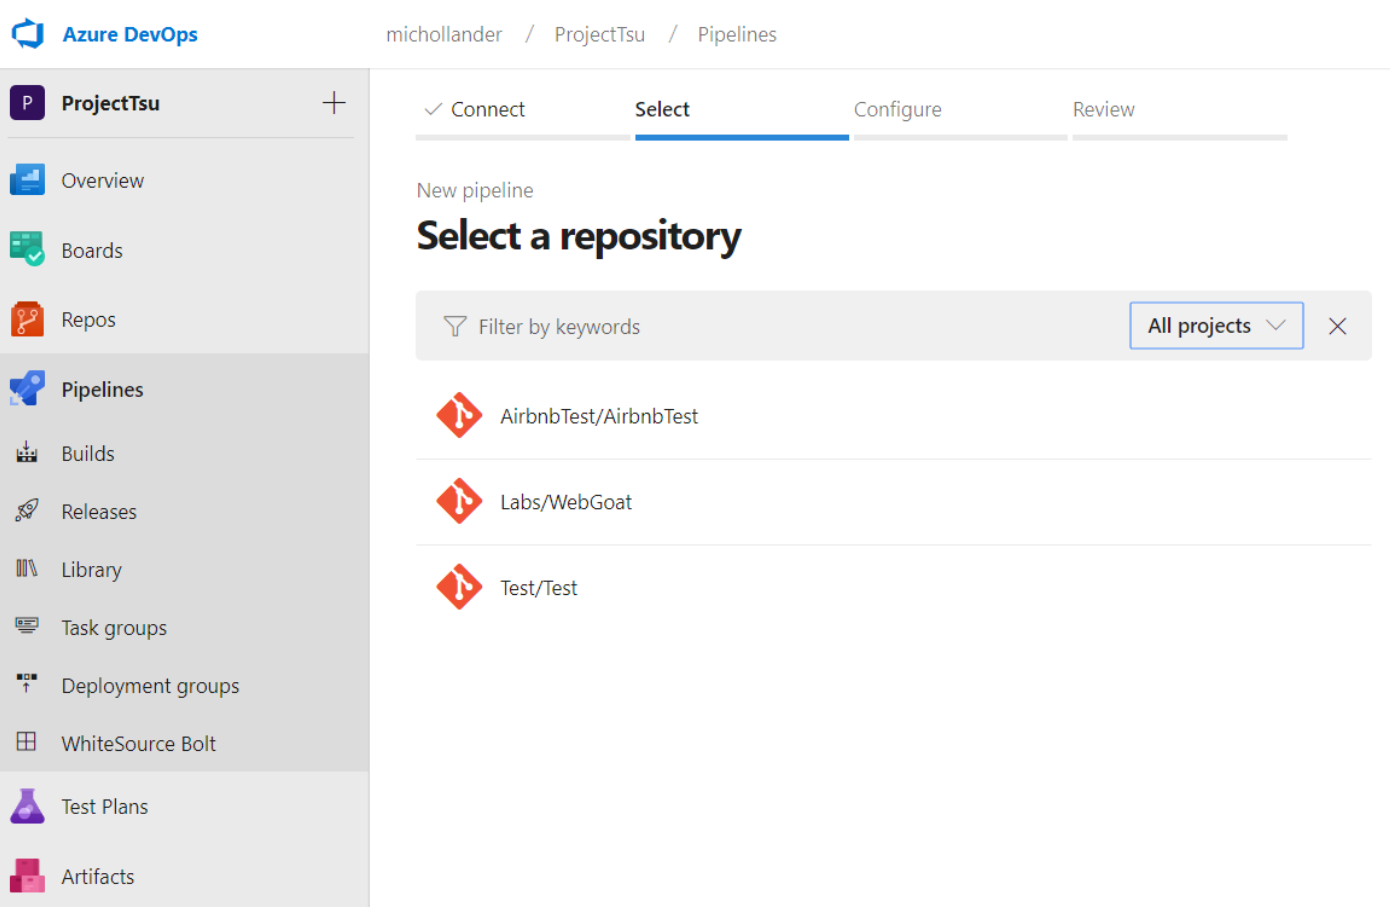
In the Select a repository screen, select your repository.
-
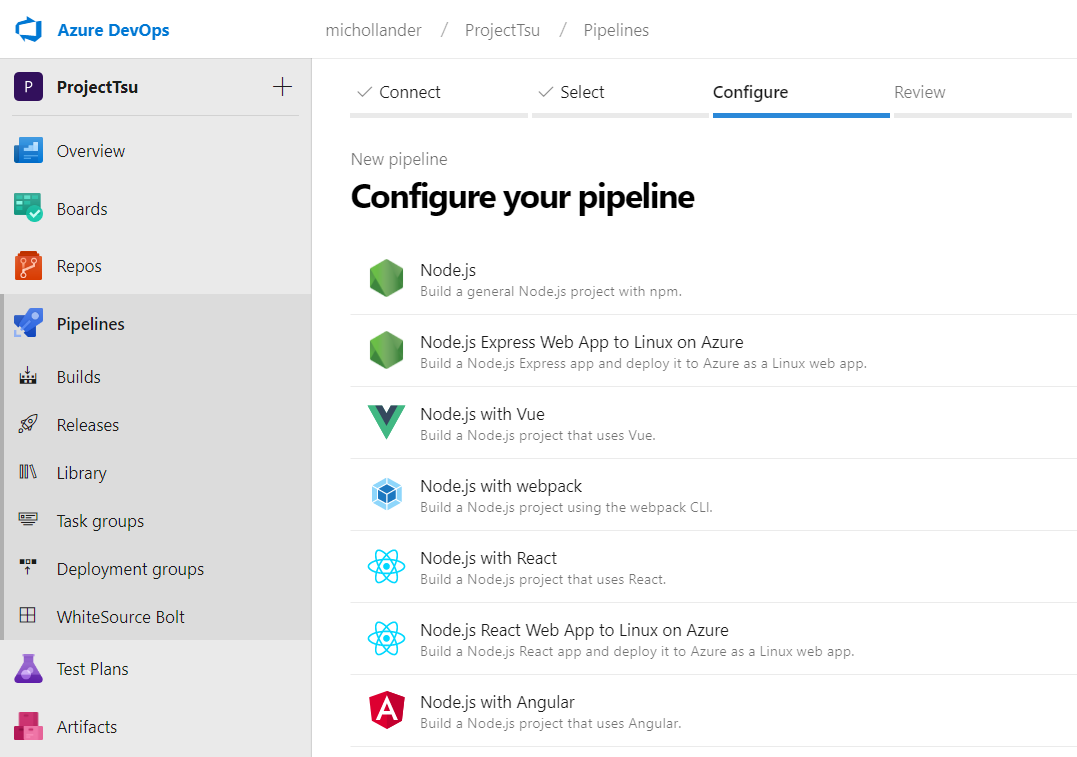
In Configure your pipeline, select the relevant pipeline configuration.
-
In Review your pipeline YAML, add the following text as a post-build step. This activates the Mend integration on your build pipeline.
YAML- script: | curl -LJO https://unified-agent.s3.amazonaws.com/wss-unified-agent.jar echo Unified Agent downloaded successfully java -jar wss-unified-agent.jar env: WS_APIKEY: $(APIKEY) WS_USERKEY: $(USERKEY) WS_WSS_URL: $(WSS_URL) WS_PRODUCTNAME: AZDO_$(System.TeamProject) WS_PROJECTNAME: $(Build.Repository.Name)_$(Build.SourceBranchName) displayName: 'Mend Unified Agent Scan' -
Add environment variables for APIKEY, USERKEY, and WSS_URL, as described by the Microsoft documentation, https://docs.microsoft.com/en-us/azure/devops/pipelines/process/variables?view=azure-devops&tabs=yaml%2Cbatch
-
Click Save and run.
Option 2: Creating a Pipeline Without YAML (Classic Editor)
-
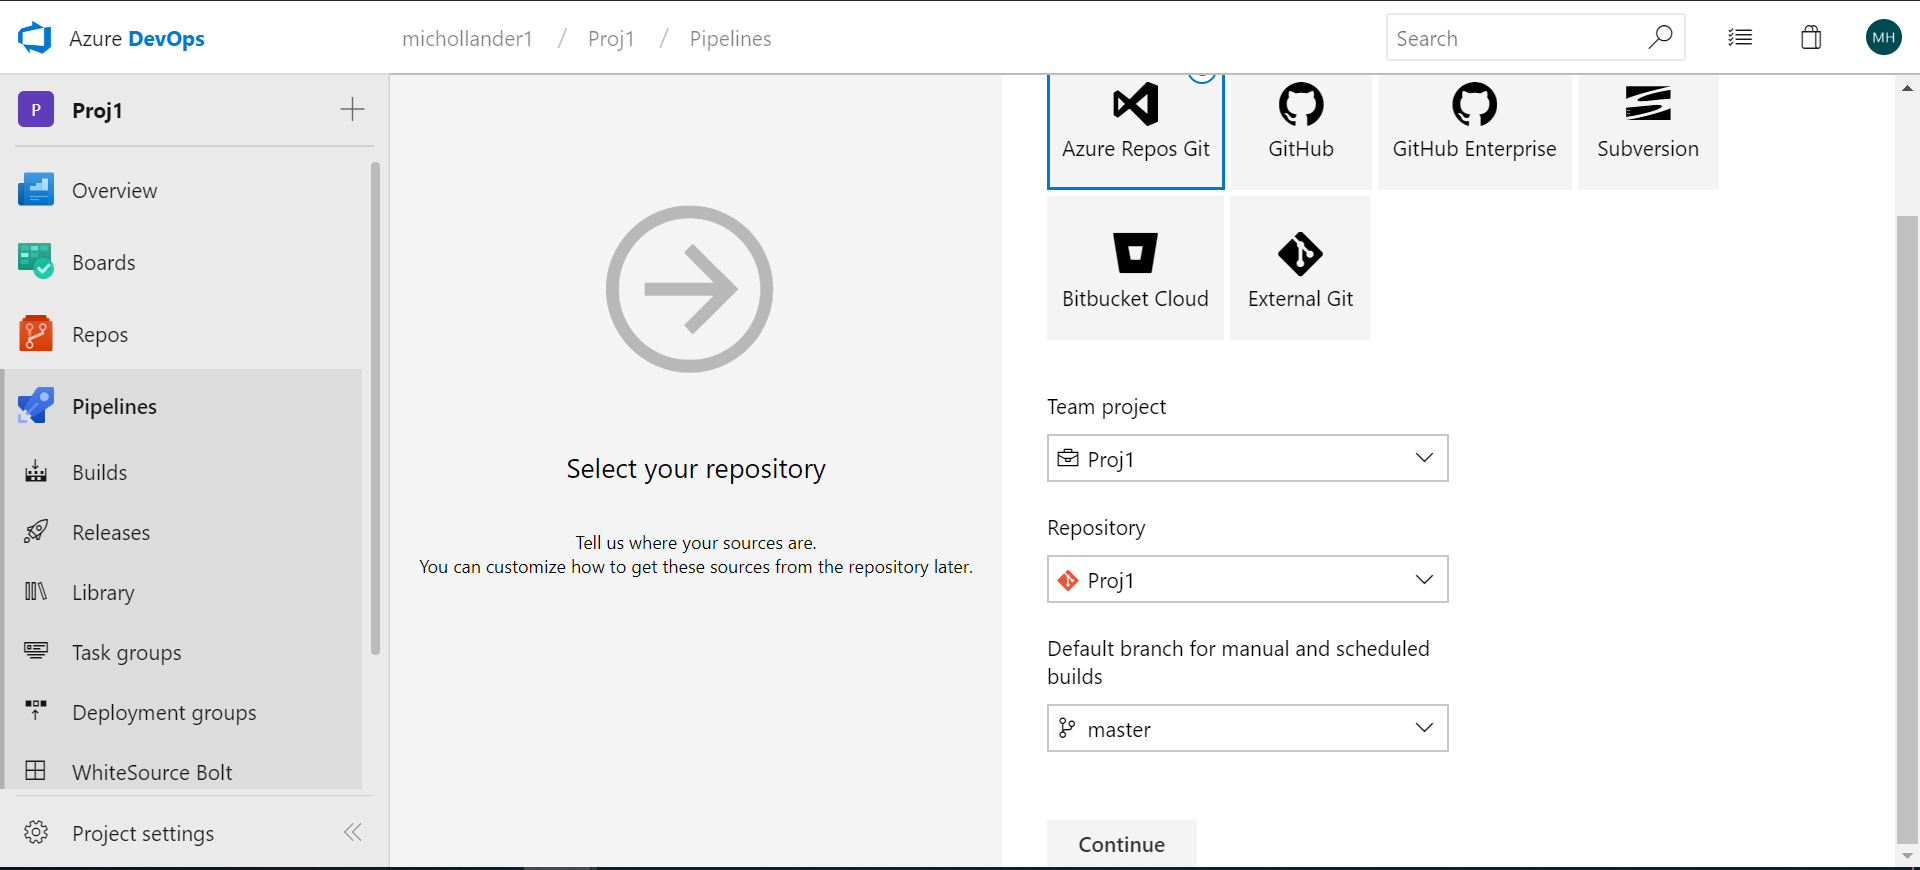
Select the type of repository:
-
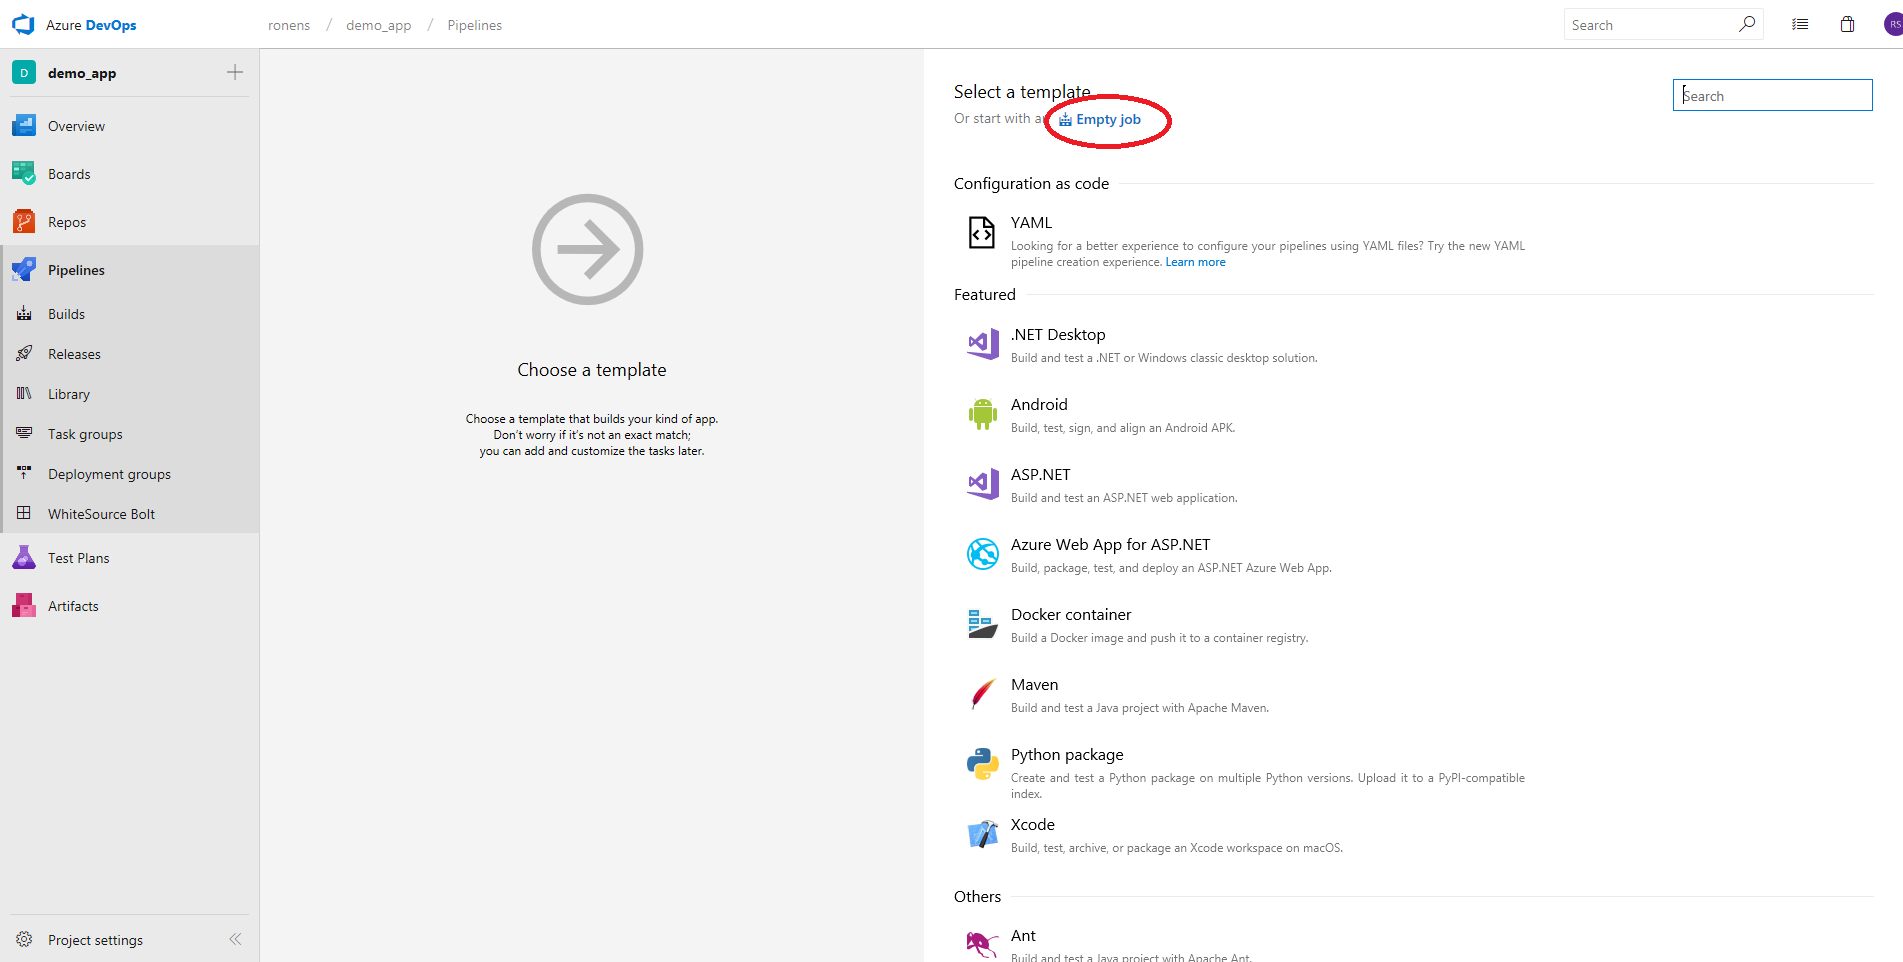
Select an Empty job:
-
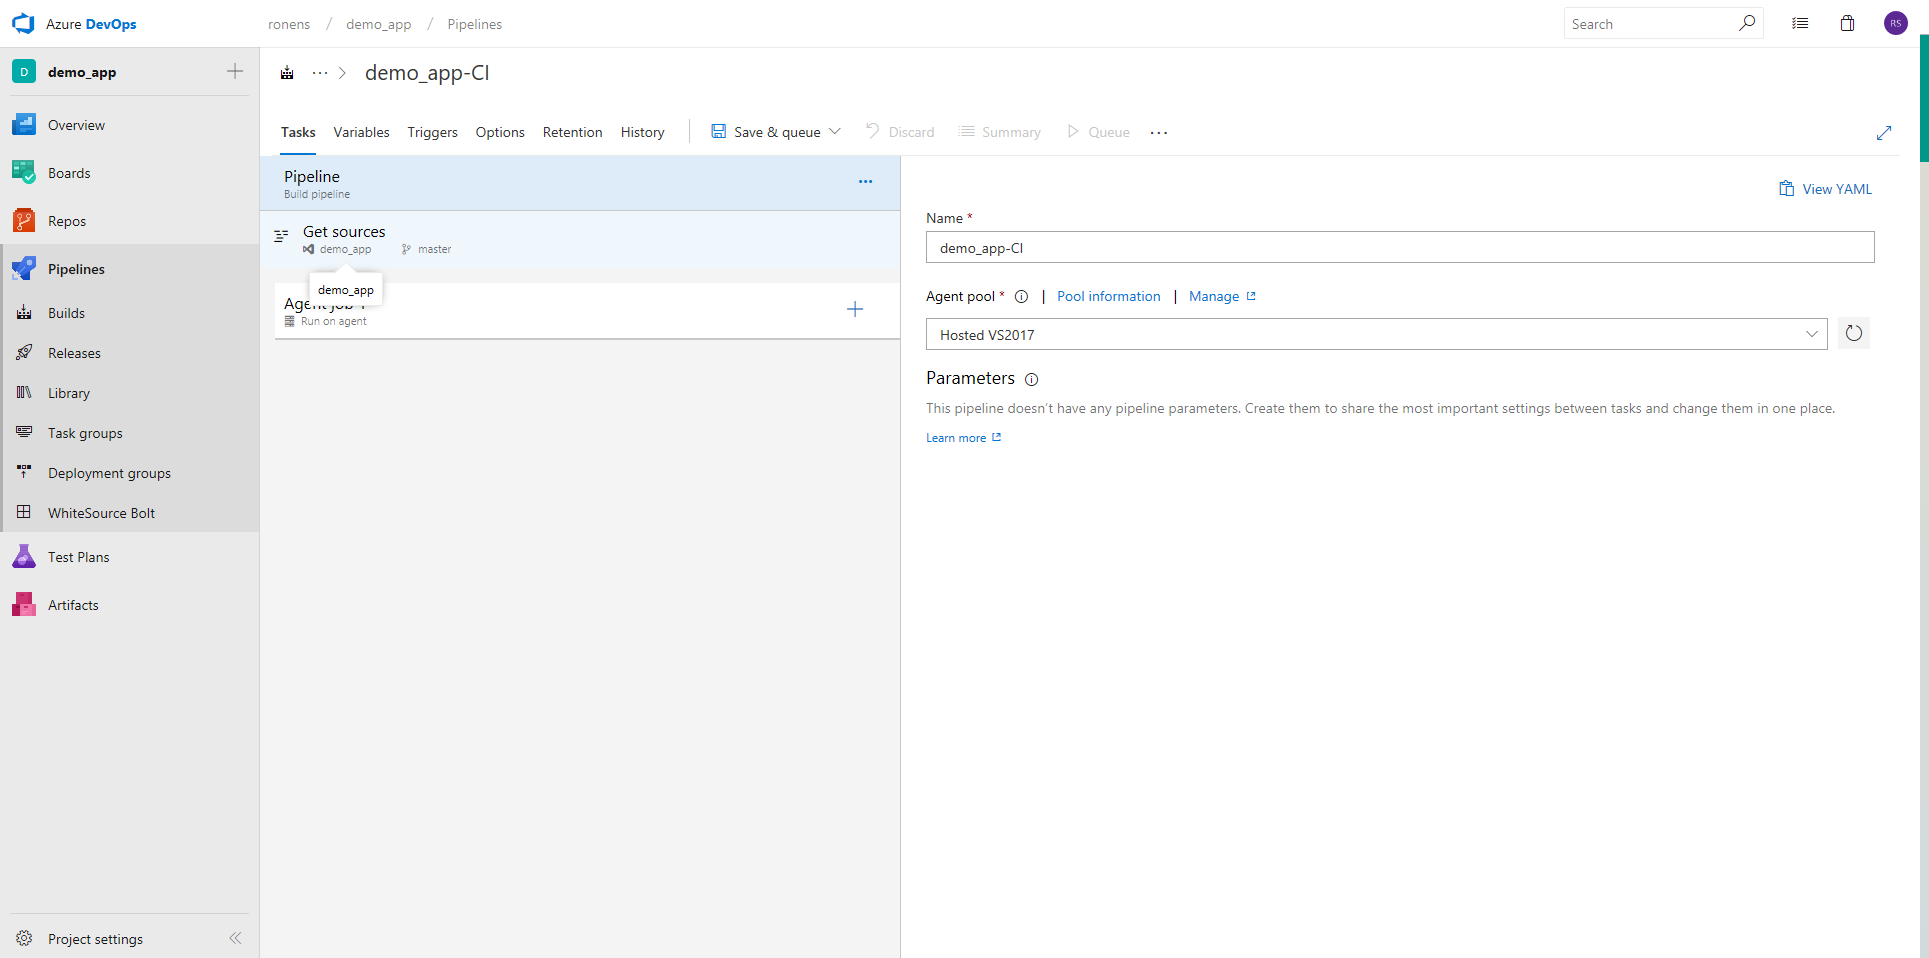
Enter a name for the job and select an Agent pool:
-
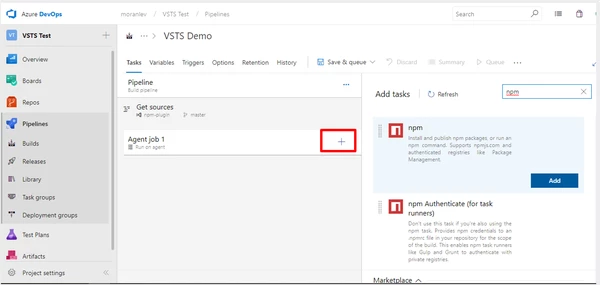
Add the relevant build task (Maven, npm, Gradle, .NET Core, etc.).
-
Add a Command Line task and update the following fields to activate the Mend integration on your build pipeline.
-
Display name: Mend Unified Agent Scan
-
Script:
YAMLcurl -LJO https://unified-agent.s3.amazonaws.com/wss-unified-agent.jar echo Unified Agent downloaded successfully java -jar wss-unified-agent.jar -
Environment Variables:
-
WS_APIKEY: your-apiKey
-
WS_USERKEY: your-userKey
-
WS_WSS_URL: your-wssUrl
-
WS_PRODUCTNAME: AZDO_$(System.TeamProject)
-
WS_PROJECTNAME: $(Build.Repository.Name)_$(Build.SourceBranchName)
-
-
-
Click Save & queue.
Unified Agent - CI-CD Scanning | Azure DevOps
This video demonstrates how to configure your AZDO pipeline YAML file to run the Unified Agent.